Acer Aspire 5253 Fan Replacement
Duration: 45 minutes
Steps: 32 Steps
Step 1

– Flip that laptop over, it’s time to get to work!
Step 2

– Flip the switch to unlock your battery, just like shown in the picture, until you see a red background with an unlocked lock. It’s simple – go ahead and do it!
Step 3

– Now give the second switch a nudge while the unlocked symbol is still showing off its freedom vibes. Voila, the battery will pop up like magic, no longer blending in with the laptop’s bottom.
Step 4

– Time to say goodbye to the battery! Gently lift it out of the laptop, starting from the side that’s closest to those little switches. You’ve got this!
Step 5

– Battery removed! You’re on a roll now!
Step 6

– Alright, time to track down the two screws keeping the back cover panel snug on your laptop. Let’s do this!
Step 7

The screws measure 3/8″ long and sport a 1/4″ head. Get ready to tackle that repair like a pro!
– Grab your trusty Philips #00 screwdriver and carefully unscrew the two screws keeping that back panel snug and secure. You’ve got this!
Step 8


– With both screws out of the way, grab a plastic opening tool and gently lift the panel. Start at the handy little notch and work your way side to side. Easy does it!
Step 9

– Once you’ve gently loosened the panel with your trusty plastic opening tool, just slide your finger into the gap and lift that panel off your laptop like a pro!
Step 10

– Now that you’ve got the cover panel off, go ahead and find the hard drive. It’s waiting for you.
Step 11


– Let’s get started by finding those two sneaky screws that are keeping your hard drive in place!
Step 12

– Grab your trusty Phillips #00 screwdriver and unscrew those two little screws like a pro!
Step 13

– Gently slide the hard drive away from the screw area until it pops out. You’ve got this!
Step 14

– Gently wiggle that hard drive out of its cozy little home.
Step 15

– Flip your laptop over and carefully open it up just like in the image—easy does it!
Step 16

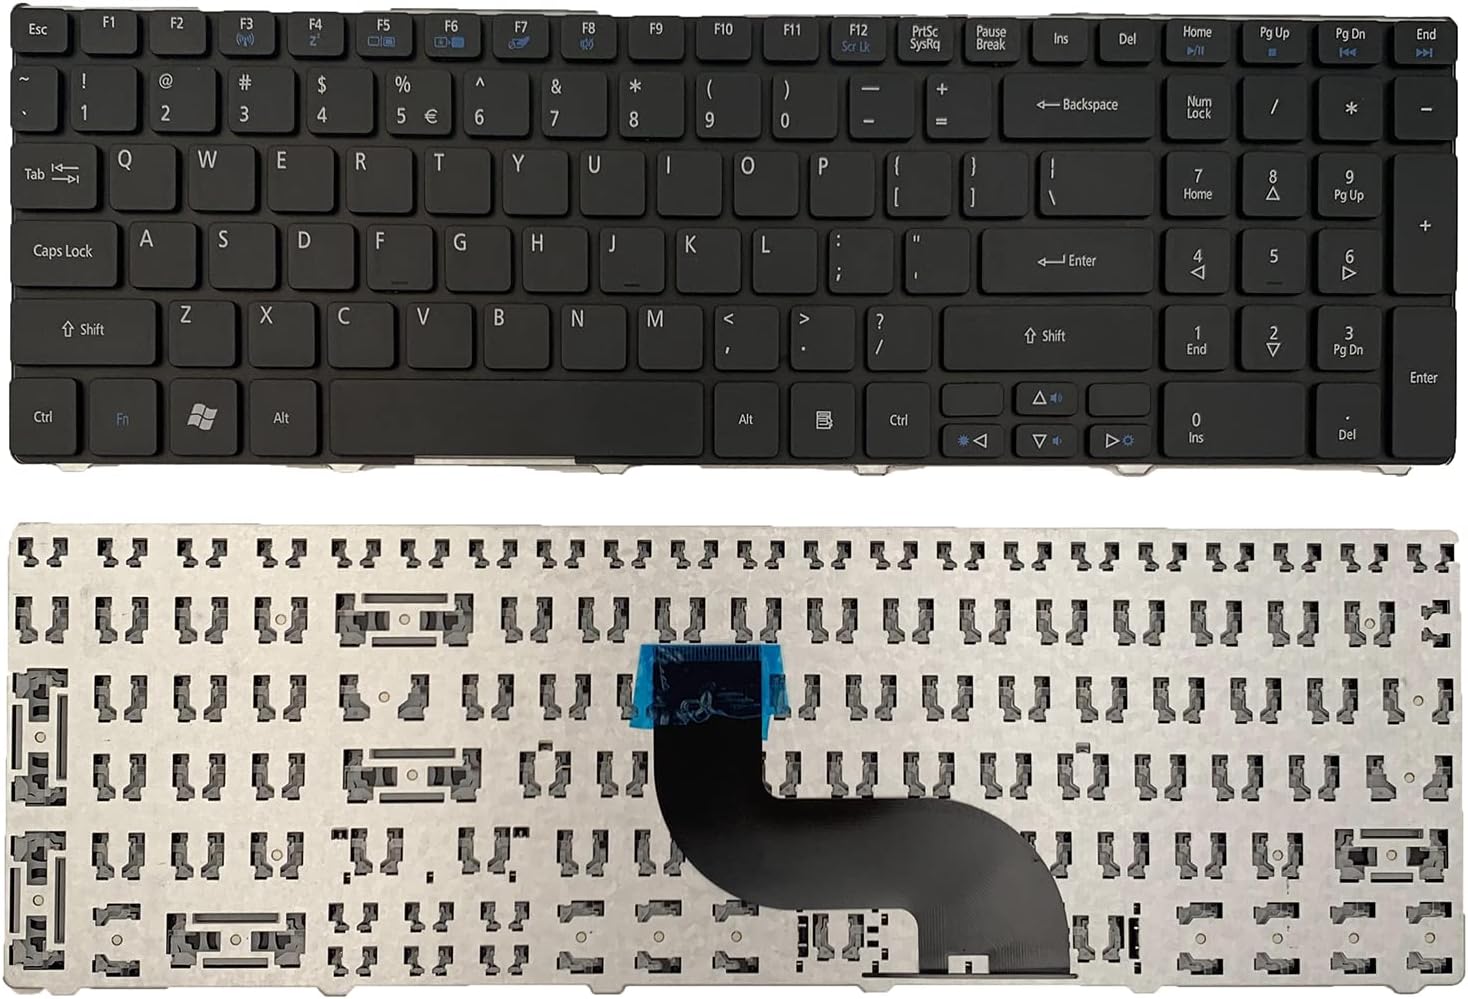
– Find the tabs that are holding the keyboard in place.
Step 17

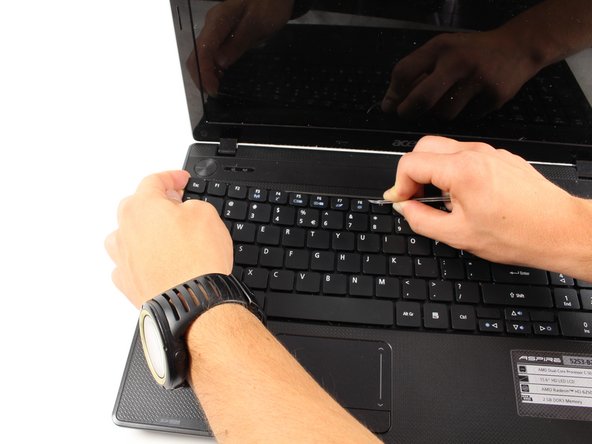
The keyboard might flex a bit and look like it’s about to snap, but no worries—this is totally normal!
– Grab a pair of thin tweezers, press those keyboard tabs inward, and lift up the keyboard edge like you’re opening a treasure chest—easy and smooth!
Tools Used

Step 18

– When the keyboard starts to pop out of place, give it a gentle lift and keep the detached section suspended—you’re basically a keyboard acrobat now.
– Keep pushing in those tabs and lifting the keyboard as described. You’re halfway there—just keep at it!
Step 19

Be gentle when lifting the keyboard—yanking it too hard could lead to an accidental laptop heartbreak!
– Now that you’ve successfully separated the keyboard from the laptop’s body, it’s time to gently lift it up and tilt it forward. Let it rest on the laptop as shown – you’re doing great!
Step 20


– Grab your tweezers and gently pull down the white tabs on both sides—like you’re giving them a little handshake. This will pop the blue and black connector loose. Easy peasy!
Tools Used
Step 21

Be gentle and make sure it peels off easily, or you might just end up with a tear!
– Gently wiggle that blue and black connector out of its cozy socket. You’ve got this!
Step 22

– Now it’s time to gently pry the keyboard away from the laptop – you’re making great progress!
Step 23


– Alright, you’ve tackled the prerequisites like a champ! Now it’s time to flip your laptop over and unscrew a few more screws. First, grab your trusty Phillips #00 screwdriver and remove all the screws highlighted in red. These little guys have a head diameter of 1/4″ and a length of 3/8″.
– Next up, let’s get those orange-highlighted screws out of the way using the same Phillips #00 screwdriver. These ones are a bit smaller, with a head diameter of 5/32″ and a length of 5/32″. Remember to keep these screws separate from the red ones!
Tools Used

Step 24

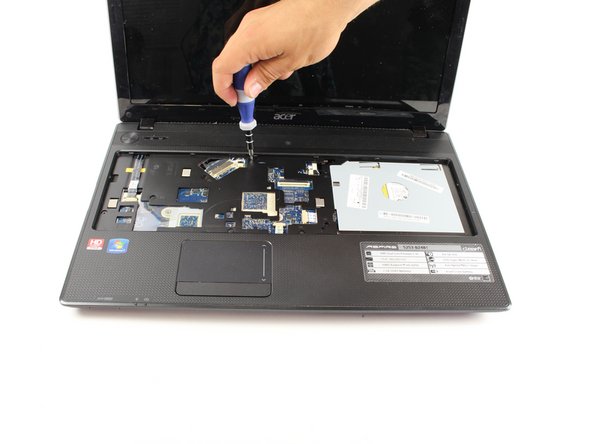
– Turn your laptop back over and get ready to unscrew those pesky little screws! Grab your 1/4″ diameter head and 7/32″ length screwdrivers and start removing the screws shown in the picture. You’ve got this!
Step 25

– Alright, here’s the deal—those spots marked on the motherboard? That’s where cool stuff like the power button and trackpad are hanging out. Your mission, should you choose to accept it, is to disconnect them just like you did with the keyboard earlier. Grab those trusty tweezers and work your magic!
Tools Used
Step 26


– Take a look at this close-up shot of all the connectors. Use your trusty tweezers to gently grab the black part, then carefully wiggle out both sides. Once you’ve nudged it back a little, pull the connector straight out, just like you would with the keyboard.
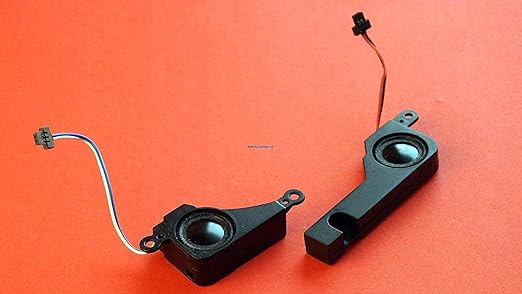
– In the third image, you’ll spot the speaker connector—it’s a breeze! Grab your tweezers and simply pull it straight out. Easy as that!
Tools Used
Step 27


– Grab a plastic opening tool or your trusty hands and gently lift up the corner of the laptop’s top panel. You’re doing great!
– Once you feel it start to budge, keep lifting with your tool or hand until it’s completely free. Almost there!
Step 28

– Now that the top panel is off, take a look at your laptop. You should see the fan clearly visible, waiting for you to give it some attention.
Step 29


Be careful when removing the screws – there’s a set of wires nearby, and we don’t want any accidental cuts! Let’s get through this step smoothly.
– Now that you’ve tracked down the fan, use your trusty screwdriver to remove the three screws that are highlighted – you’re making great progress!
Step 30

– Gently lift the fan out of its spot—you’re doing great!
Step 31

– Grab your trusty tweezers and carefully unplug the fan wires from the laptop. You’re doing great—keep it steady!
Tools Used
Step 32


– You’re making great progress! Now that the fan is fully disconnected, you can carefully pull it away from the laptop. Keep going, you’re doing awesome!
Success!