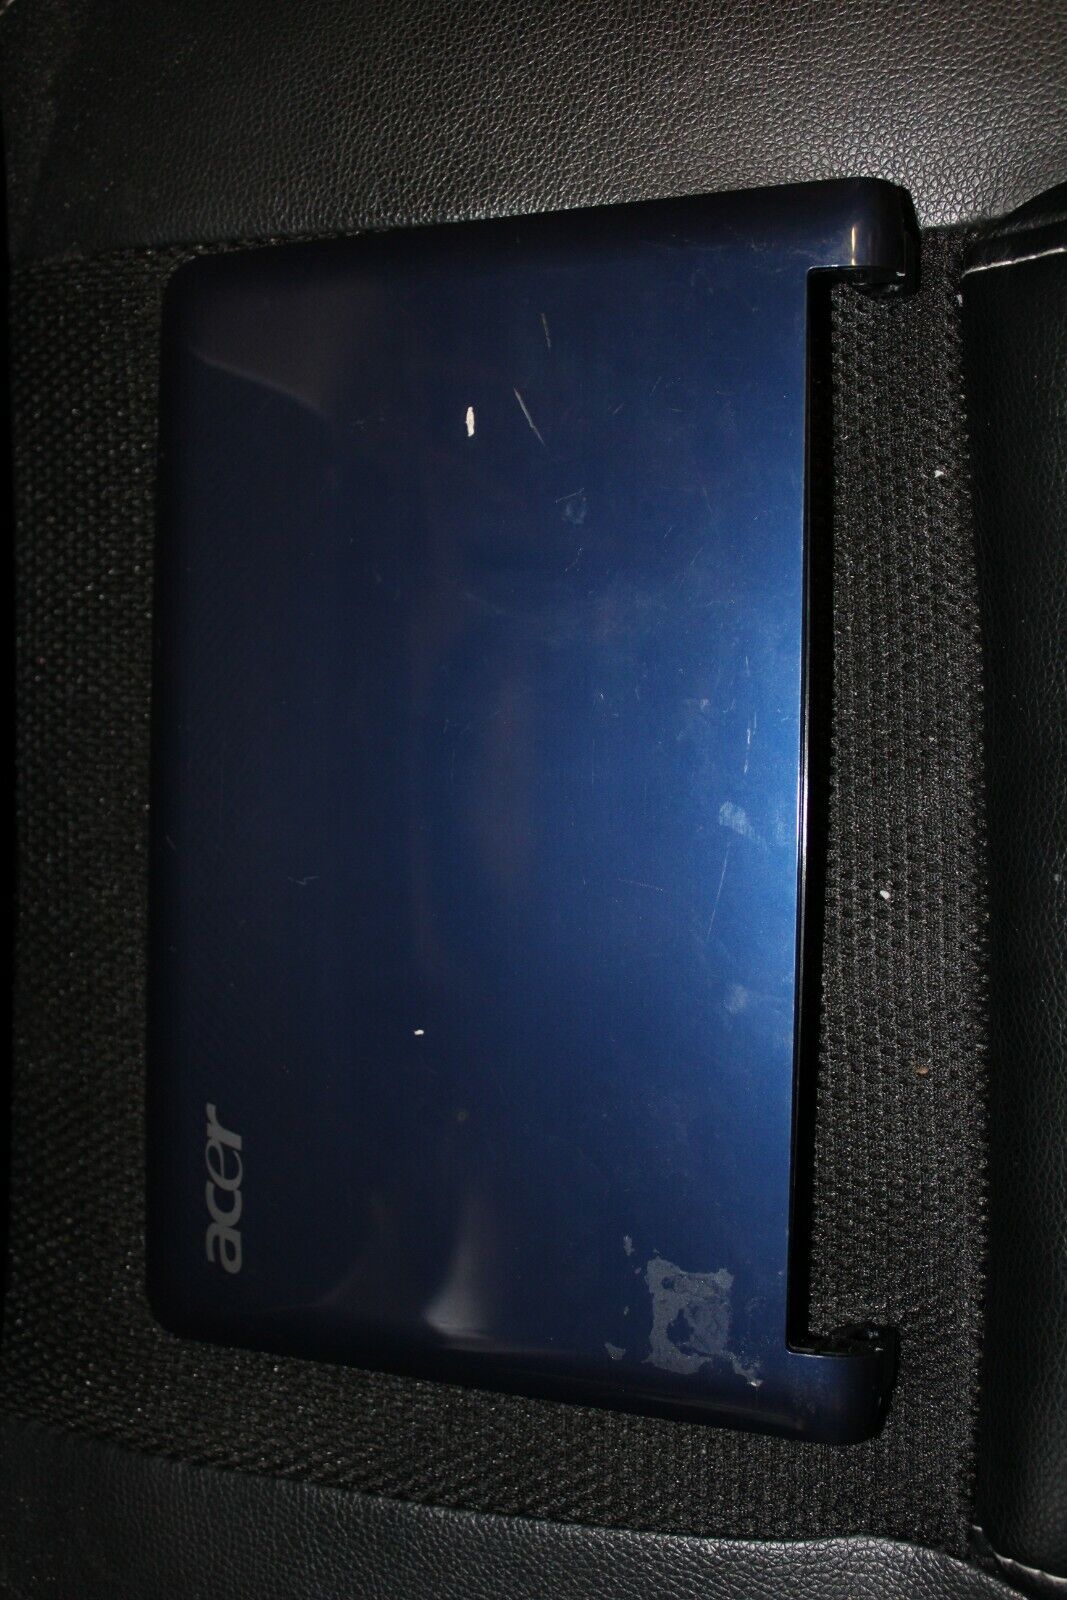
Acer Aspire One ZG5 Keyboard Replacement
Duration: 45 minutes
Steps: 7 Steps
Swapping out the keyboard is a breeze! Just three tabs and a cable keep it in place, making this a quick and easy fix.
Step 1
– Flip that netbook bottom-side-up like a pro, with the battery on top and pointing away from you.
Step 2
– Pop that battery switch near the left hinge over to the left to get it into the ‘unlocked’ position—easy peasy!
Step 3
– Give that latch a little nudge—it’s hanging out on the opposite hinge from the lock. At the same time, gently push the battery upward. Easy-peasy!
Step 4
– Flip your netbook over and swing open the display so the keyboard is right in front of you.
Step 5
– Check it out! There are three tabs hanging out at the top of the keyboard.
– Grab your spudger and point it towards the display. Gently pry up to pop each tab off the keyboard.
– As you tackle the next tab, just make sure the previous one stays put and doesn’t try to sneak back in!
Tools Used
Step 6
Hey there! Just a heads up, there’s a nifty little ribbon cable that connects the keyboard to the netbook. Keep an eye on it while you’re working your magic!
– Gently lift the top of the keyboard. If it’s being stubborn, there might be some tabs on the sides. Grab your tool and carefully slide them out of the way, or try gently wiggling the keyboard side to side.
Step 7
– Gently lift the black plastic hinge to free the ribbon, then slide out the clear blue cable like a pro!
Success!


