Acer Chromebook C710-2847 Hard Drive Replacement
Duration: 45 minutes
Steps: 7 Steps
If you’re running into any issues listed in the troubleshooting guide, it might be time to swap out that hard drive! The hard drive is where all the magic happens—it’s home to your operating system (Chrome OS), plus all your treasured files and photos. When you install a new hard drive, just remember you’ll need to reinstall Chrome OS and back up your local files first. If you need help, you can always schedule a repair.
Step 1


– Get your laptop ready for a makeover by placing it on a flat surface with the bottom side facing up – it’s time to get started!
– Time to release that battery! Place the tip of a spudger or your finger into the hole on the battery release slider and get ready to unlock it.
Tools Used

Step 2


– Grab your trusty spudger and slide that slider to the right—hold it steady, champ!
– While you’re holding the slider, use your other hand to gently pull the battery away from the laptop. You’ve got this!
Tools Used
Step 3

Heads up! Taking this step will cancel your device warranty.
– Grab your trusty screwdriver and carefully peel back that warranty sticker like a pro.
– Next up, it’s time to unscrew and remove that #0 6mm Phillips screw—give it a gentle twist and set it aside for safekeeping.
Step 4


– Grab the back panel and gently slide it towards you. The bumpers are your best friends here, so place your fingers there for a smooth slide.
– Once you’ve got that slide going, lift up the front edge and pop the panel off. Easy as that!
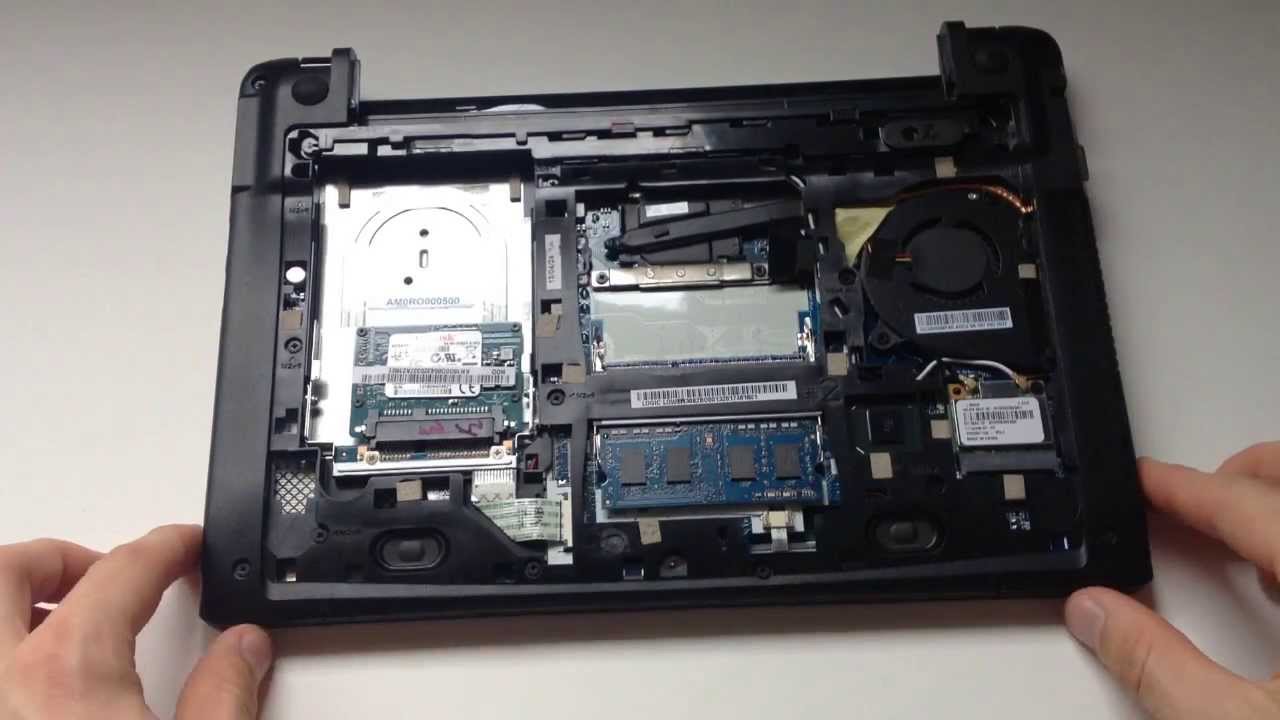
Step 5


Hey there! Just a friendly heads-up: the hard drive assembly is connected to the laptop with a ribbon cable. When you’re lifting the drive, only raise the side facing you about an inch above the laptop. If that ribbon cable gets torn, you might have to call in the pros for some help. Keep it gentle, and you’re golden!
– Gently lift the hard drive assembly from the bottom left corner using one finger.
Step 6


– Grab the hard drive assembly and position the end closest to you near the laptop. It’s totally fine to give the far end a little tilt towards you to make things easier.
– Unscrew the two silver #0 3mm Phillips screws on both the left and right sides of the hard drive.
Step 7


– Grip the bottom of the hard drive with your right hand like a pro.
– With your left hand, gently slide the hard drive out of its housing—easy does it! Watch out for that ribbon cable; make sure the housing doesn’t yank on it.
Success!