Acer Chromebook C710-2847 Screen Replacement
Duration: 45 minutes
Steps: 7 Steps
If your screen is shattered or showing those pesky dead pixels, the best bang for your buck is to swap out that screen. It’s a smart move to bring your device back to life!
Step 1


– Flip the laptop upside down and lay it on a nice, flat surface—table vibes only.
– Use a spudger or your finger to nudge the battery release slider—just find the little hole and give it a go!
Tools Used

Step 2


– Time to get this repair started! Use your trusty spudger to gently nudge the slider to the right, and hold it firmly in place.
– Now, with the slider held steady, use your other hand to carefully pull the battery away from the laptop – you’re making great progress!
Tools Used
Step 3

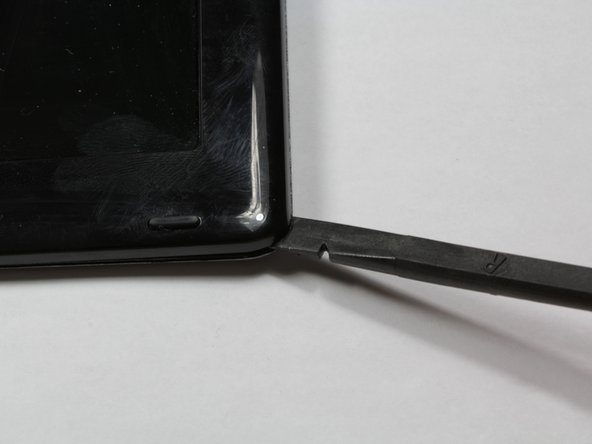
Heads up: Stick to using the spudger only around the edges of the device. Keep it out of the gap where the bezel meets the screen to avoid any trouble.
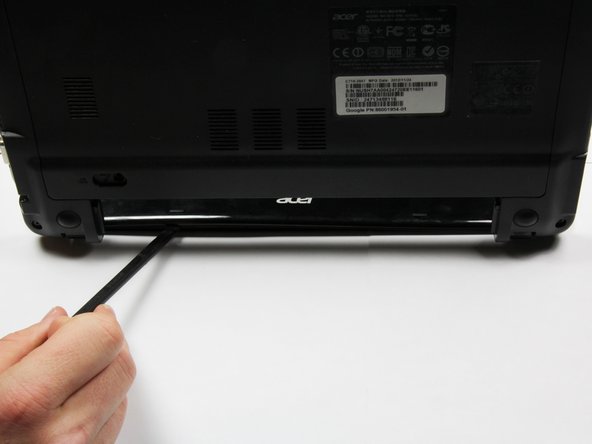
– Place the laptop with its screen facing down on the table, making sure it’s comfy and stable.
– Grab a spudger and gently work your way around the top left and right corners of the bezel. You’ll feel and hear the satisfying release of the clips as you go.
– Now, flip the device around 180 degrees (screen still down, of course!) and use the spudger to loosen the bezel along the bottom, right between the hinges.
Tools Used
Step 4


– Lift the bezel just a smidge off the top corners of the screen—about an inch will do.
– Give the plastic bezel a gentle tug toward yourself, keeping it chill and steady.
– Set the bezel aside in a safe spot. Easy as pie!
Step 5


– Twist out those four black #0 3mm Phillips screws that are holding the screen down. Easy peasy!
– Peel back the small strips of black tape chilling at the bottom center of the screen near the keyboard. You’ve got this!
Step 6


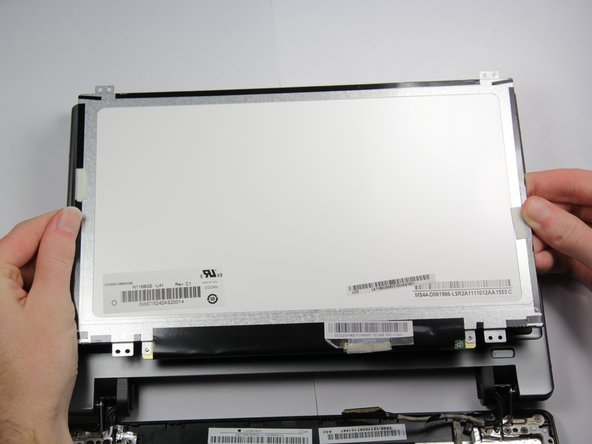
– Flip the screen up from the shiny tabs at the top, and gently rest it on the keyboard like the chill buddy it is.
– Unwrap the slim black tape around that ribbon cable connection—easy does it—you’ve got this!
– Peel off the clear tape covering the ribbon cable connection. Slow and steady wins the day!
Step 7

– Gently tug on that ribbon cable to release it from its hold.
– Carefully peel away any leftover tape that’s sticking the screen to the laptop.
Success!