Acer Chromebook C740-C4PE Touchpad Replacement Guide
Duration: 45 minutes
Steps: 9 Steps
Alright, tech wizard! Ready to dive into some repair magic? Let’s get that device back in action, one step at a time. If you hit a snag or just want a helping hand, remember, you can always schedule a repair. Let’s do this!
Step 1


Take it easy when prying; too much force can cause the back plate to snap.
Before diving in, let’s make sure your laptop is off and unplugged. Safety first, right?
– Get ready to unleash your inner DIY guru by unscrewing the thirteen 10mm screws on the back of the computer using the trusty Phillips #0 screwdriver.
– Time to show off your prying skills! Grab your spudger or another nifty prying tool and gently pry the back off of the device.
Tools Used


Step 2

– Grab your trusty Phillips #0 screwdriver and unscrew those two 5mm battery screws like a pro! You’ve got this!
Tools Used

Step 4
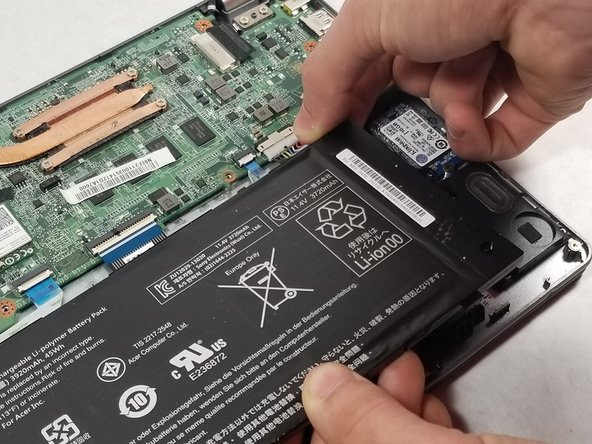

– Gently wiggle that connecting cable away from the motherboard—it’s time for some separation!
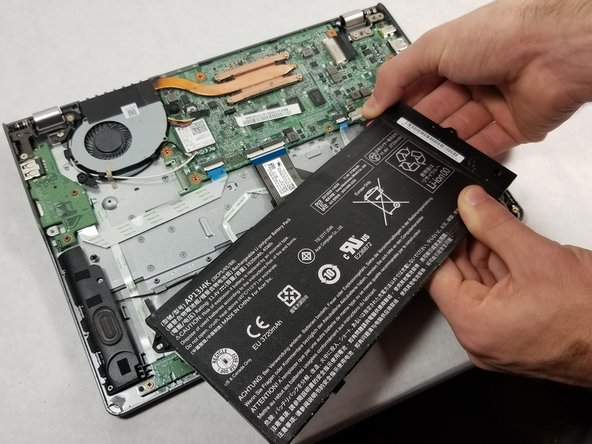
– Carefully lift out the battery from the device and give it a little breather.
Step 5

– Grab your trusty Phillips #0 screwdriver and take off those two screws holding the silver restraint in place. You’ve got this!
– Now, gently lift the silver restraint away from the device. You’re making great progress!
Tools Used
Step 6

Just gently slide the plastic cover out of the way to reveal each screw waiting for some attention.
– Loosen those five screws on the touchpad and let the fun begin!
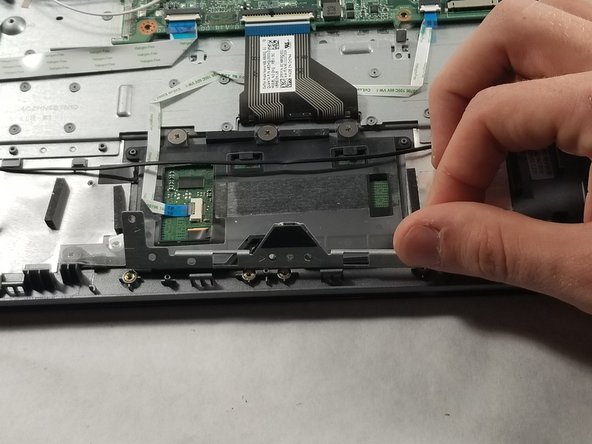
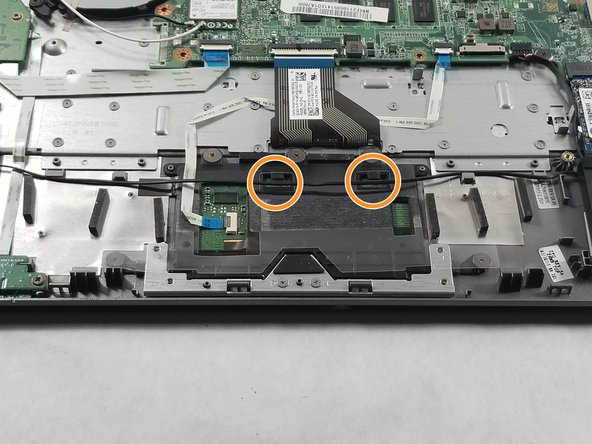
Step 7

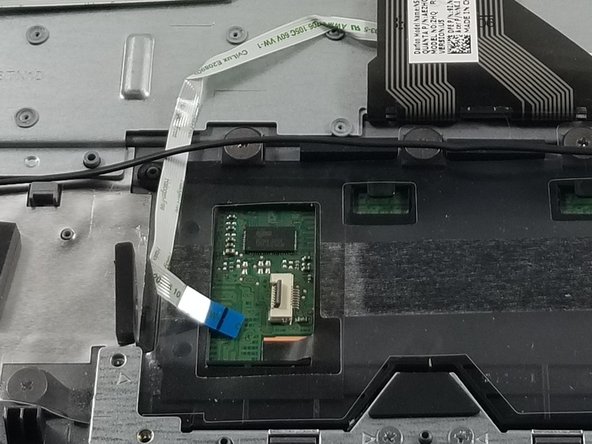
Remember to give that sneaky black wire the VIP treatment when detaching it from its cozy hooks.
– Grab your trusty spudger and gently lift the black electrical tape hanging out to the left of the touchpad.
– Next up, detach the black wire that’s making its way across the touchpad by freeing it from the two hooks perched on top of the part.
Tools Used
Step 8

– Gently lift the flap on the wire that connects to the motherboard and unplug the connector like a pro!
Step 9

– Time to give your device a little makeover by gently removing the touchpad.