Acer Icona W510 Charging Port Replacement
Duration: 45 minutes
Steps: 17 Steps
The Iconia W510 has a unique charging port that also acts as a dock connector. Follow this guide to swap out the flex cable and circuit board that hold everything in place. It’s a straightforward fix, but if you need a hand, feel free to schedule a repair.
Step 1


– Grab your metal pry tool and gently wedge it between the back cover and the frame at a slight angle, just like this.
– Give that tool a friendly twist to the left—it’s clip-popping time!
– Work your way around to the corner, prying and twisting to liberate those clips one by one. You’ve got this!
Step 2


– Slide in an opening pick to keep those pesky clips from snapping back into place as you navigate the corner and start working your way down the right side of the tablet.
– Keep up the good work—pry and twist as you’ve been doing to pop those catches loose.
Step 3


Heads up! When you get to the corner, steer clear of the space right below the power-on symbol. There’s a delicate clip hanging out there, and it’s easy to accidentally break it if you’re prying with the tool. Trust me, you’d rather not learn this the hard way!
– Keep going along the top edge, just like you did before
Step 4


– Pop off the left side of the tablet like you’re unwrapping a gift!
Step 5

– Alright, let’s head back to the bottom side for a moment. This little area can be a bit tricky to unclip, but just follow the same steps you took with the first one, and you’ll nail it in no time!
– Now, for the final stretch between the keyboard/power connector and the right-hand guide pin—just like when you first started. You’re almost there!
Step 6

– Take off the rear cover—it’s like peeling off a snug jacket. Nice and easy does it!
Step 7

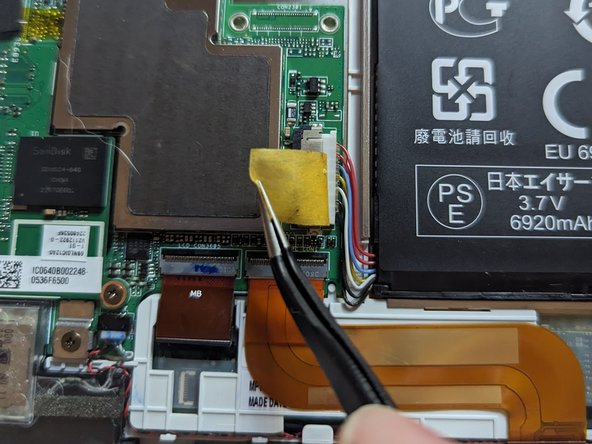
– Gently lift the tape that’s holding the battery connector in place.
Step 8

– Grab the plug by the tabs on either side and gently pull it straight out of the connector. Nice and easy, you got this!
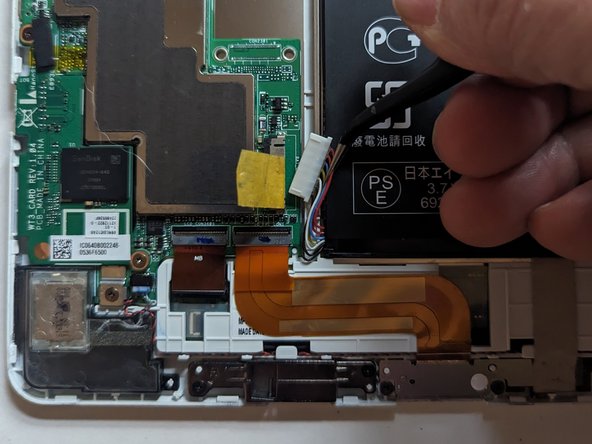
Step 9

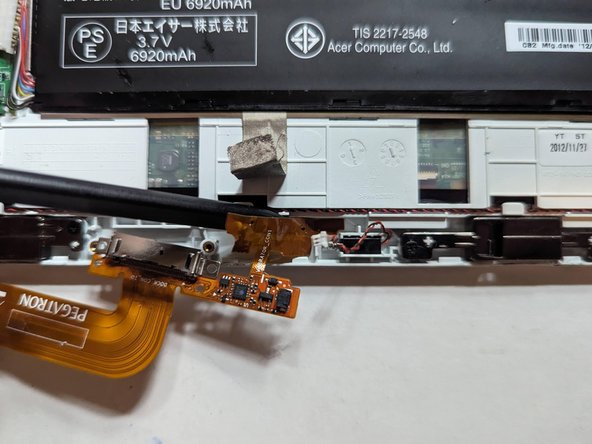
– Peel away the grounding tape from the charging connector—steady hands, you’re doing great!
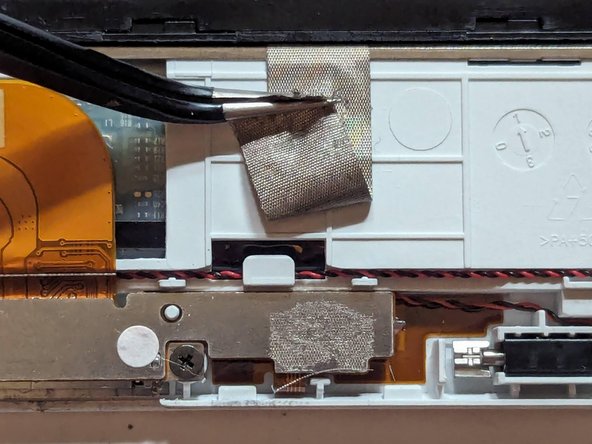
Step 10
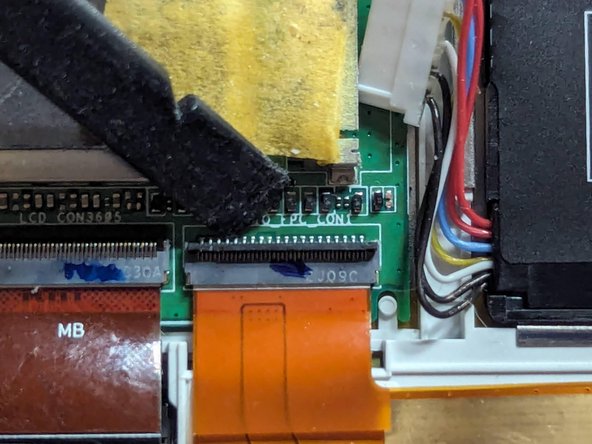

– Time to get that charge port flex cable loose. Use a spudger to carefully flip up the latch that’s holding it in place.
Tools Used

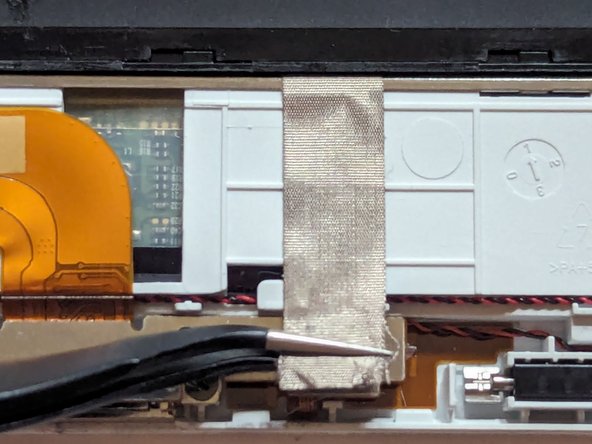
Step 11

– Grab the pull tab on the flex cable and give it a gentle tug to slide the cable out of the connector. You’ve got this!
Step 12

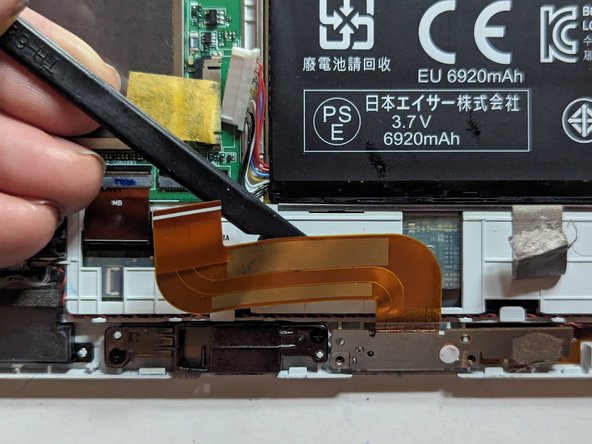
– The flex cable is gently sticking to the display frame, so grab a spudger and carefully separate it.
Tools Used
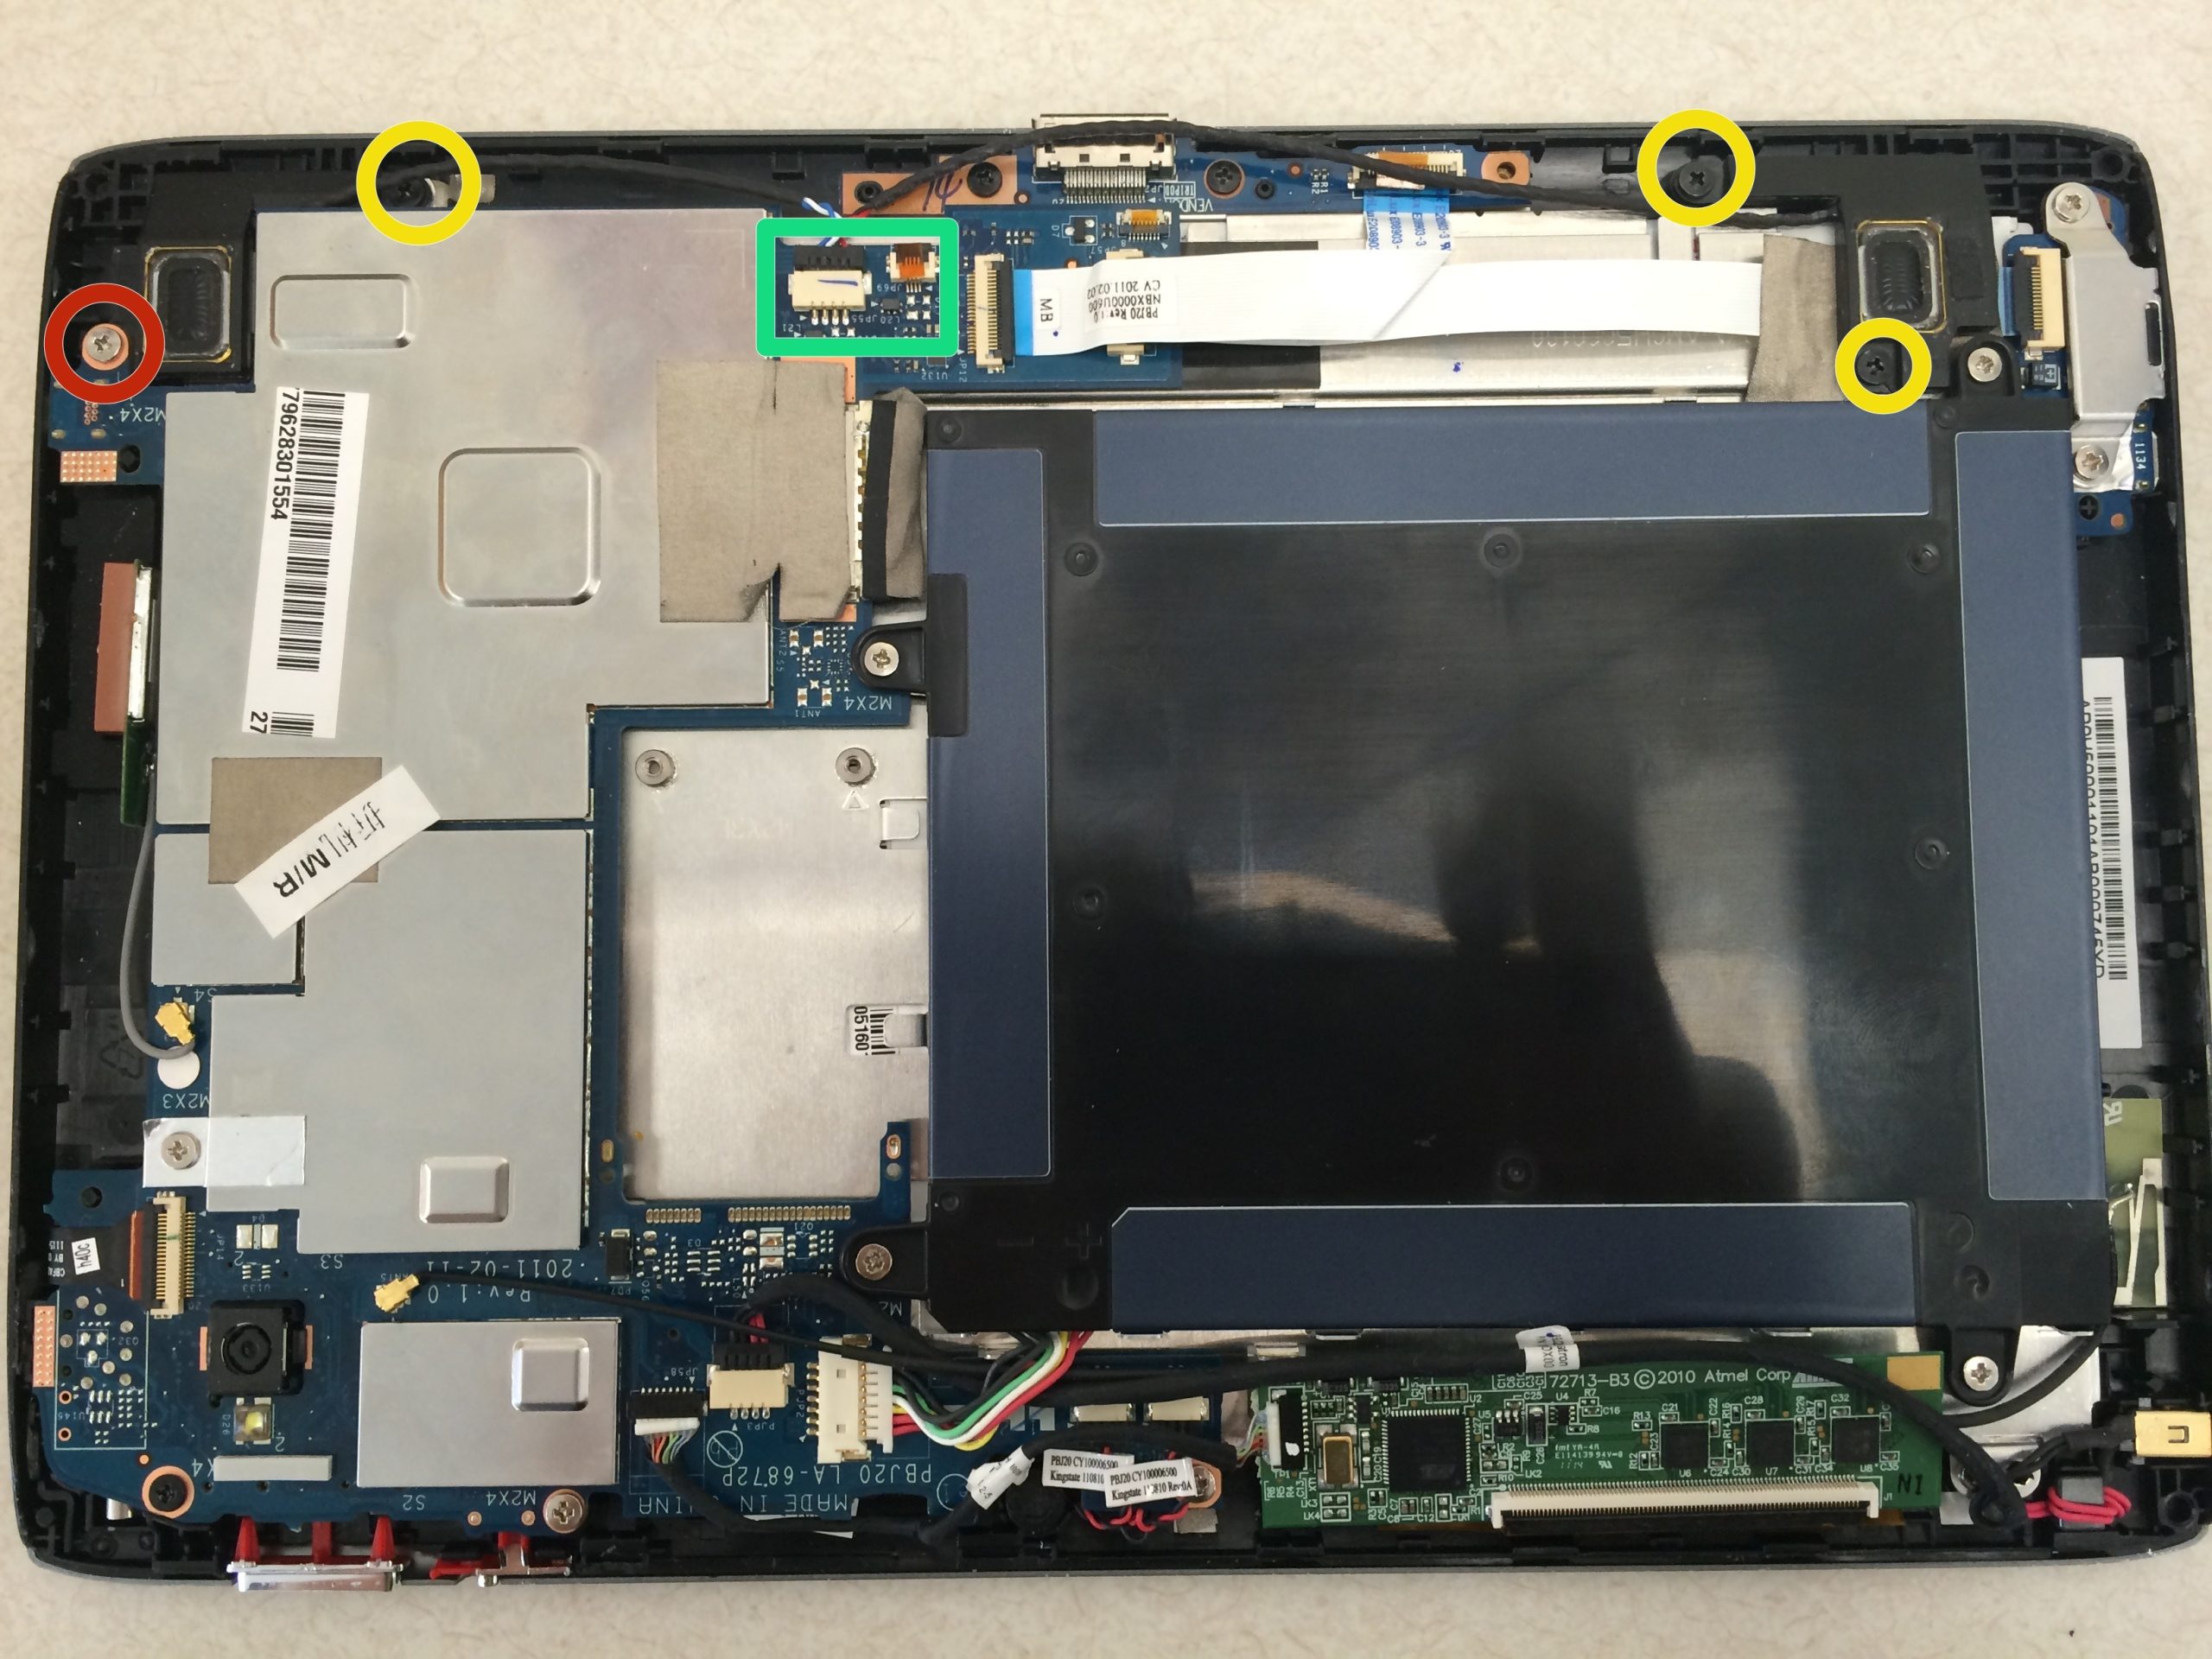
Step 13

– Unscrew those two 2.1mm Phillips screws and let’s keep the momentum going!
Step 14

– Gently flip the cable assembly over, but watch out! It’s still stuck to the frame with a delicate flex cable strip. Handle it like a pro and avoid snapping that little guy.
Step 15

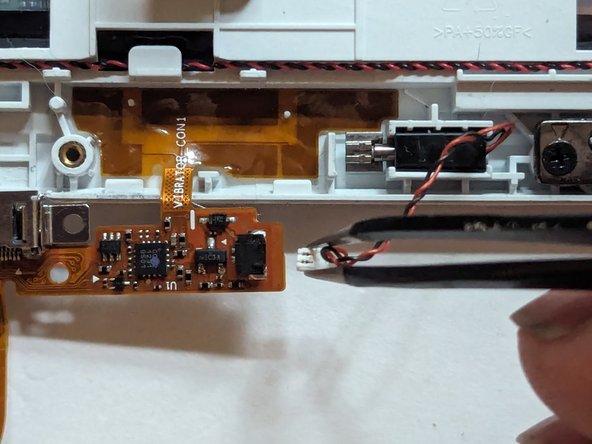
– Disconnect the vibration motor from the charging port circuit board.
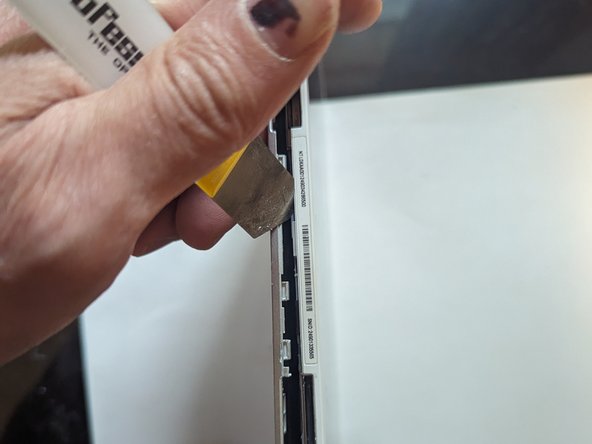
Step 16

– The flex cable is snugly attached to the frame, so let’s take our time here. Grab your spudger and gently work your way around it, carefully coaxing it free from the case. You’ve got this!
Tools Used
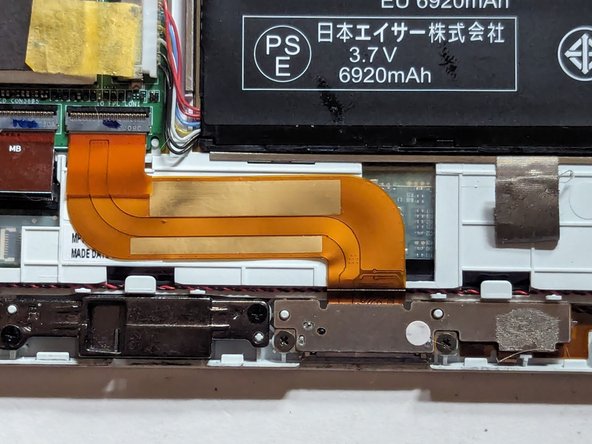
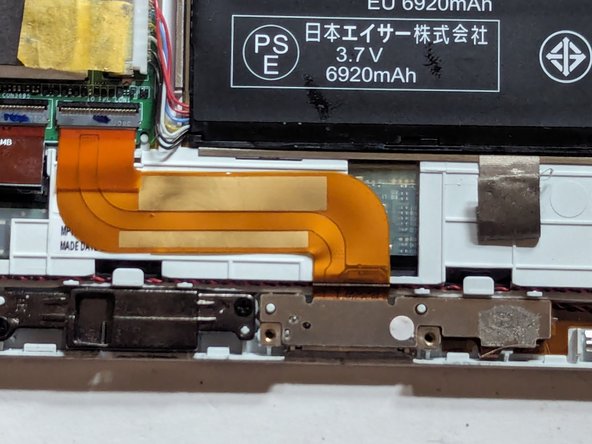
Step 17

– The flex cable is now completely detached from the tablet.
Success!