Acer Iconia A1-810 Screen Replacement
Duration: 45 minutes
Steps: 13 Steps
Swap out the screen of your Acer Iconia A1-810 with style and ease! Follow this step-by-step guide to give your device a fresh new look and restore its function—one screen at a time.
Step 1

– Carefully lift off the back cover using a plastic opening tool, starting just below the camera button slot.
Step 2

– Peel away the black tape that’s holding the battery snug against the motherboard. You’ve got this!
Step 3

– Gently squeeze the sides of the white resistor to pop it out safely, keeping both it and your fingers intact. You got this!
Step 4


– Time to set that battery free! Gently remove it from the adhesive.
Step 5

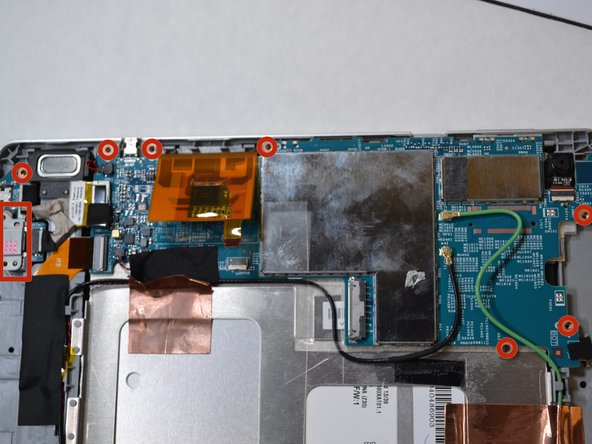
– Grab a Phillips #000 screwdriver and get ready to remove the screws that are holding the motherboard in place. Just go around the perimeter and unscrew them carefully. You’ve got this!
Step 6
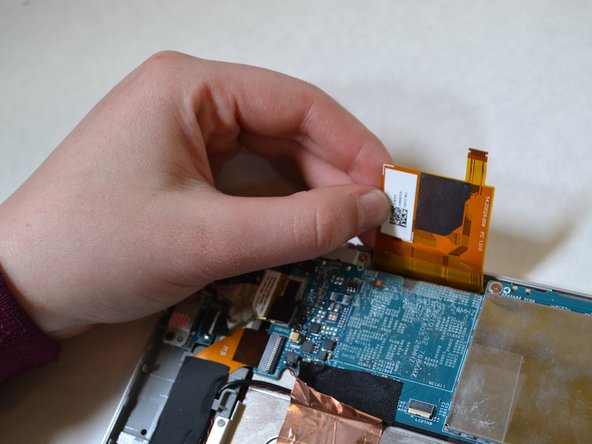

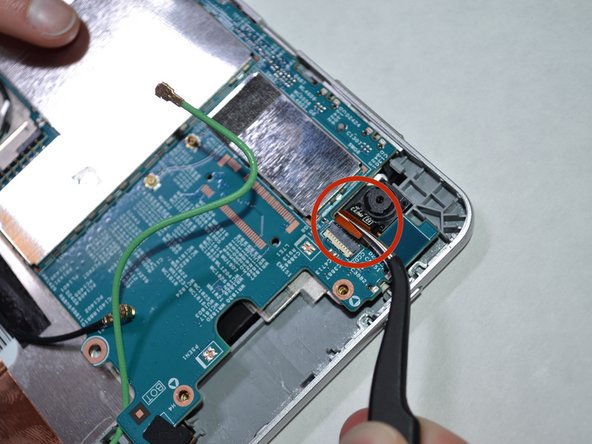
– Let’s get started! Carefully slide the resistor’s tail out to release it from the orange tab.
– Gently pry open the orange tab near the top left corner – it’s time to get inside!
Step 7
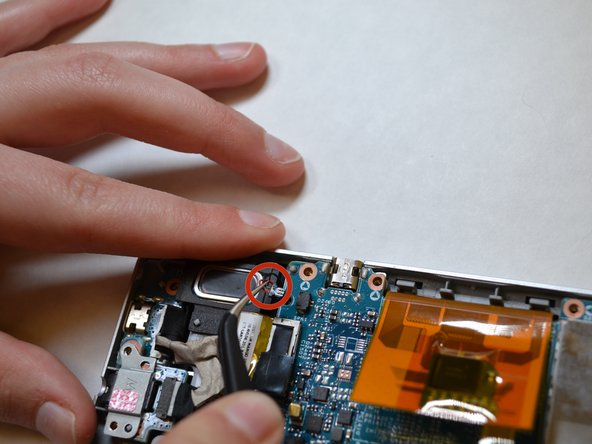

– Gently unhook all cords, wires, and resistors from the motherboard using tweezers—you’re basically the surgeon here, and this motherboard is your patient. Stay cool and precise!
Step 8

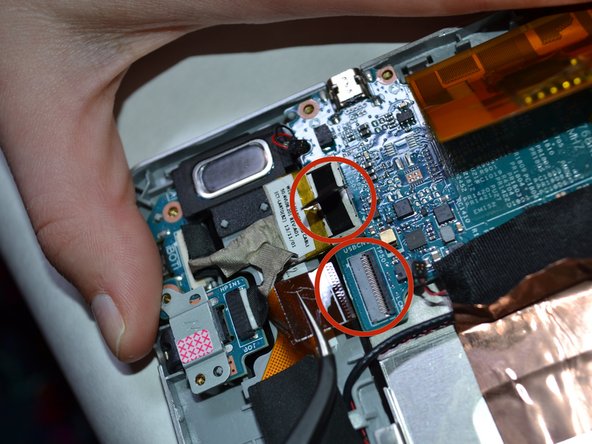
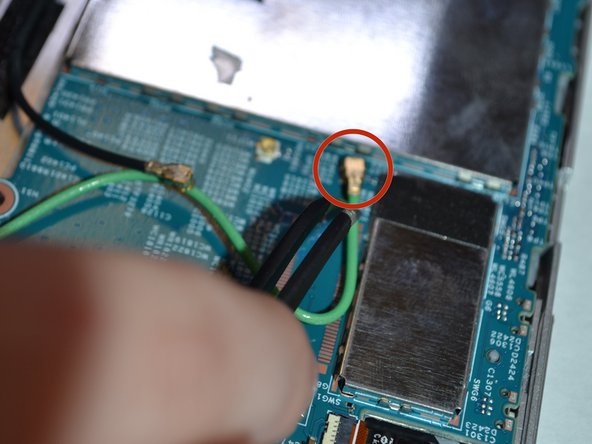
– Keep going! Gently remove all the resistors connected to the motherboard using your trusty tweezers. You’ve got this!
Step 9

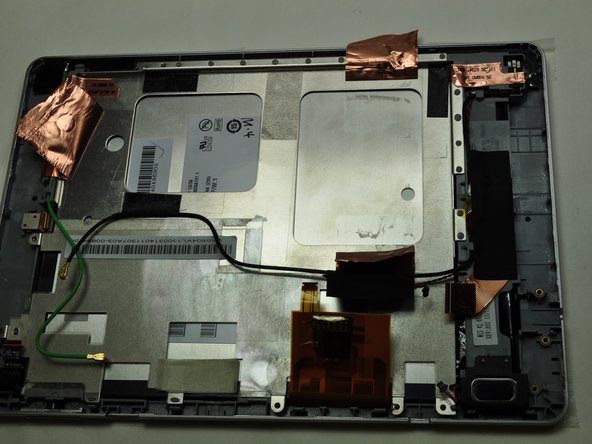
Watch out—these edges are sharper than they look! Stay mindful to keep your fingers happy.
– Carefully lift the motherboard out—think of it like removing a delicate slice of cake, but without the delicious payoff.
Step 10
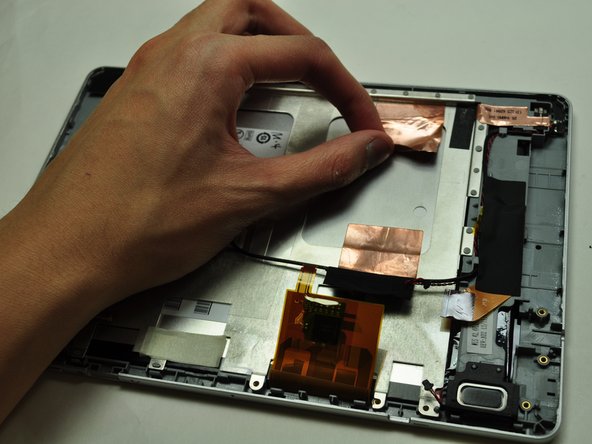

– Carefully peel up the three copper foils from the plate—think of it like lifting stickers, but way more important.
Step 11

– Time to get this repair started! Apply strips of tape to the sides of your device to keep everything in place.
Step 12
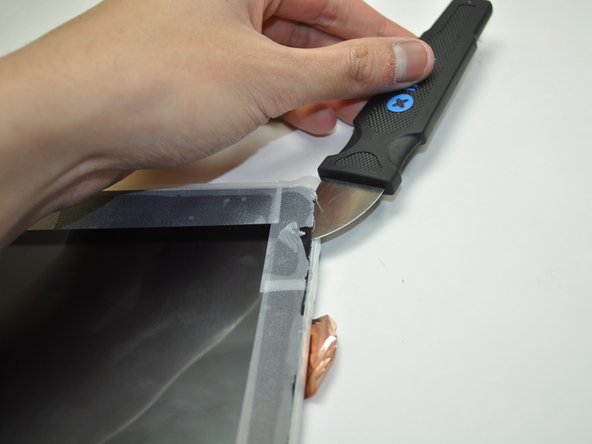

Be careful, or the screen might crack even more and make a mess with the broken pieces!
It takes a bit of determined effort to wedge deep into the screen—stay steady, you got this!
– Gently slide the Jimmy tool between the screen and the device’s body, then work your way around the entire edge. Take it slow and steady—you’re doing great!
Tools Used

Step 13

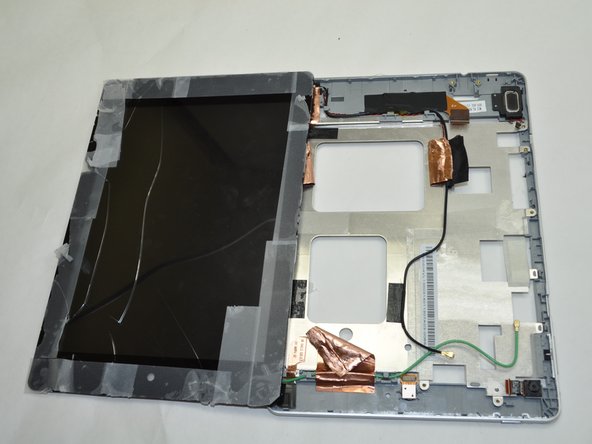

– As you grip the side of the screen, give those metal plates behind the device a little nudge to help the screen pop right out. You’re doing great!
Success!