Acer Iconia A1-830 Speaker Assembly Replacement
Duration: 45 minutes
Steps: 8 Steps
Replacing the internal speakers in your tablet is a breeze. Just make sure you keep those screws handy — you’ll need them to secure the new speaker assembly. Simple, right?
Step 1


– Get your workspace ready! A tidy, flat surface with good lighting is what you’re aiming for.
– Power down your Acer Iconia A1-830. This girl needs a nap!
– Disconnect any cables and take off any outer coverings from your tablet.
– Now, gently place it on your workspace with the screen facing up, ready for some TLC.
Step 2


– Slide the plastic opening tool into the slim gap between the white plastic front bezel and the aluminum back panel—like a pro squeezing into a packed elevator, but less awkward.
– Avoid the top edge near the front-facing camera. Trust me, it’s better left untouched!
Step 3


– Gently pry off the tiny clear plastic cover sitting atop the battery cable using your trusty nylon or metal spudger. You’ve got this!
Tools Used

Step 4

– Gently lift the battery cable using the pointy end of the black nylon spudger—no heavy lifting required!
Tools Used
Step 5


Take your time here—avoid poking the battery like it’s a piñata. Steady hands win the day!
– Gently wiggle the black nylon spudger to release the battery from its snug little home against the metal plate. You’ve got this!
Tools Used
Step 6
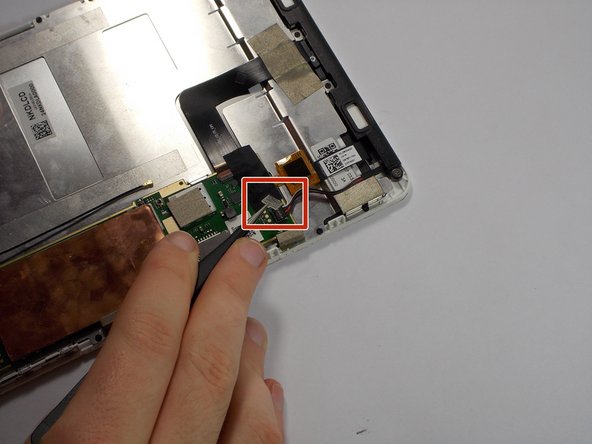
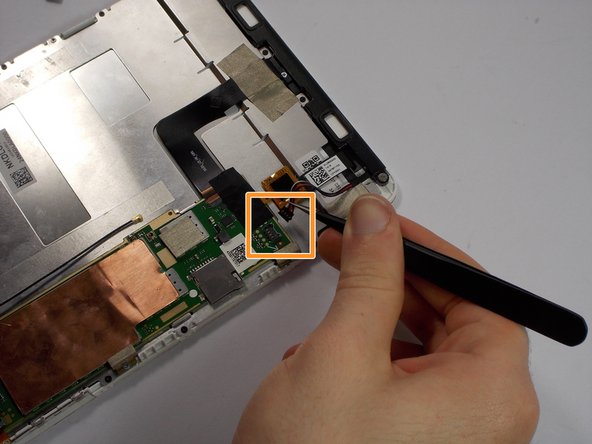

– Gently lift off the small clear plastic cover from the speaker connector with the help of those trusty metal tweezers.
– Carefully pull out the speaker connector using your metal tweezers. Steady hands make all the difference!
Step 7

– Let’s kick things off by unscrewing those two 2.8 mm Philips #00 screws with your trusty #000 sized Philips screwdriver. You’ve got this!
– Next up, it’s time to tackle the 3.7 mm Philips #000 screw. Grab your #000 size Philips screwdriver and give it a twist!
Step 8

– Gently lift the speaker assembly out of its cozy little home in the plastic frame.
Success!