Acer Iconia A100 Light Sensor Replacement
Duration: 45 minutes
Steps: 12 Steps
Get ready to tackle the replacement of the Light Sensor Module on your Acer Iconia Tab A100 with this easy-to-follow guide. Let’s make this process smooth and enjoyable, step by step!
Step 1

In total, you’ll find four side pieces waiting to be tackled.
– Kick things off by picking any side of your tablet to start with!
– Grab your trusty plastic opening tool and gently pry apart the tablet along its edges.
– Keep moving around the tablet, taking it apart like a pro!
Step 2

– Let’s get started! Remove the five 4 mm screws from the edges of the tablet using a Phillips #00 screwdriver. Take your time and make sure they’re all out before moving on to the next step.
Tools Used

Step 3

– Gently pop off the back panel of the device with a plastic opening tool—it’s all about finesse, not force!
– Don’t forget to work your magic around the entire edge of the tablet for a clean release.
Step 4

– Flip the tablet over, making sure the battery is facing up, ready for action!
– Time to unscrew! Carefully take out the four 4mm screws that are hanging out around the battery.
Step 5


Keep that water away from your device while you’re removing the battery! A dry workspace is key.
Take it easy when removing the battery—go slow and steady. Watch out for those wires! A little extra care now will save you a lot of hassle later.
– Grab a plastic spudger or opening tool and gently nudge the connector head out of its socket. Take it easy, no need for force!
– Carefully use your fingers or the flat side of a plastic opening tool to lift the battery off the device. A little wiggle should do the trick.
Step 6

– Carefully lift off any tape that’s holding the FPC snug against the main plate. You got this!
Step 7


While the metal spudger makes an appearance, it’s really best to roll with a plastic spudger or opening tool when you can. Save the metal one for when you’ve got no other choice—it’s a backup player, not the star of the show!
Look for the yellow strip on the metal base—it’s your guide to the FPC location!
– First things first, find those two connectors hanging out at either end of the FPC. They’re waiting for your attention!
– Now, grab a spudger tool or, hey, even your trusty fingernail. Gently nudge each connector straight up out of its cozy socket. Once they’re free, you can smoothly remove the FPC cable from the unit. Easy peasy!
Tools Used

Step 8

If you’ve got the gray 3G Antenna wire hooked up to your I/O Board, it’s time to unclip it. But hey, if that wire is already taking a break and is disconnected (like in our little buddy here), just gently move it out of the way. You’ve got this!
– Spot the L-shaped I/O Board—it’s your first mission.
– Find that gray 3G Antenna wire—like a hidden treasure!
Step 9

The spudger in the picture is just hanging out, helping us keep track of the disconnected mic cable head. It’s a handy little buddy for this step!
– Find the microphone cable. It’s usually pretty easy to spot.
– Gently unplug it from its socket using just your fingers – no need for any fancy tools here!
Step 10


Just a friendly reminder: lift up on the tiny retaining flap of the connector, not the connector itself!
Say hello to the ZIF (zero insertion force) connector—it’s as low-effort as it sounds! No arm wrestling required to plug it in or pop it out. Smooth, easy, and stress-free, just how we like it.
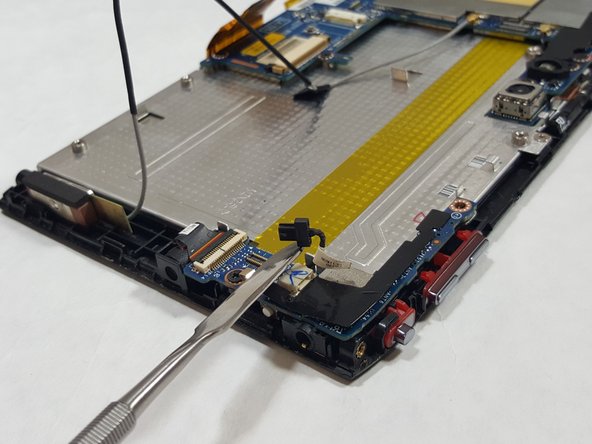
– Find the light sensor connector—your mission begins here.
– Grab your trusty Phillips #00 screwdriver and remove the lone 3.0mm Phillips screw hanging out next to the connector. Easy peasy!
– Time to work some magic: use the tip of a spudger or just your fingernail to gently lift and flip the tiny retaining flap on the connector. Boom—light sensor ribbon cable is officially free. Just slide it out like a pro!
Tools Used
Step 11


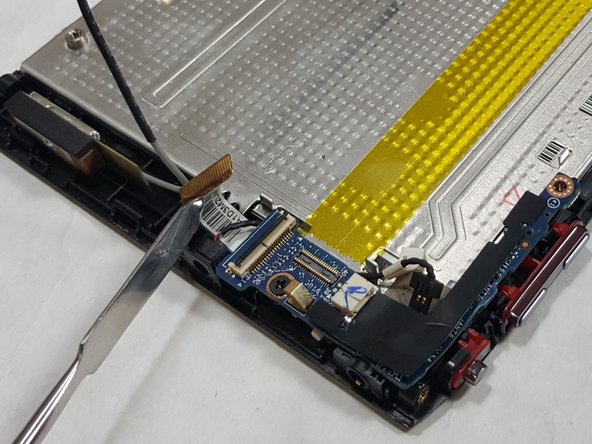
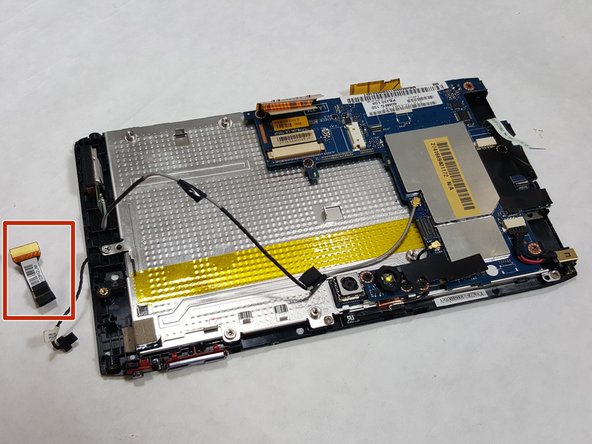
– Gently lift the I/O Board off the device. Take your time and be cautious, it’s a delicate step!
Step 12

While we’re showing off a metal spudger tool here, it’s definitely cooler (and safer) to stick with a plastic spudger or opening tool whenever you can. Save the metal spudger for those rare moments when nothing else will do!
– Put everything back together by following the steps in reverse. You’ve got this! And hey, if you hit a snag, you can always schedule a repair.
–
Tools Used
Success!