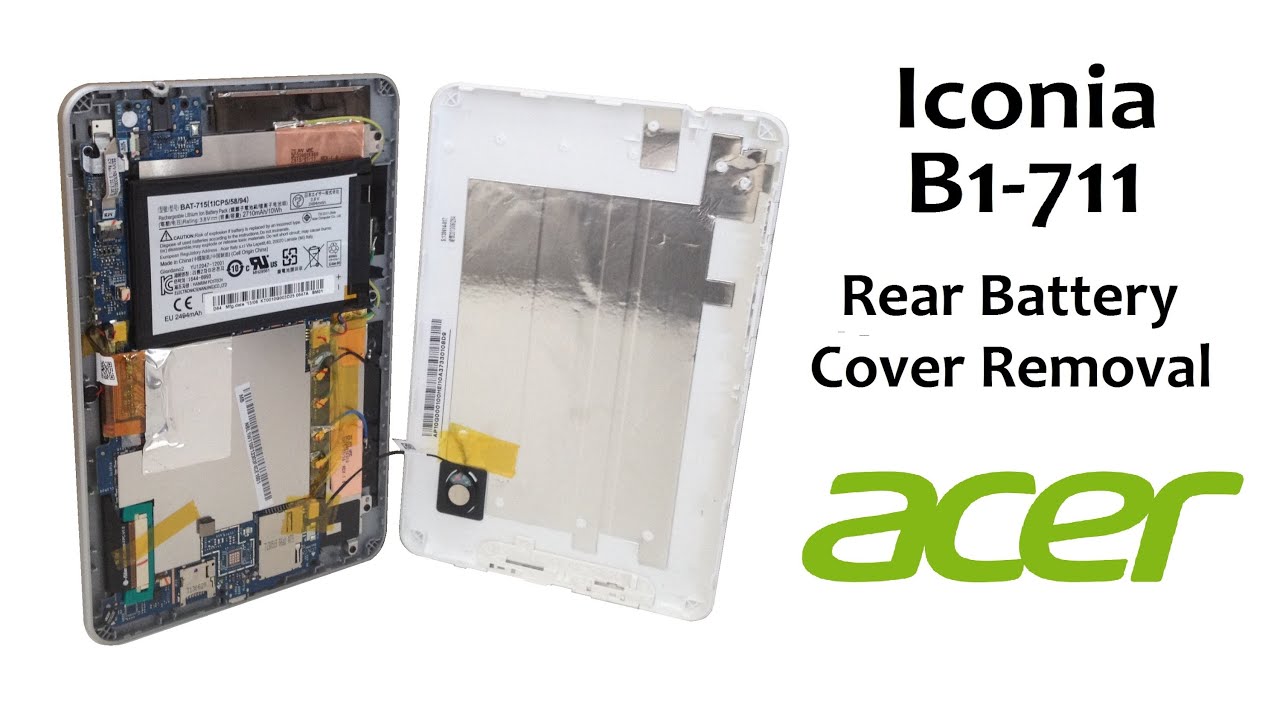
Acer Iconia B1-A71 Touch Screen Glass Replacement
Duration: 45 minutes
Steps: 10 Steps
Don’t forget to hit that subscribe button for more awesome fixes! 😊
We’re here to guide you through disassembling your tablet and swapping out that touch screen like a pro! Before you dive into a full replacement, why not give the touchscreen flex cable a little reconnect and see if that does the trick? For a handy manual, check out the Acer Iconia B1 main page. If you find yourself needing a hand, you can always schedule a repair!
Step 1


Don’t forget to pull out that memory card if you’ve got one inserted!
– Since turning off the tablet is a no-go, I’m using the reset button to get the job done.
– Grab a cutter and a trusty plastic tool to carefully pop off the back cover.
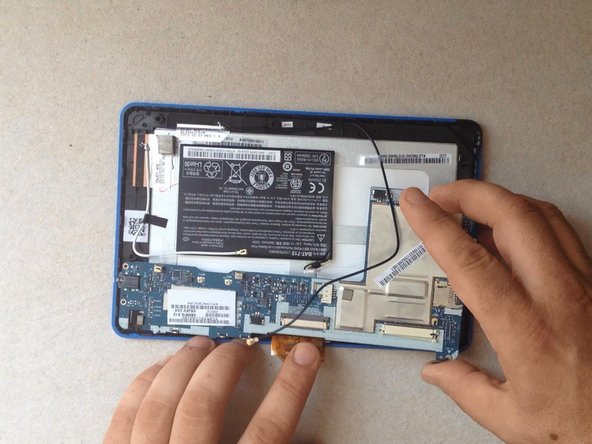
Step 2


– Alright, first things first—unplug that battery like a pro.
– Next up, gently pop off the loudspeaker and remove the back cover. Easy does it!
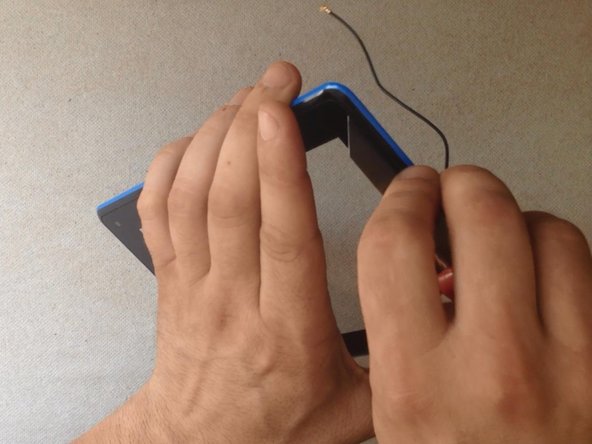
– Carefully peel off all the scotch tape and disconnect the touch screen flex cable.
– Don’t forget to also unplug the LCD display flex cable, the microphone, and those WiFi and Bluetooth antenna cables. You’re on fire!
Step 3
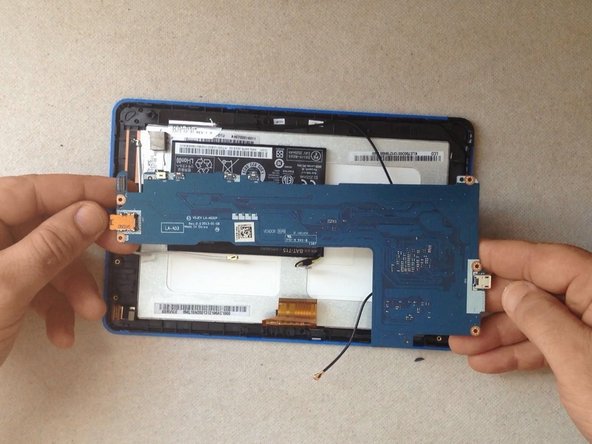

– Pop off those 5 screws and gently lift out the main board. You’ve got this!
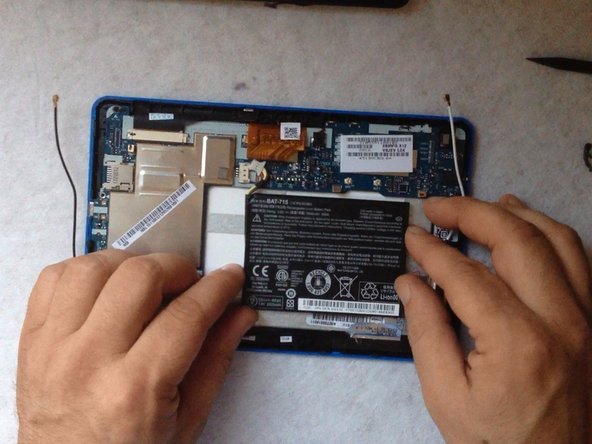
Step 4


– The battery’s taking a vacation, stuck to the LCD display metal shield with some serious double-sided adhesive tape. Time to give it a gentle nudge!
– Grab those trusty plastic tools and delicately pry it away. You’ve got this!
– Next up, say goodbye to all that tape clinging onto the LCD display metal shield. It’s time for a clean slate!
Step 5


You have to work slowly so as not to break the display.
– The LCD display is snugly held in place by a metal frame and some clever locking clips.
– Grab a cutter and a trusty plastic tool to gently separate the LCD from its cozy home.
– Now it’s time to pop in that shiny new LCD display and reassemble your tablet like a pro!
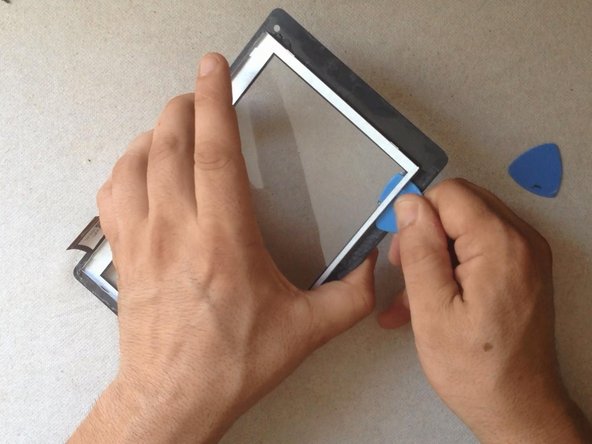
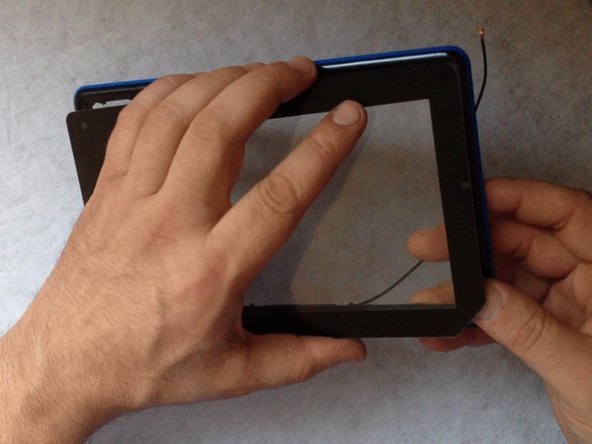
Step 6

– Let’s get this screen warmed up and ready for separation!
– Time to get started! Begin prying from one of the corners and use a cutter to create a gap for your plastic tool.
– Keep that touchscreen warm, it’ll make the separation process a whole lot easier.
– Our goal here is to preserve the frame, so be gentle and work carefully.
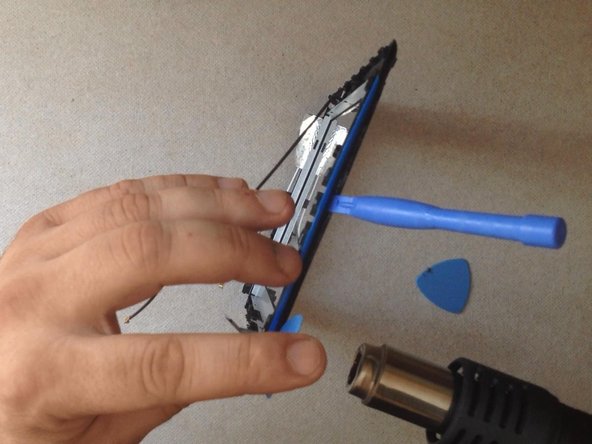
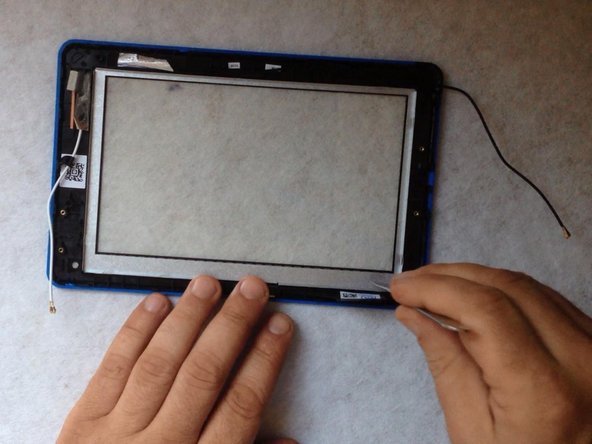
Step 7

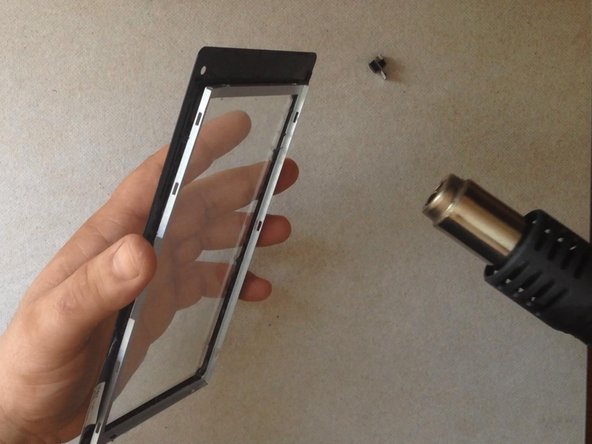
– Heat things up with your trusty hot air tool, then grab a plastic buddy to help you gently pry apart that metal screen frame/holder. You’ve got this!
Step 8


– Before you pop in that shiny new touch screen, give the frame a good clean and stick on some double-sided adhesive tape. Trust us, it’ll make your life easier.
– For the cleaning part, grab some alcohol and wipe down the frame. It’ll do the trick!
Step 9


– Once again, grab that trusty double-sided adhesive tape and secure the metal LCD frame in place. Keep it snug—like a perfectly wrapped burrito!
Step 10

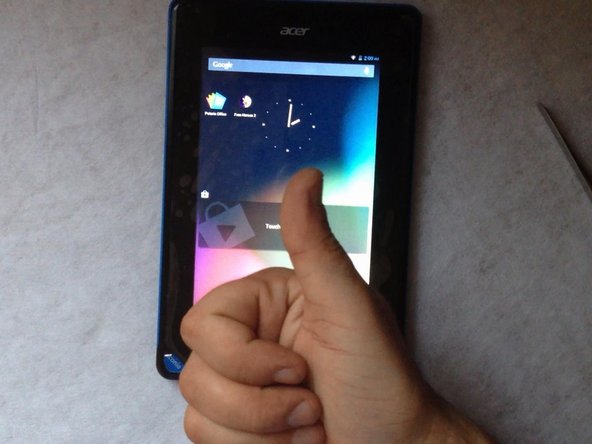
– Put your device back together by following these steps in reverse—it’s like rewinding a fun DIY movie!
– If you need help, you can always schedule a repair.
Success!