Acer Iconia One 10 B3-A30 Repair Power Switch Replacement
Duration: 45 minutes
Steps: 10 Steps
Once you’ve successfully removed the motherboard, congratulations! You’re now in the inner sanctum of your device and can see the power switch. Grab your trusty plastic opening tool and gently carefully coax the switch out of its snug little home.
Step 1


Power down your device completely—no sneaky standby mode allowed.
– Let’s get things rolling by opening the media port cover located at the top of your tablet. It’s easier than it sounds!
– Grab your trusty Phillips #00 screwdriver and remove that tiny 1 mm screw. You’re doing great!
Tools Used

Step 2


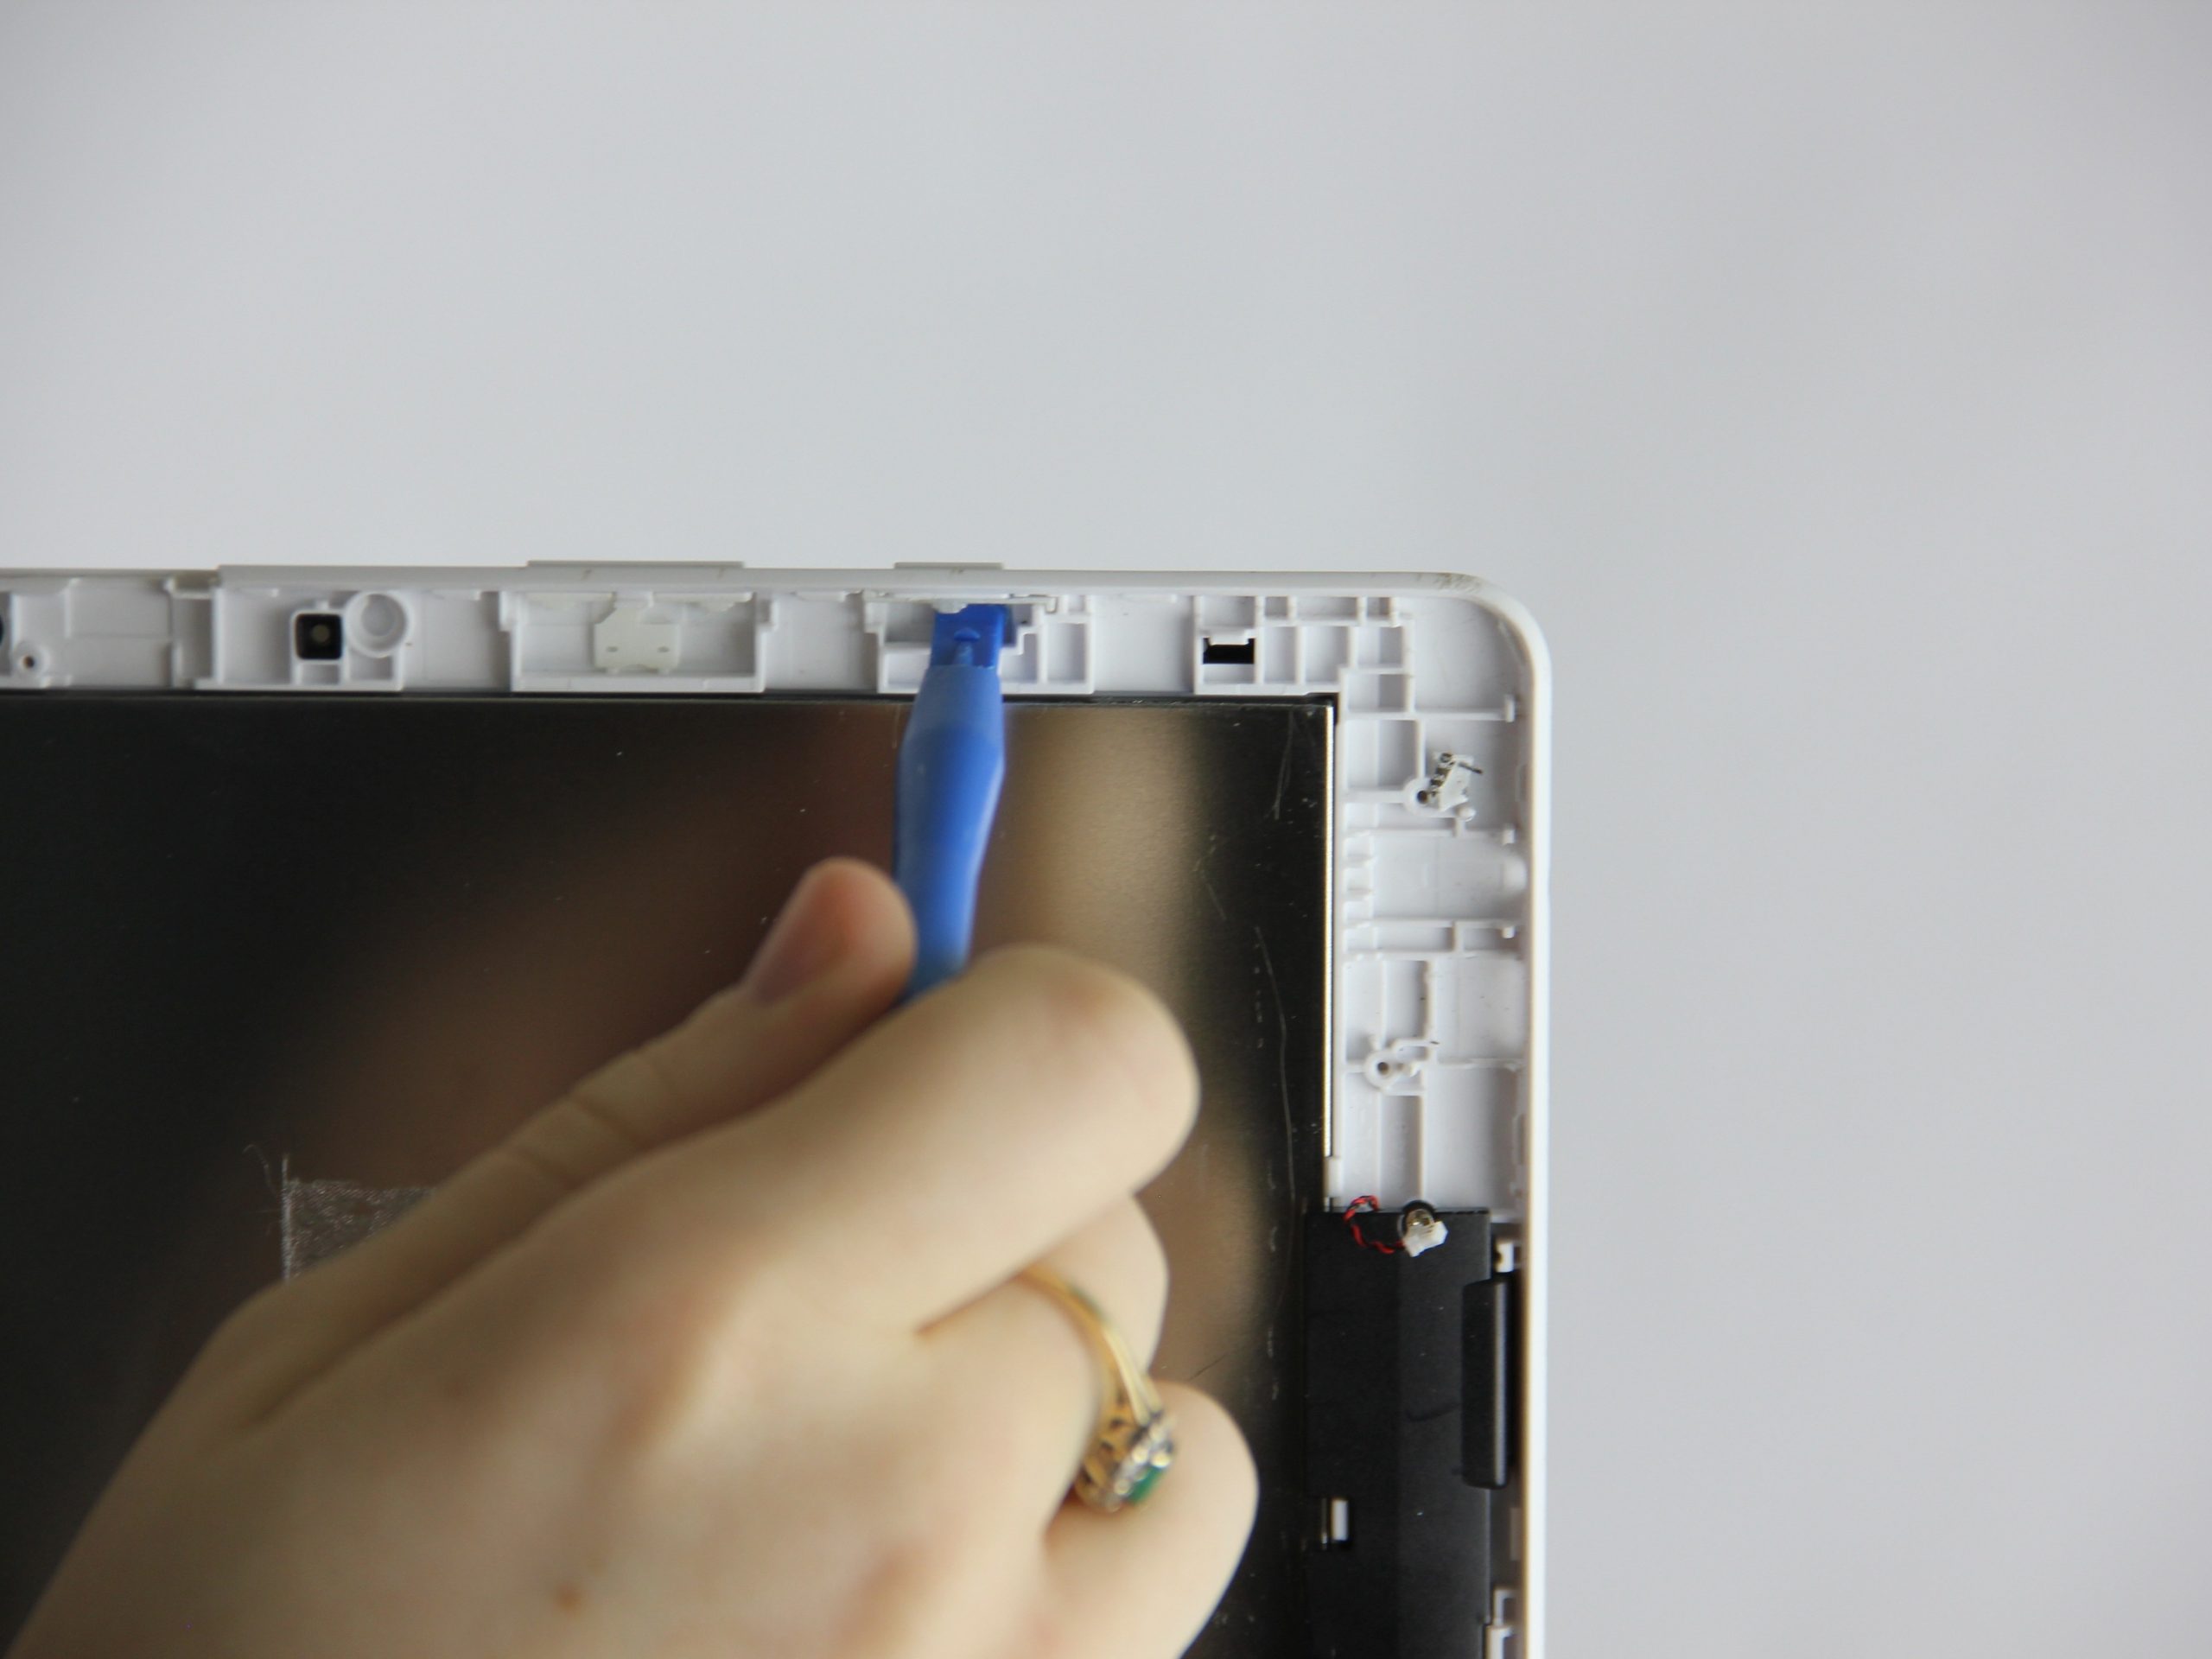
– Grab your trusty metal spudger and gently pop off that back cover—like you’re opening a treasure chest!
Tools Used


Step 3

– Peel away that little patch of grey tape! Let’s get the party started!
Step 4


– Disconnect the connection cord from the motherboard.
Step 5


Handle that battery like it’s a precious gem—no poking or bending, please!
– Give those blue tabs a gentle pull to see if the battery will pop out. If it’s being stubborn, grab the black plastic spudger and carefully wiggle it to break the glue’s grip underneath. Once you’ve loosened it up, you should be able to lift the battery right out!
Tools Used
Step 6
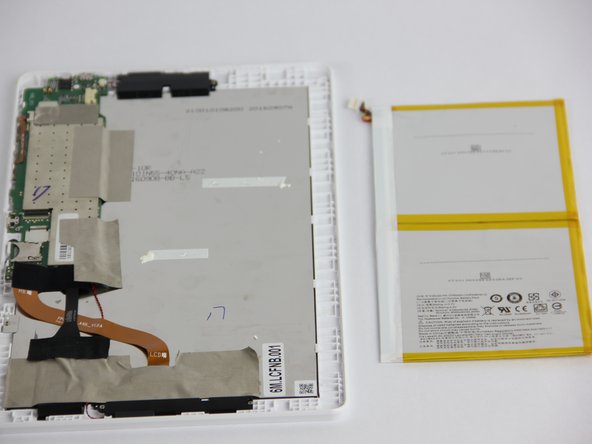
– Carefully peel away all the tape wrapped around the motherboard—like unwrapping a gift, but with a little more precision.
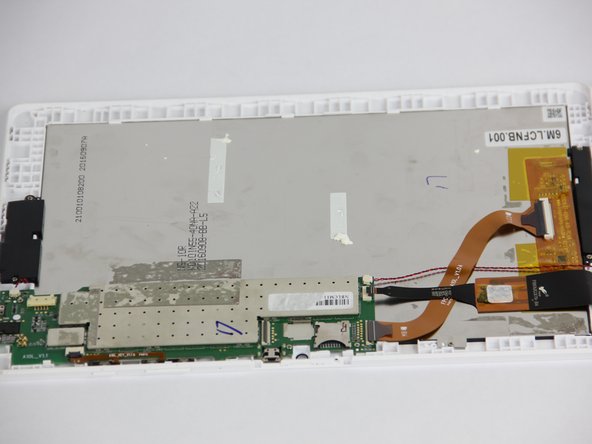
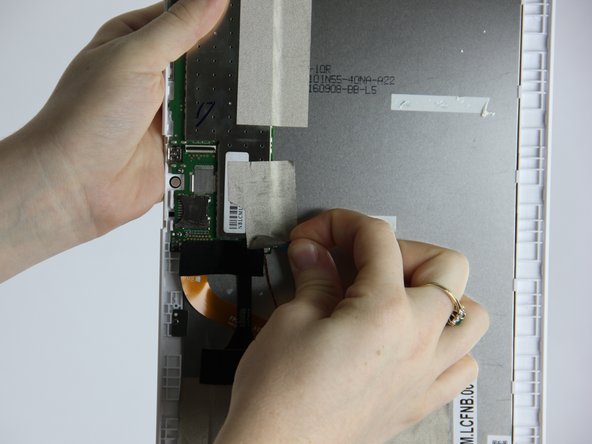
Step 7
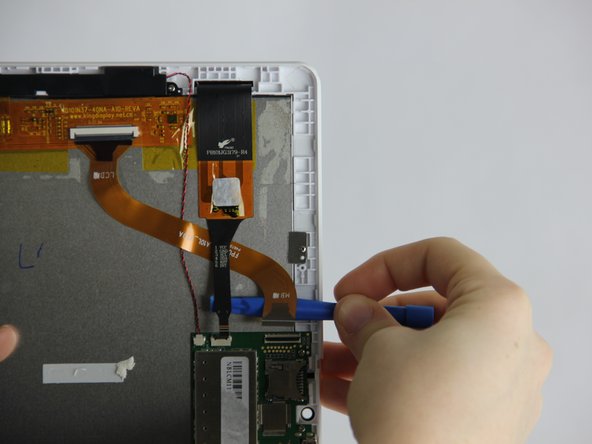

– First things first! Grab that trusty plastic opening tool and gently pry at the two large connections. Give them a little pop and watch them come free like magic!
– Next up, let’s tackle those two smaller cords—one is black and the other is red. Simply disconnect them from the motherboard, and you’re making progress!
Step 8

– Gently peel off that little square sticker to uncover a sneaky screw hiding underneath. Grab your Phillips #00 screwdriver and let’s twist that screw out!
– Now, with the same trusty screwdriver, let’s tackle the other three screws on the motherboard. You’ve got this!
Tools Used
Step 9


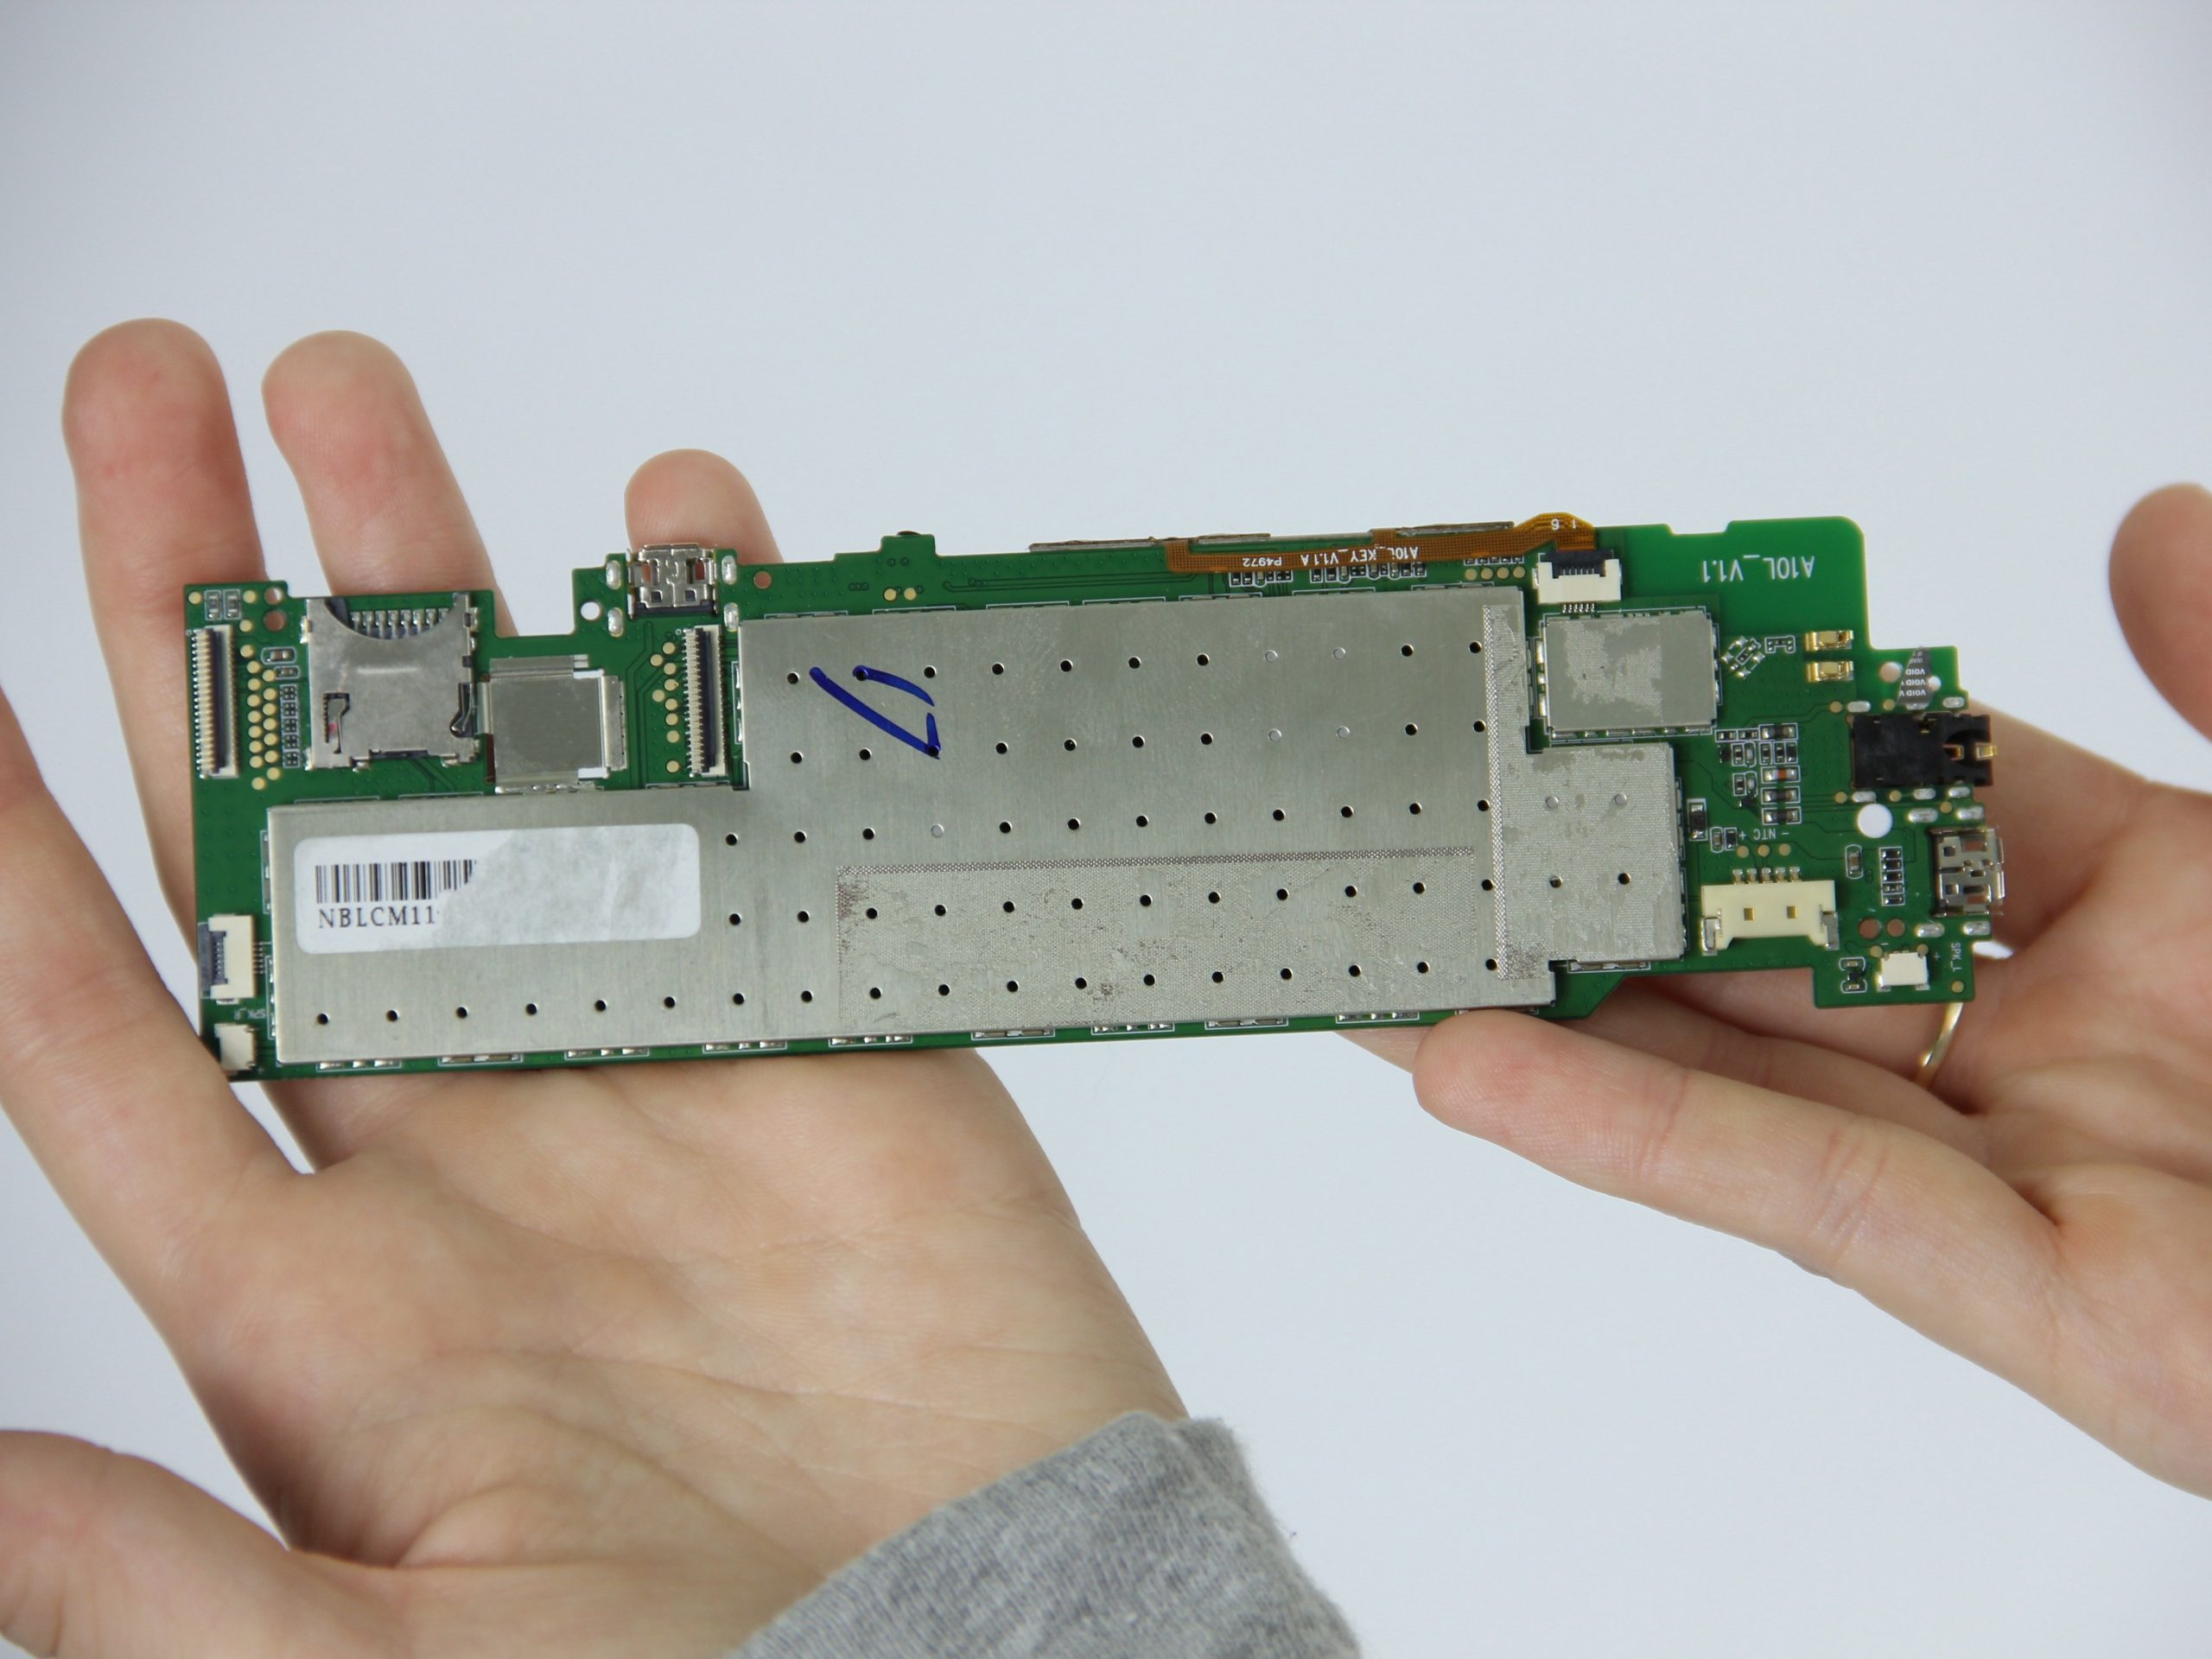
– Time to get this motherboard out! Use that handy little plastic tool to carefully pry it out of the device. Take your time and be gentle, we don’t want any damage in there!
Step 10


– Now, to put everything back together, simply reverse the steps you followed. It’s like a puzzle, but with fewer pieces. Take it slow, and you’ll be back up and running in no time!
– Remember, if you hit a tough spot or just want a hand, feel free to schedule a repair. We’re always here to help.
Success!