Acer Iconia One 7 Battery Replacement
Duration: 45 minutes
Steps: 5 Steps
The battery is a vital component of the Acer Iconia One 7, powering the whole device. When you’re swapping out the battery, be cautious—puncturing it can be risky business! Dismantling the battery without the right safety measures could be harmful to your health. So, let’s make sure to power down the device before diving into this repair adventure!
Step 1

– Start by gently prying apart the front and back of the tablet from any side. Take your time and smoothly work your way around the edges using your trusty prying tool. Remember, patience is key!
Step 2

– Grab your trusty plastic opening tool and gently pry the back cover away from the main device.
– Keep it going on each side until you’ve successfully unlatched all of them!
Step 3

– Flip the tablet over so the battery side is facing up.
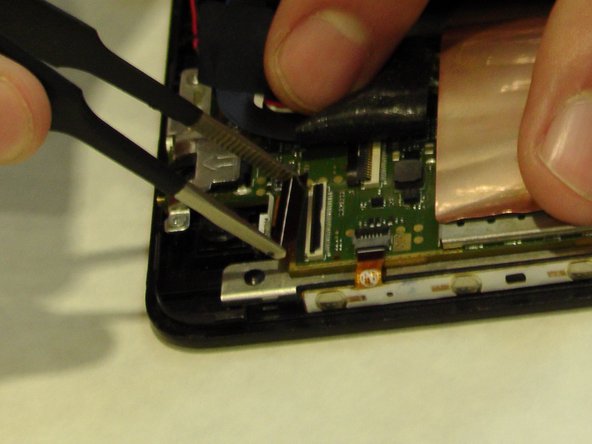
Step 4


– Gently peel back the black tape that’s keeping the battery lead connector all snug.
– Using your trusty plastic opening tool, give the wire a little nudge upwards to disconnect it from the board.
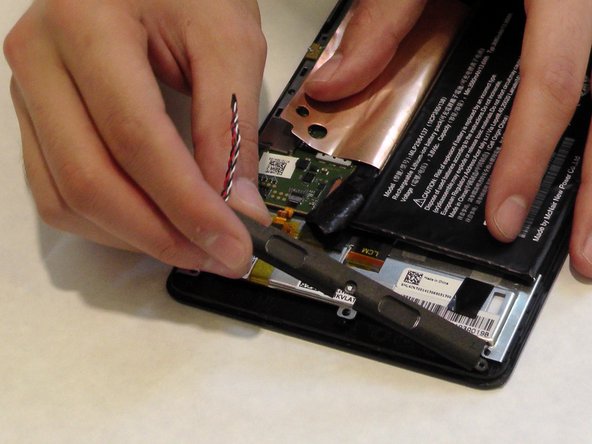
Step 5


Avoid using a metal spudger like the ones in the example photos. Grab a plastic card instead to keep your battery safe and sound—no bending or rupturing allowed!
– Grab a trusty plastic card or an opening pick and gently pry the battery away from the rest of your device.
Success!