Acer Iconia One 7 Motherboard Replacement
Duration: 45 minutes
Steps: 9 Steps
Tablet motherboards can be pretty fragile, and sometimes they just need a little TLC – or a full-on replacement. Don’t worry, we’ve got you covered. This step-by-step guide will walk you through the process of swapping out your tablet’s motherboard with a new one. Just remember, this requires some special tools and techniques, so take your time and follow along carefully. If you get stuck, don’t stress – we’re here to help.
Step 1
– Before you dive in, make sure to power down your tablet – safety first!
Step 2

Take your time and be careful when popping the lid open—it’s easy to accidentally scuff up your tablet, and nobody wants that.
– Kick things off on any side of the tablet you fancy!
– Grab your trusty plastic opening tool and gently start prying apart the back cover by sliding along the edges. You’re doing great!
Step 3

– Grab your trusty plastic opening tool and gently work your way around the back cover, letting it pop off from the main device like a well-earned victory lap!
– Keep that momentum going by opening each side continuously to ensure you’ve liberated all sides. It’s like giving your device a nice, refreshing stretch!
Step 4

– Flip your tablet over like a pancake! Place it on a sturdy surface with the screen facing down. Now, take a moment to find the shiny copper cover hugging the edge of your tablet.
Step 5

– Gently lift the copper foil to uncover the motherboard underneath.
Step 6

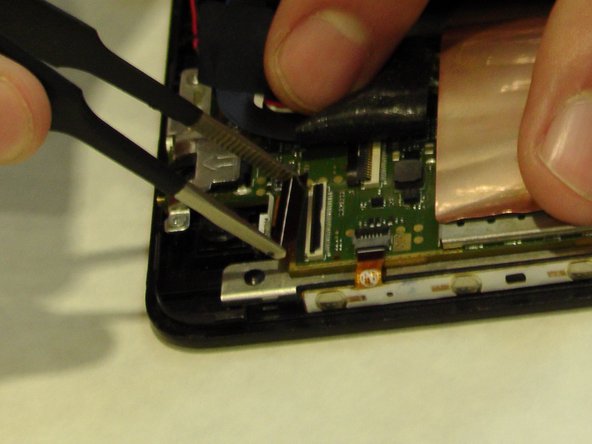
– Gently peel back the tape to reveal the connections—think of it like unwrapping a mystery gift, but instead of surprises, you get circuit access!
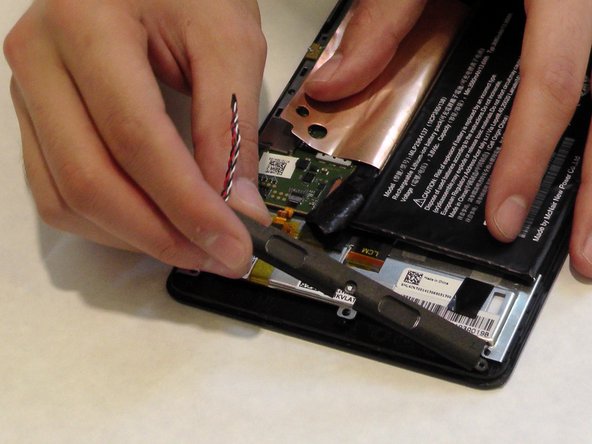
Step 7


– You’ll find a bunch of wire sets connected to the motherboard, just like in the images. Gently detach each of these wire sets with care.
Step 8

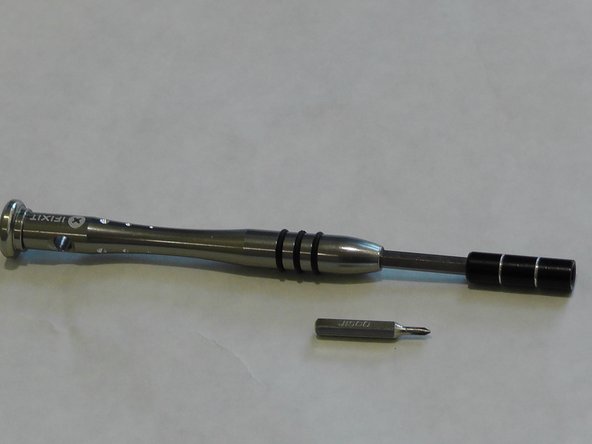
– Grab your trusty JIS screw bit #00 and get ready to tackle those screws around the motherboard. Take a gander at the provided image to figure out where each screw is hiding, then get to work removing them.
Step 9

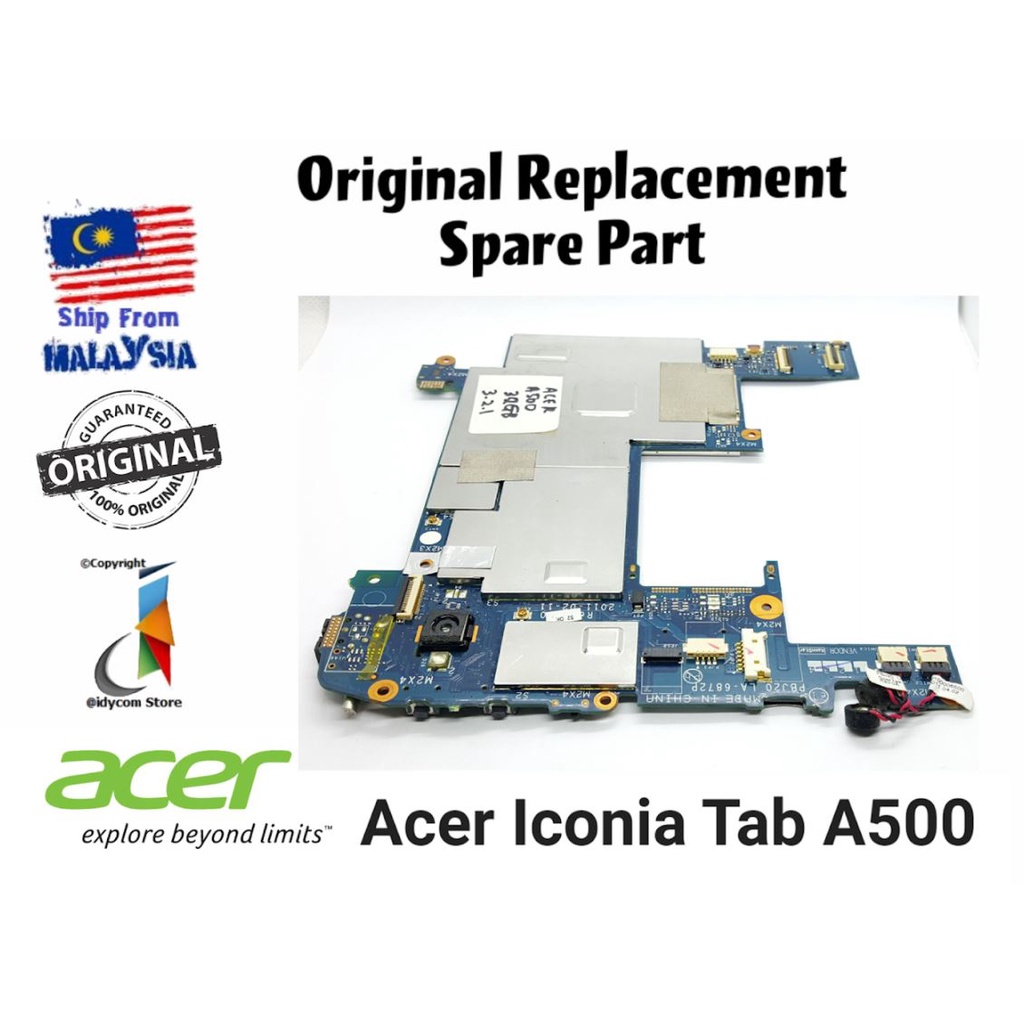
– Carefully ease the motherboard out, giving it a gentle tug. You’ve got this!
Success!