Acer Iconia One 7 Speaker Replacement
Duration: 45 minutes
Steps: 5 Steps
The speaker is a key player in the Acer Iconia One 7, making sure you get your notifications and enjoy some sweet sound. It might look tough, but don’t be fooled—this little guy is actually pretty delicate. So, when it’s time for a swap, just remember to be gentle and pay attention to the details!
Step 1

Prying the lid open might take a little muscle—be careful and take your time to safely pop it open!
Power down your device for this step—it’s always better safe than sorry.
– Let’s get started on this repair – begin by choosing any side of the tablet to work from.
– Grab your trusty plastic opening tool and carefully start prying the back cover away from the tablet, working your way along the edges.
Step 2

– Grab that trusty plastic opening tool and gently wedge it between the back cover and the main device—it’s your key to freedom!
– Work your way around each side steadily, ensuring all edges are fully detached. Slow and steady wins the race here!
Step 3

In addition to the parts listed in the instructions, be sure to keep your hands steady and avoid any delicate components inside the device. We want everything to stay in one piece!
– Flip your tablet over and check out the bottom area to find the speaker.
– The speaker is cozy right there on the inside bottom.
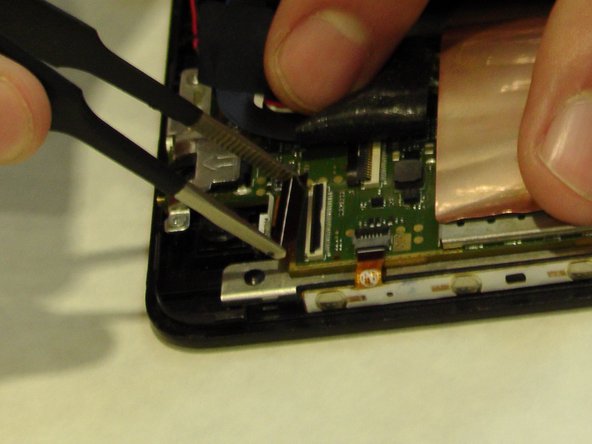
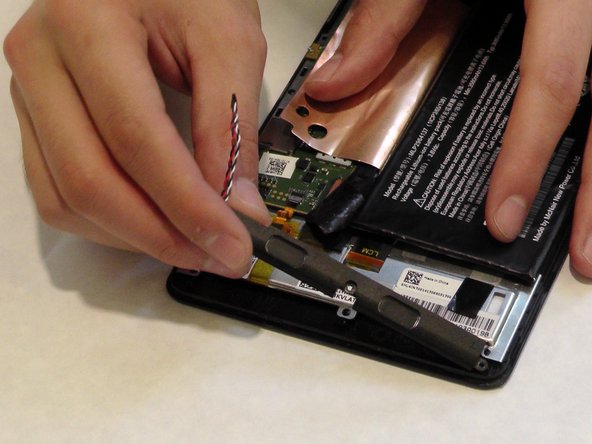
Step 4

– Gently pull back the tape—think of it as unwrapping a tiny gift.
– With steady hands and tweezers, carefully unplug the connection from the motherboard. You’re doing amazing!
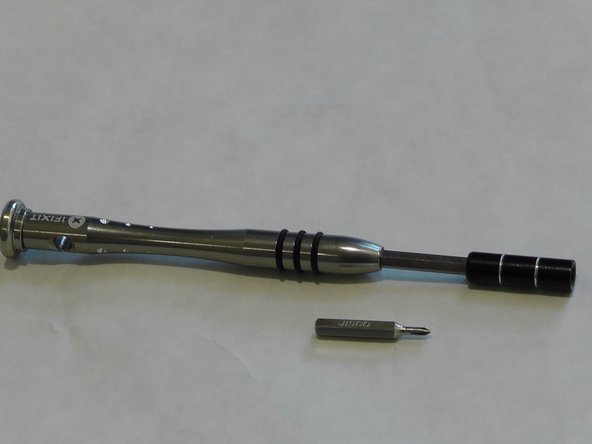
Tools Used

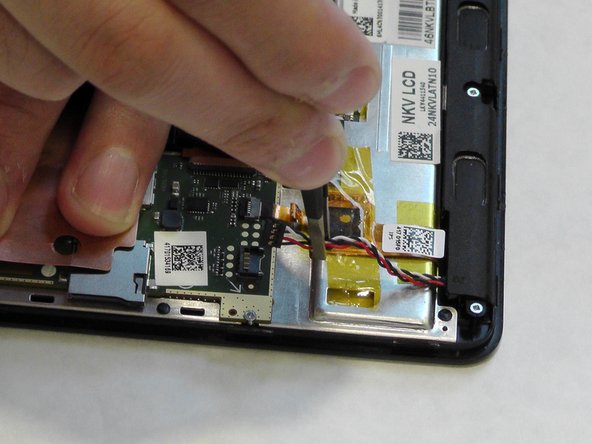
Step 5

Be careful not to nudge any other parts out of place while you’re at it.
– Now it’s time to put everything back together—just follow these steps in reverse, and you’ll be golden!
–
Success!