Acer Iconia One 8 Front Camera Replacement
Duration: 45 minutes
Steps: 11 Steps
Here’s your step-by-step playbook to swap out the front camera on your Acer Iconia One 8 (B1-850). Kick things off by shutting down the device and unplugging it from any power source—it’s always good to keep things chill before diving in!
Step 1


– Pop off the back panel to get started—it’s like opening a treasure chest, but less pirate-y.
– Slide a plastic opening tool gently between the front and back shell, then ease them apart like you’re peeling an orange. Take it slow and steady!
Step 2


You’ve got three pieces of tape to work with – 2 black ones and 1 shiny silver one.
– Gently lift off all the tape pieces shown in the picture. You’ve got this!
Step 3


Make sure there are five in total—count ’em up to be sure!
– Unplug all cables from the device. Time to say goodbye to those connections, so the repair process can flow smoothly!
Step 4


– Using your trusty Phillips #000 screwdriver, go ahead and tackle those nine 3mm screws. It’s like a little puzzle waiting to be solved!
Tools Used

Step 5

– Gently pry apart the back plate from the glass screen, just like peeling a banana—easy does it!
Step 6


– Gently detach the metal tabs securing the battery to the motherboard frame—think of it like unhooking a seatbelt before getting out of the car. Take your time and don’t force it!
Step 7


– Unplug the connector for the rear camera—it’s like untangling your earbuds, but way cooler!
Step 8

– Gently swivel the metal cover to uncover the front camera—you’re doing great!
Step 9


– Gently grab your trusty tweezers and lift the front camera off the motherboard, freeing it from the adhesive’s grip. You’ve got this!
Tools Used

Step 10


– Alright, time to flip your device back over and reveal its hidden treasures!
– Next up, gently coax the motherboard out of its cozy metallic frame by guiding those back and front camera cables through their little ports.
– And now, it’s time to say goodbye to the front camera! Carefully remove it from the device and let’s pave the way for whatever comes next.
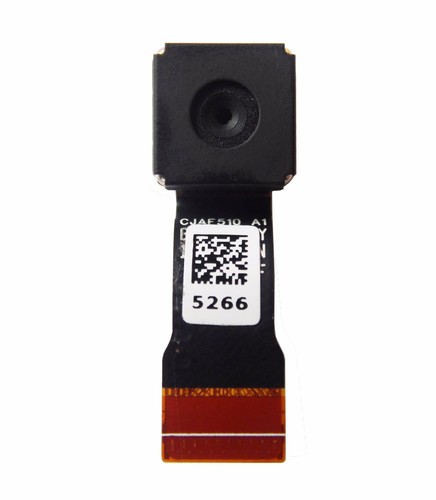
Step 11


The two cameras are held together with glue, but don’t sweat it—they can be gently separated!
– Carefully disconnect the front camera from the back camera. Let’s keep things sleek and tidy!
Success!