Acer Iconia Tab A200 Motherboard Replacement Guide
Duration: 45 minutes
Steps: 16 Steps
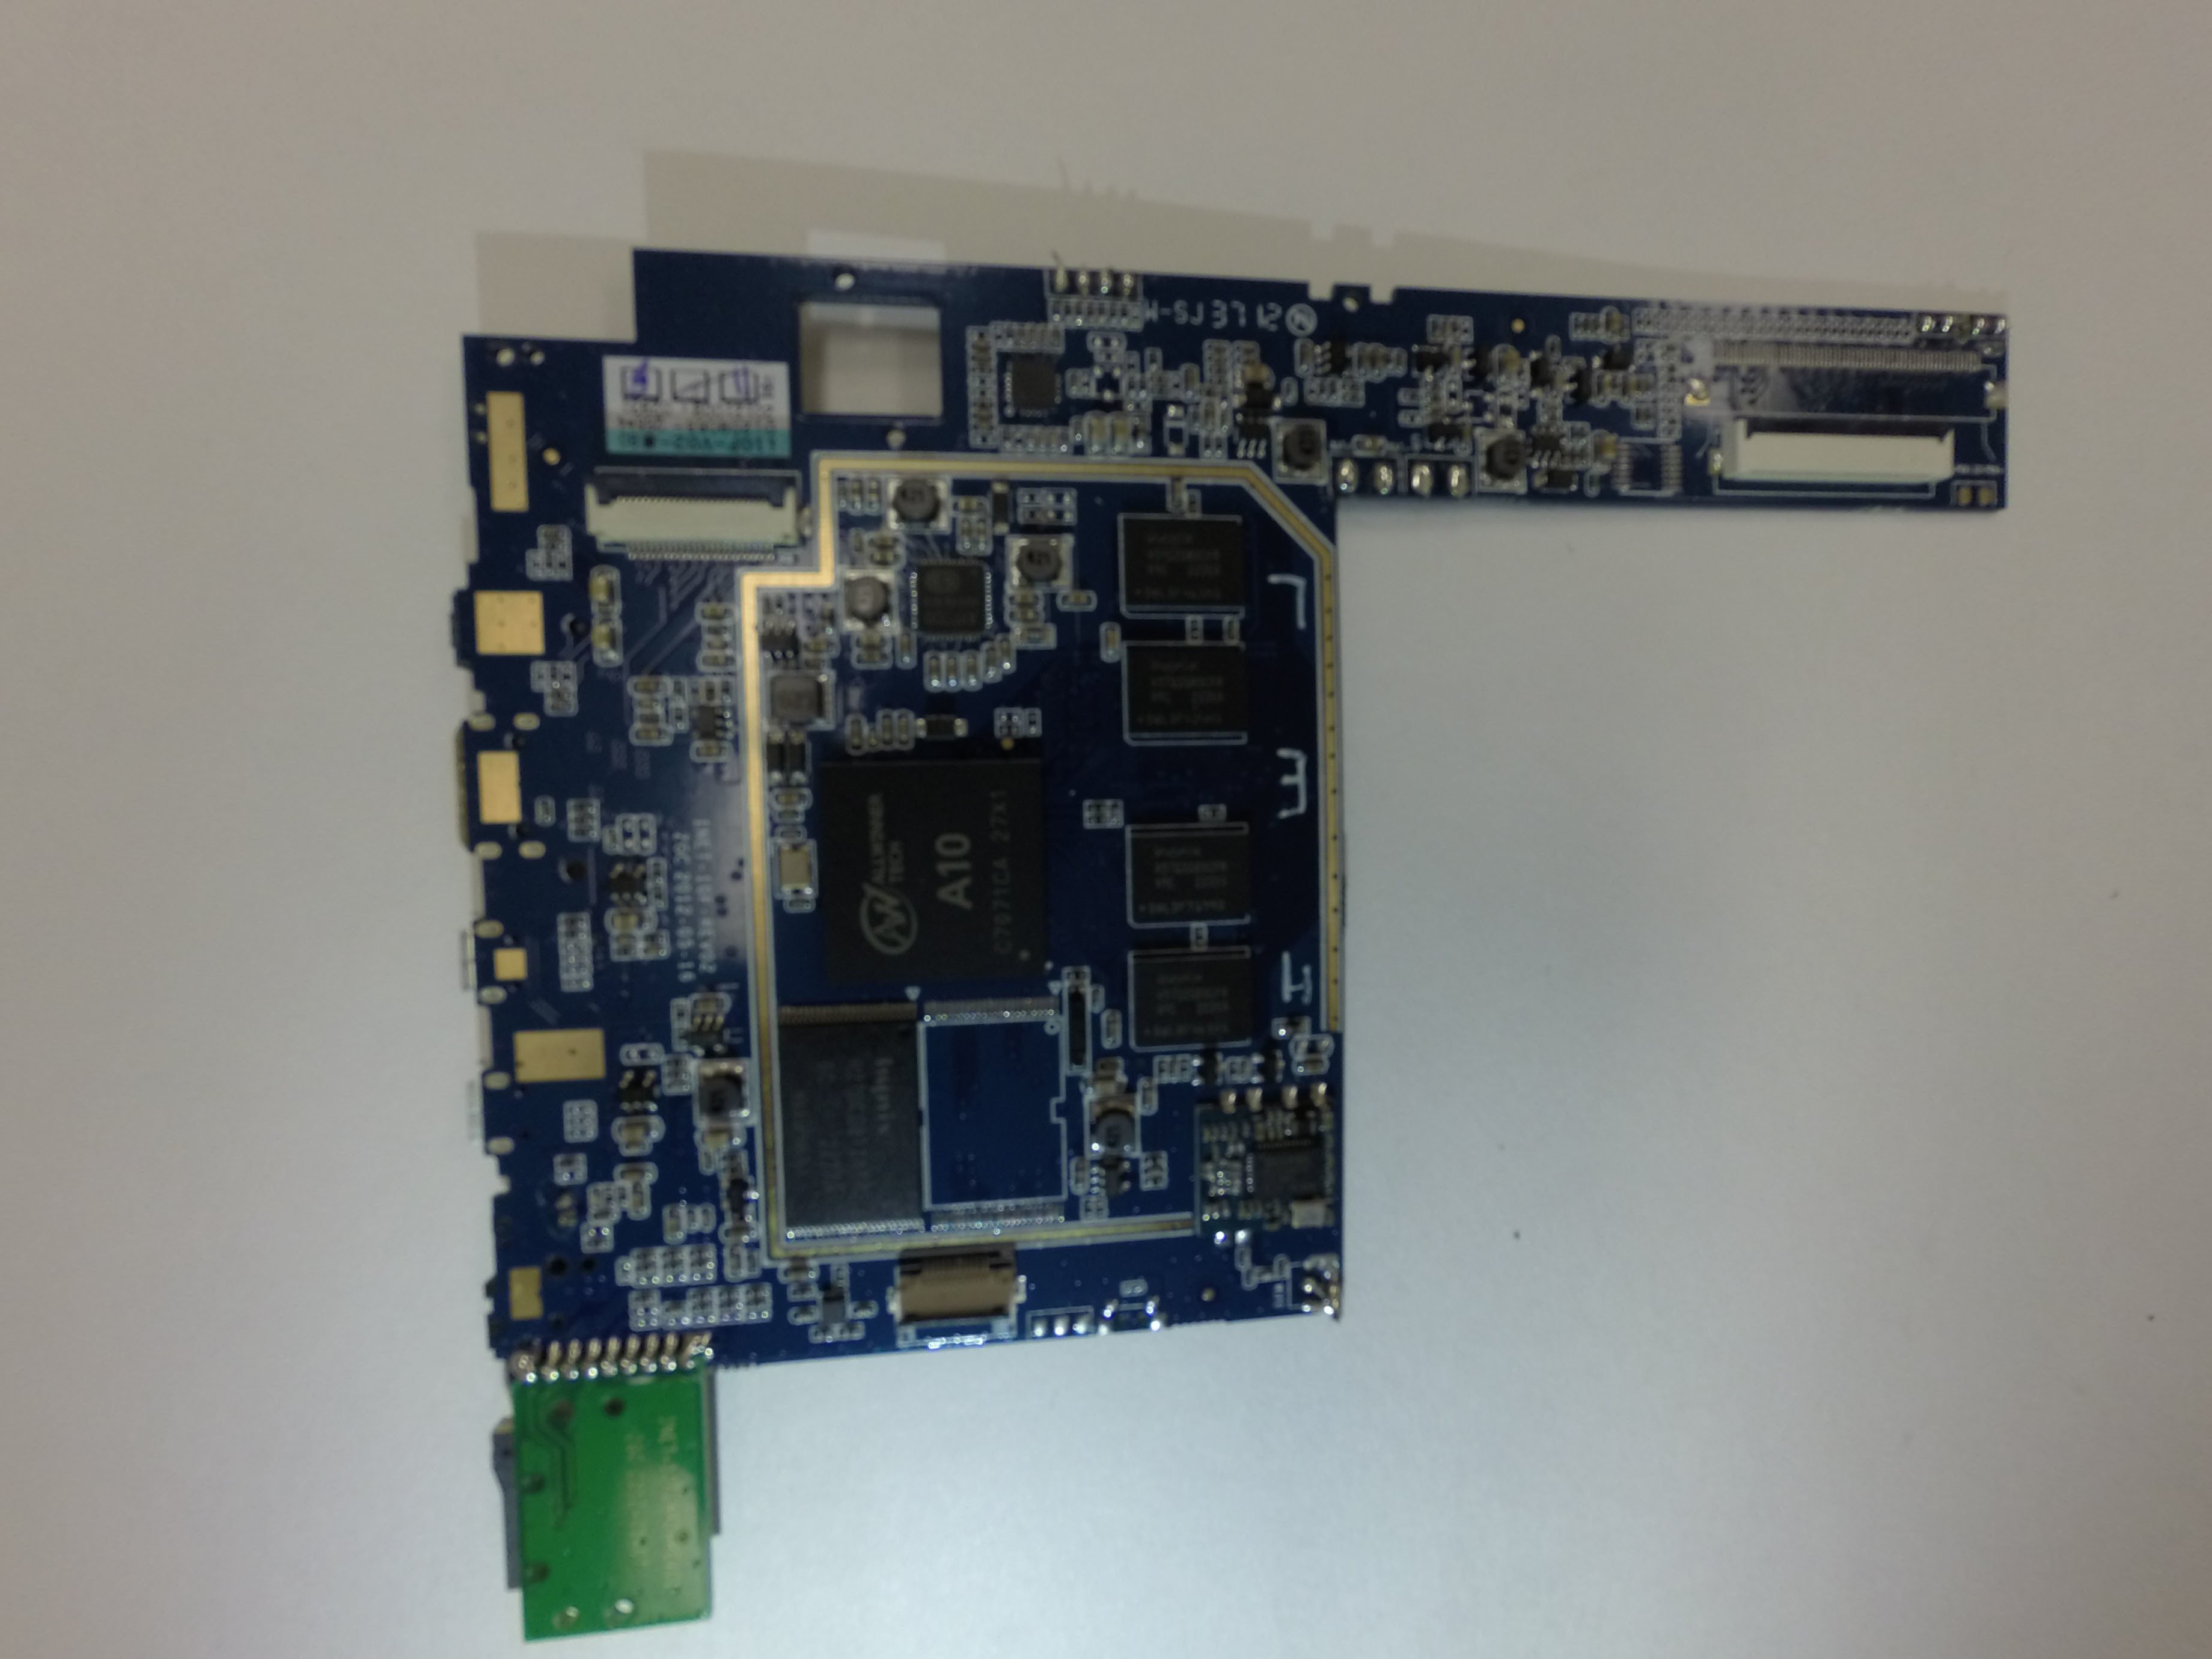
The motherboard has most of the tablet’s components, including the audio jack and micro USB port. These parts are all part of the motherboard, so swapping the motherboard means you’re swapping these too.
Step 1
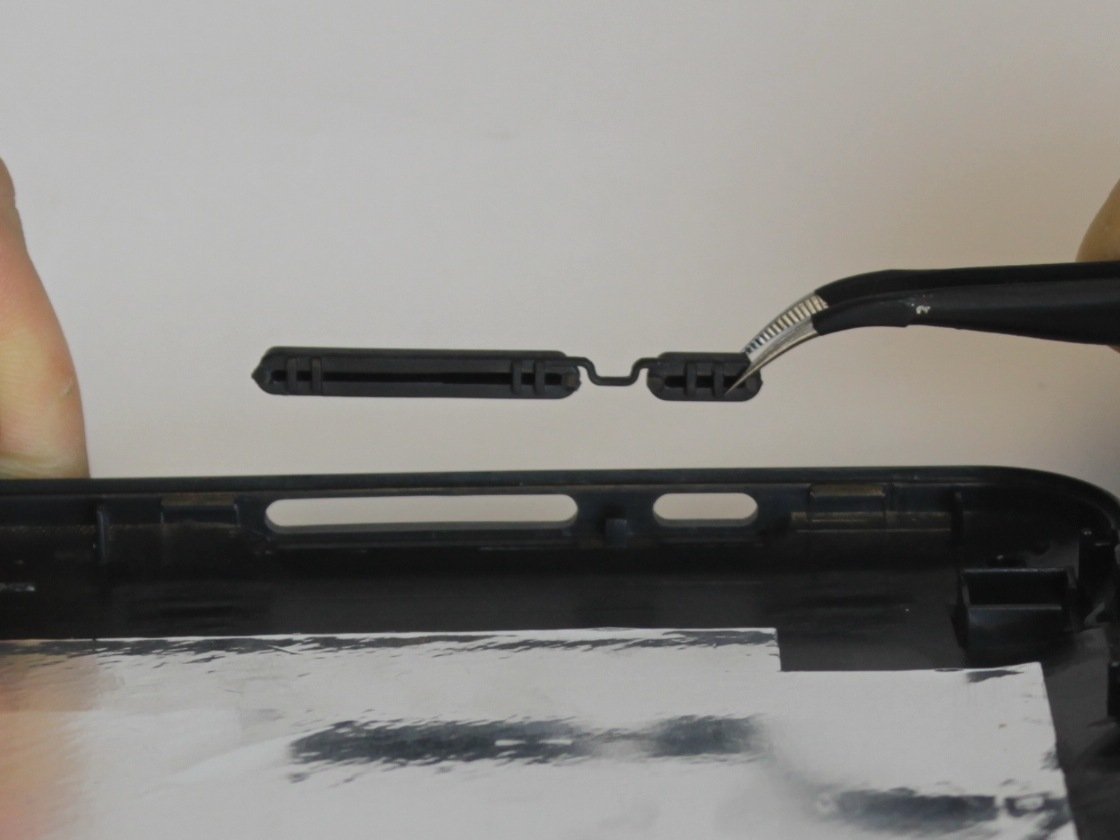
– Take your trusty plastic opening tool and gently pop off the gray plastic trim on both sides of the tablet. Easy does it—no need to rush!
Step 2
On each side of the tablet, there are two screws that you need to remove before you can pop off the back casing.
– Grab your trusty Phillips #00 screwdriver and pop those 4.0 mm screws off the tablet’s sides!
Tools Used
Step 3
Just a heads-up: when you’re prying around the sides where you took out the screws, be gentle! The plastic casing is delicate and might snap.
– Once the 4 screws are out, grab your trusty plastic opening tool and gently pry open the device from the side.
– After carefully loosening the case, take it off and set the device face down on its screen. Easy does it!
Step 4
– Let’s get started! Using a trusty Phillips #00 screwdriver, carefully remove the 4.0 mm screws that are holding the battery in place. Take your time and make sure they’re completely removed before moving on to the next step.
Tools Used
Step 5
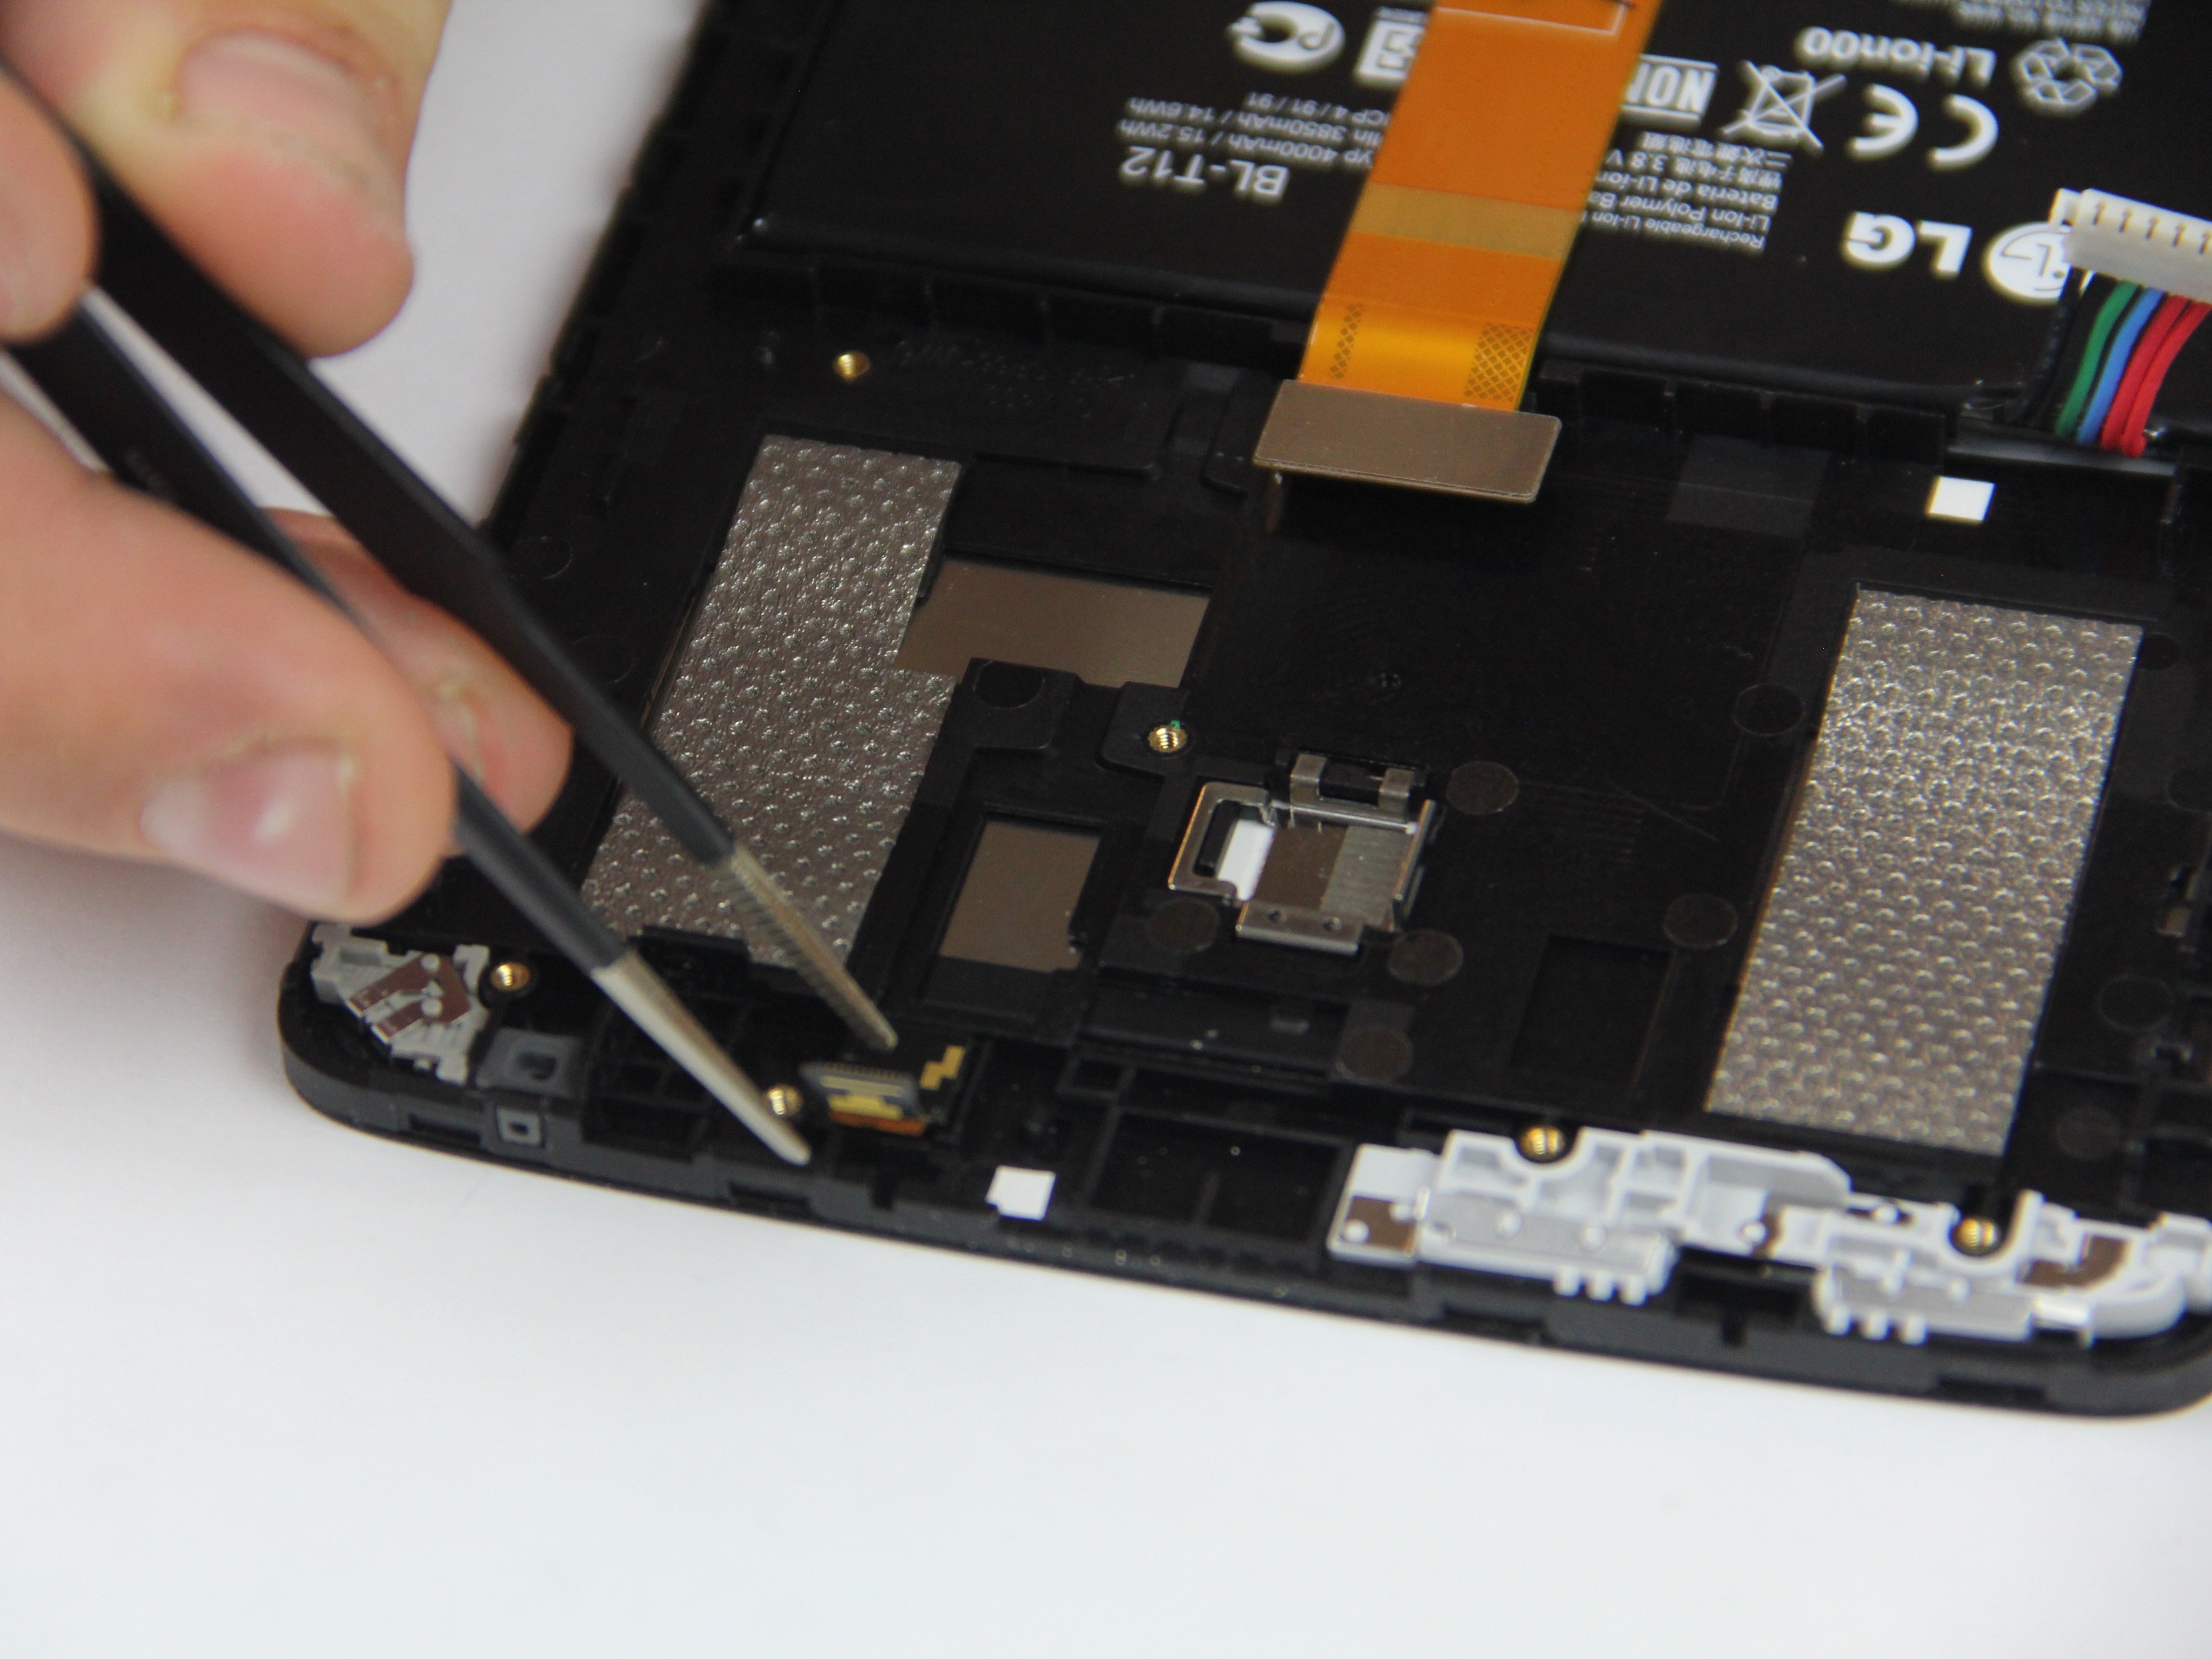
– Gently lift the battery out of your device and carefully disconnect the cable from the motherboard by sliding it to the side, not upwards. You’ve got this!
Step 6
– Time to get your hands dirty! Use a plastic opening tool to carefully pry the charging component out of its cozy slot in the case. It’s like a little liberation – set that component free!
Step 7
You might want to keep using that trusty plastic opening tool to gently lift the cord out of the case, since there’s not much room for your hands to maneuver. Keep it up!
– Keep lifting the cord gently until it’s completely free from the case and just hanging out with the motherboard.
Step 8
– Gently slide the power component out from the motherboard, making sure to pull it out horizontally. Remember, it’s all about that smooth exit—no need to yank it up by the cord!
Step 9
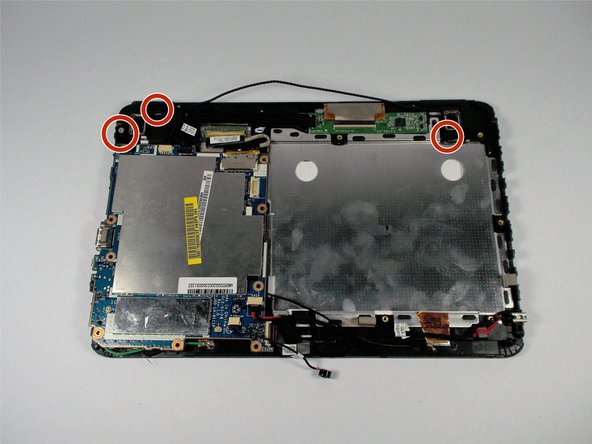
– Once you’ve popped out the battery, grab your trusty Phillips head #00 screwdriver and get ready to tackle those 3.0 mm screws that are keeping the dual speakers snug as a bug. Let’s get those speakers out and make some noise!
Step 10
– With the screws out of the way, gently lift the speakers to free them from the case.
Step 11
– Alright, once you’ve popped the speakers out of their cozy case, it’s time to unplug them from the motherboard. Gently pull the cable straight out horizontally—no yanking upwards, okay? Keep it smooth and steady!
Step 12
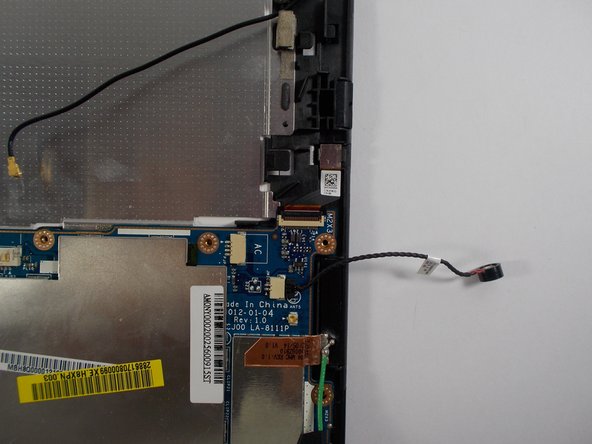
– Gently pull up on the microphone cable to free the microphone component from the case. You’ve got this!
Step 13
– Gently lift the microphone out of its spot, and slide the microphone cable straight out from the motherboard—keep it horizontal, no upward pulling allowed here!
Step 14
Just unplug the end that’s connected to the motherboard, okay? Leave that soldered end alone—it’s not going anywhere!
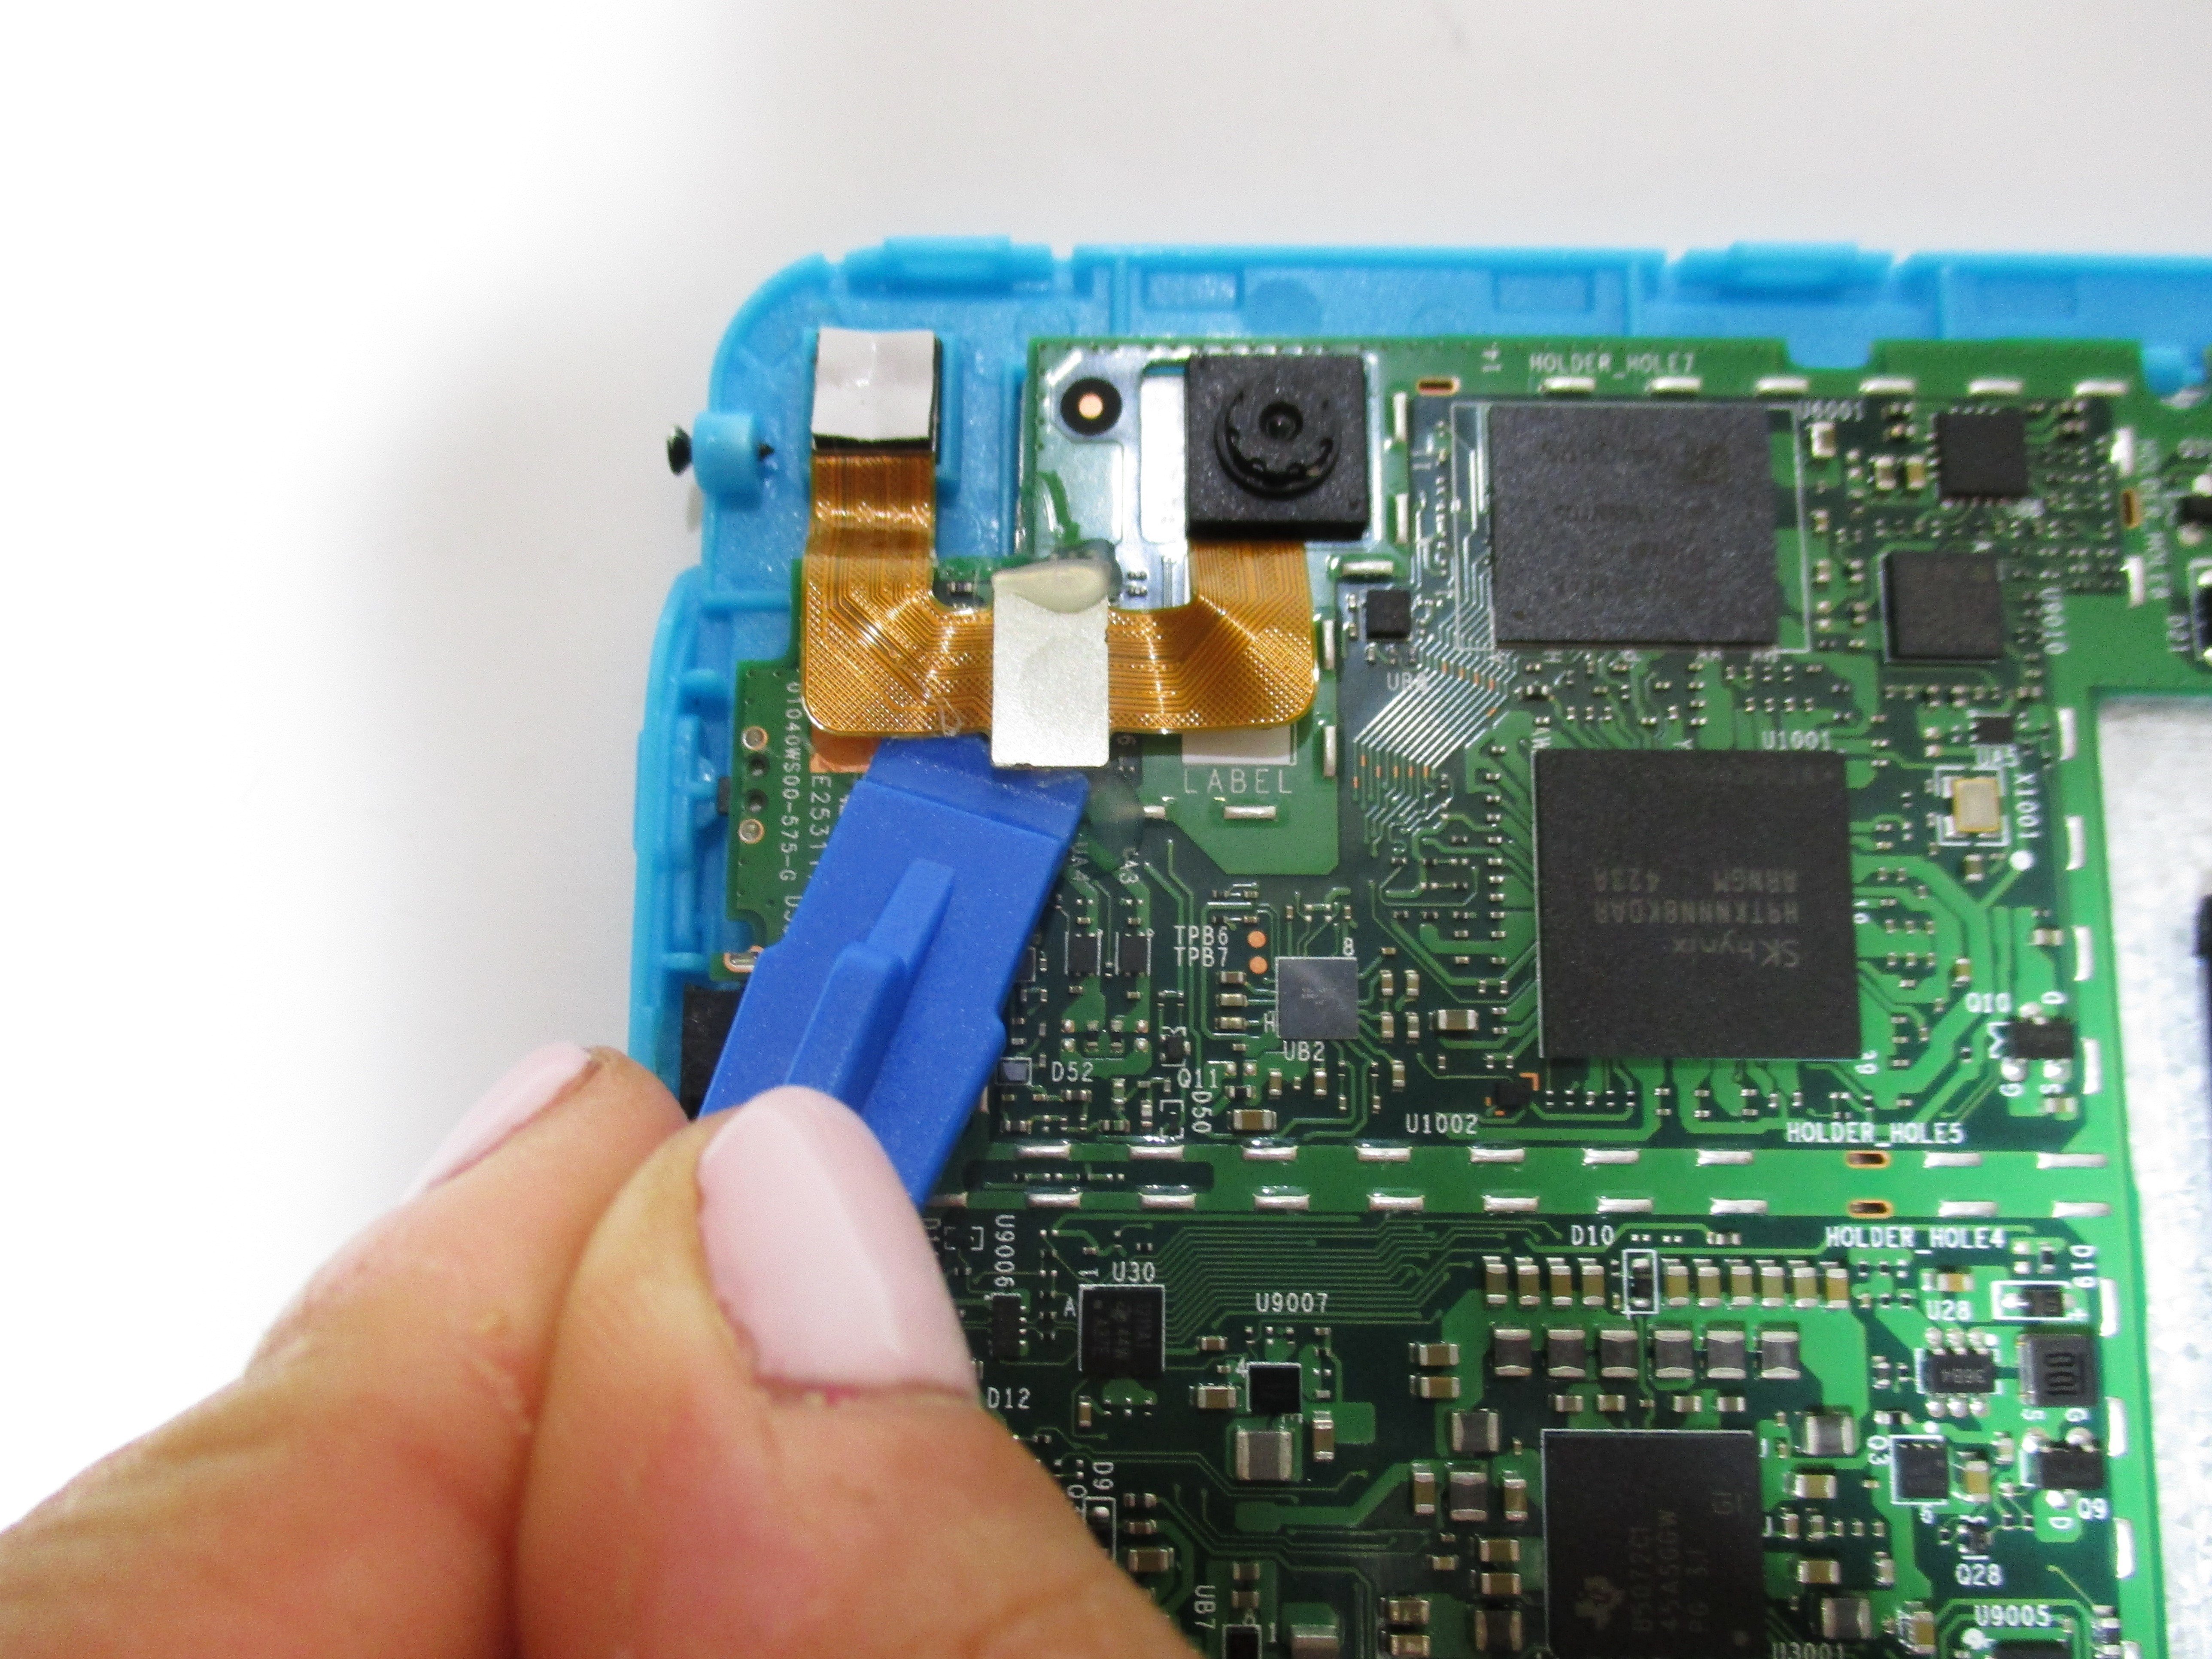
– Take your trusty plastic opening tool and gently pop the green cable out by sliding the tool underneath where the cable connects to the plug and lifting it up.
– Once the green cable is free, go ahead and peel off the black tape that’s holding the green cable to the motherboard.
Step 15
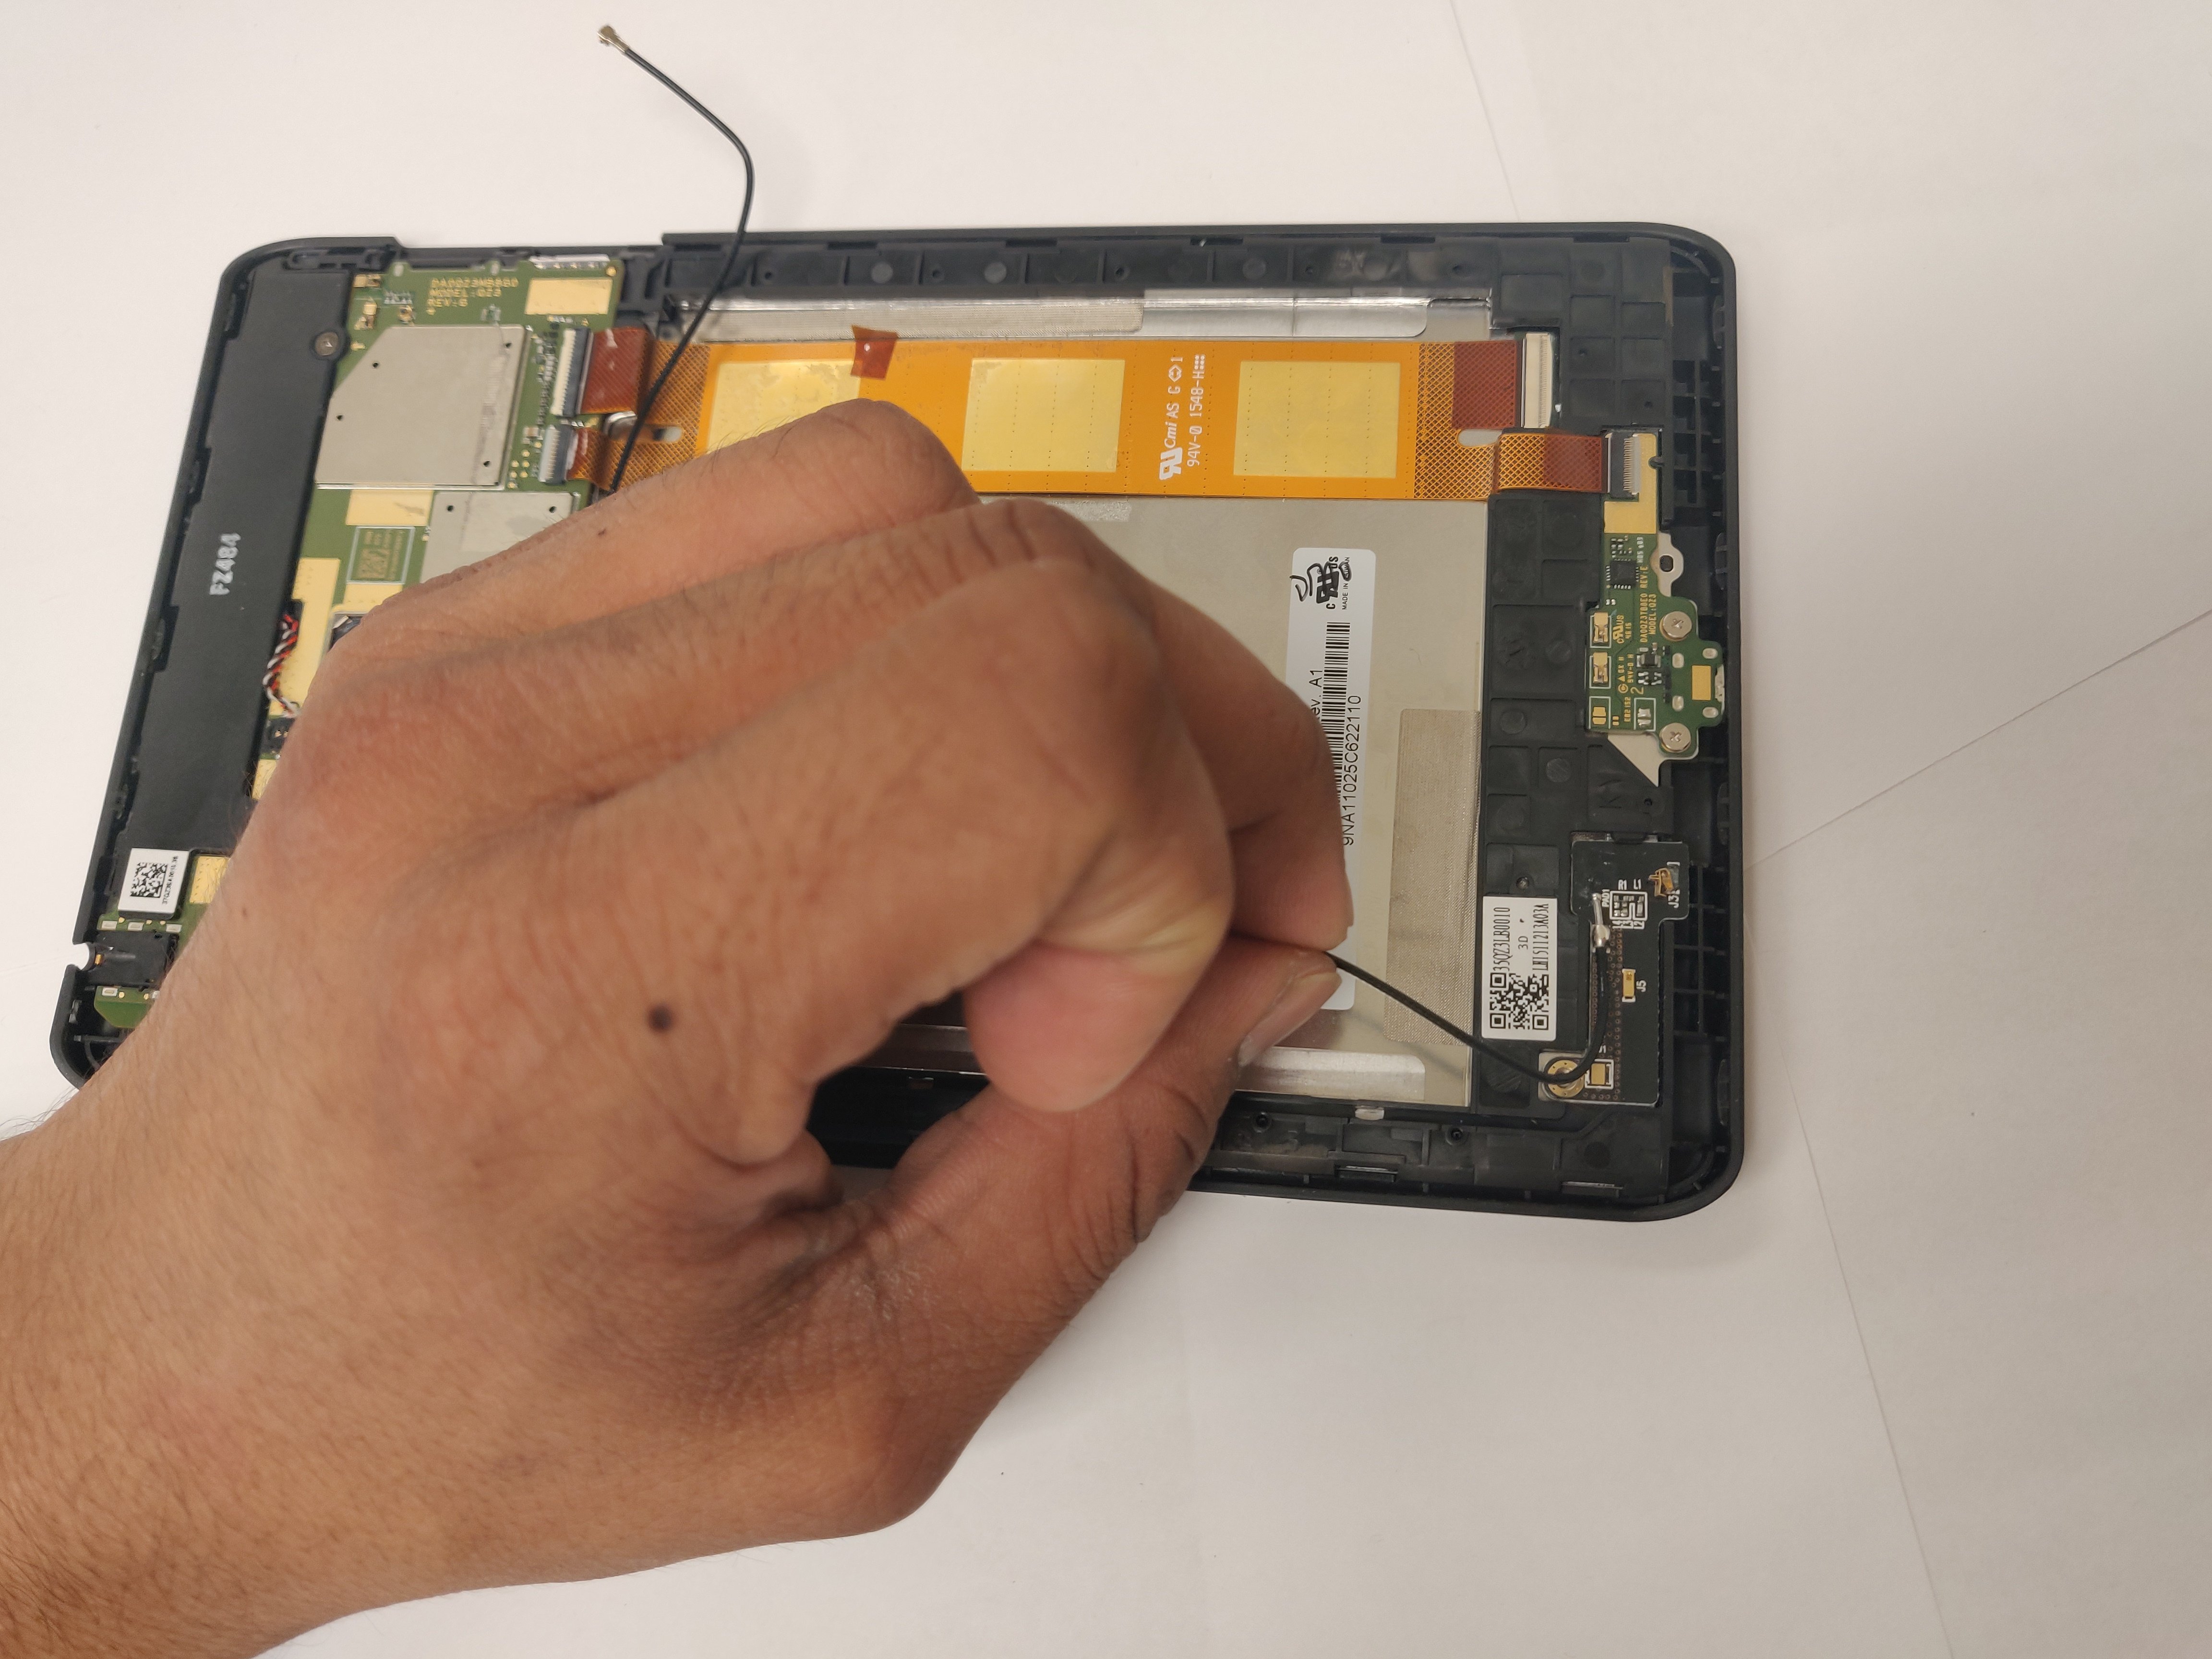
– With your trusty plastic opening tool, slip it under where the black cable meets the plug and gently lift it up.
Step 16
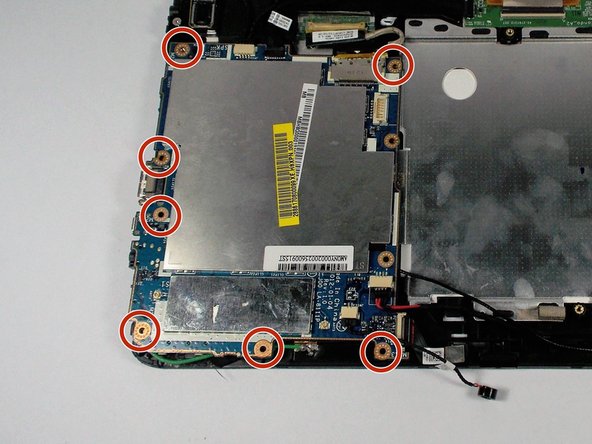
If you feel any tug while taking out the motherboard, take a moment to check if there’s a sneaky cable still connected to the board.
– You made it! To put everything back together, just follow these steps in reverse. Easy peasy!
– If you need help or got stuck, don’t worry! You can always schedule a repair with our experts at Salvation Repair.
–
Success!


