Acer Iconia Tab A200 Screen Replacement Guide
Duration: 45 minutes
Steps: 18 Steps
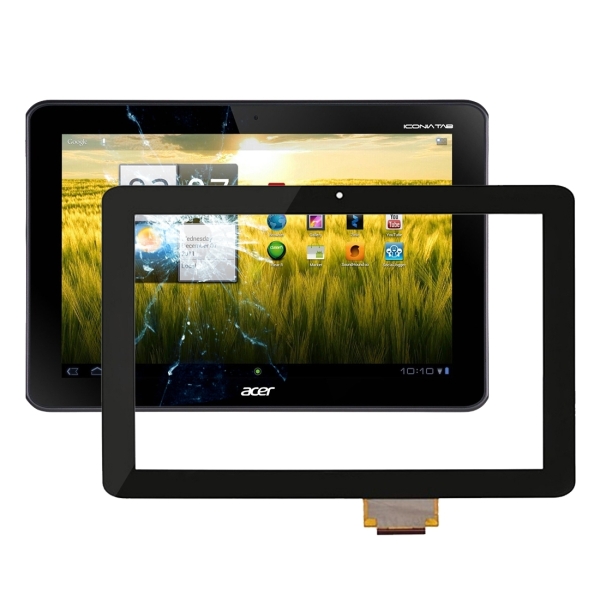
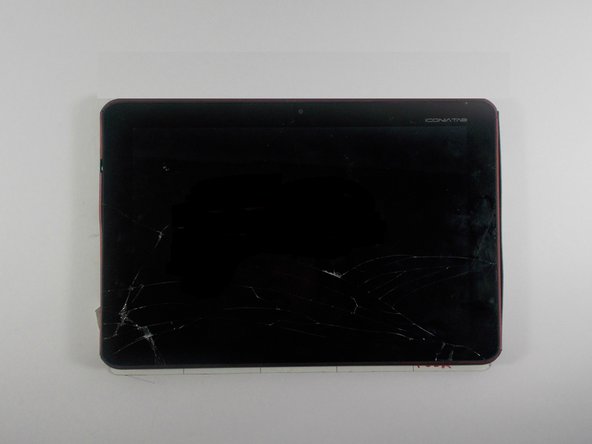
The Acer Iconia Tab A200 boasts a snazzy 10.1″ Touchscreen display that’s ready for all your tapping and swiping needs!
Step 1
– Grab your plastic opening tool and carefully pop off the gray plastic siding on both sides of the tablet. Go on, you got this!
Step 2
To get started, you’ll need to remove the two screws on each side of the tablet – don’t worry, it’s easier than it sounds! Just take a deep breath and gently take out those screws, and you’ll be one step closer to getting your device back in working order.
– Grab that trusty Phillips #00 screwdriver and zip those 4.0 mm screws off the sides of the tablet. Easy peasy!
Tools Used
Step 3
Take it easy when prying near the screws— the plastic casing is a bit delicate and could snap.
– After you’ve successfully unscrewed those 4 little guys, grab your trusty plastic opening tool and gently wedge it in to pop open the side of your device. It’s like giving your gadget a little hug!
– Once you’ve pried the case open with care, gently lift it away and turn the device so it’s resting face down on its screen. Just like that, you’re making progress!
Step 4
– Grab your trusty Phillips #00 screwdriver and unscrew those 4.0 mm screws keeping the battery locked in place. Easy peasy, right? Let’s keep it rolling!
Tools Used
Step 5
– Gently lift the battery out of its cozy spot in the device. Next, grab the cable connecting it to the motherboard, and carefully slide it out to the side. No need to lift it up—just a smooth sideward move to disconnect!
Step 6
– With a gentle touch, use that trusty plastic opening tool to carefully lift the charging component out of its cozy little slot in the case. You’ve got this!
Step 7
You might want to keep that trusty plastic opening tool handy to gently nudge the cord out of the case, especially since there’s not much room to maneuver those fingers!
– Keep lifting the cord until it’s free from the case and only connected to the motherboard. You’re almost there!
Step 8
– Gently pull the power component away from the motherboard in a horizontal direction. Remember to pull it straight out, without yanking upwards on the cord – we want to avoid any damage!
Step 9
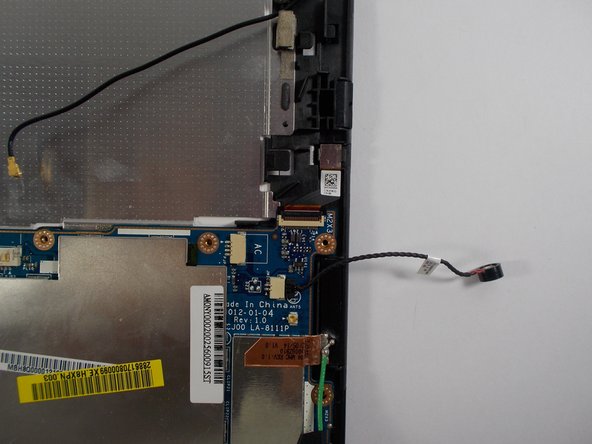
– Gently pull up on the microphone cable to free the microphone component from the case. You’ve got this!
Step 10
– Once you gently lift the microphone away from the case, simply disconnect the microphone cable from the motherboard by pulling it out horizontally. Just remember, no need to lift up to remove it!
Step 11
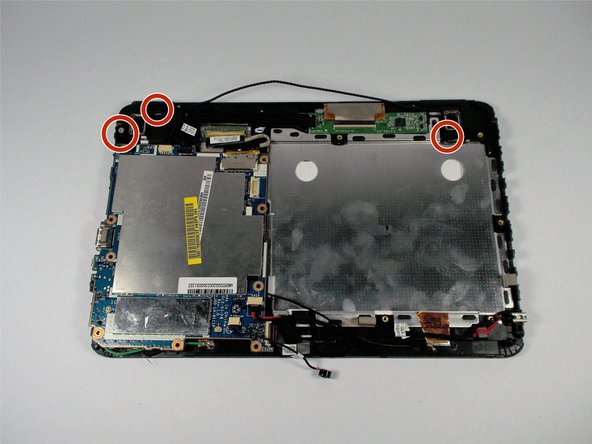
– After you’ve taken out the battery, grab a Phillips head #00 screwdriver and remove those 3.0 mm screws holding the dual speakers. Let’s do this!
Step 12
– Pop those screws out, then gently lift the speakers out of their cozy little spot in the case. Take your time—you’re doing great!
Step 13
– After popping out the speakers, gently pull the cable horizontally to unplug them from the motherboard. Avoid yanking it upwards.
Step 14
Just unplug the end that’s connected to the motherboard! Leave the soldered end alone—it’s not ready for a vacation just yet.
– Grab that trusty plastic opening tool and gently pop the green cable loose by sliding the tool under the spot where the cable meets the plug and giving it a little lift. Easy does it!
– Once you’ve liberated the green cable, peel off the black tape that’s holding it snug against the motherboard. You’re doing great!
Step 15
– Grab your trusty plastic opening tool and gently pop that black cable free! Slide the tool under the spot where the cable hooks into the plug and give it a little lift. Easy does it!
Step 16
If the motherboard resists when you’re trying to remove it, take a moment to double-check that all the cables connected to it are unplugged.
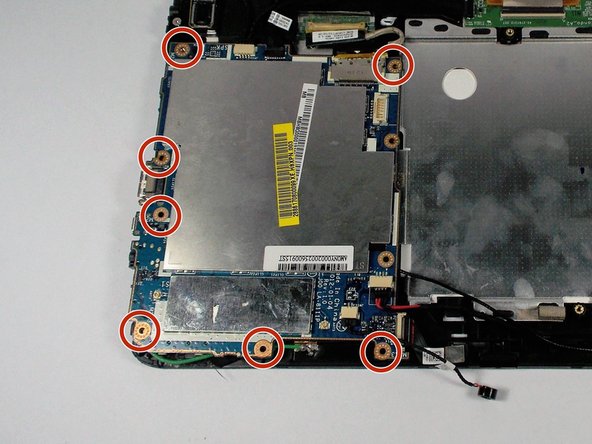
– First things first, make sure all those pesky cables are disconnected from the motherboard. Once that’s done, grab your trusty Phillips head screwdriver size #00 and get ready to tackle the seven remaining 3.0 mm screws. Let’s unscrew them like a pro!
– With the screws out of the way, gently lift up the motherboard and free it from the case. You’re almost there!
Step 17
Hey there, tech whiz! When diving into the world of electronics, remember to grab an ESD-safe tool to keep your gadget safe from accidental shocks. The metal spudger is your go-to for some serious prying action, but whenever you can, opt for the trusty black nylon spudger or a plastic opening tool. Keep it cool and your device will thank you!
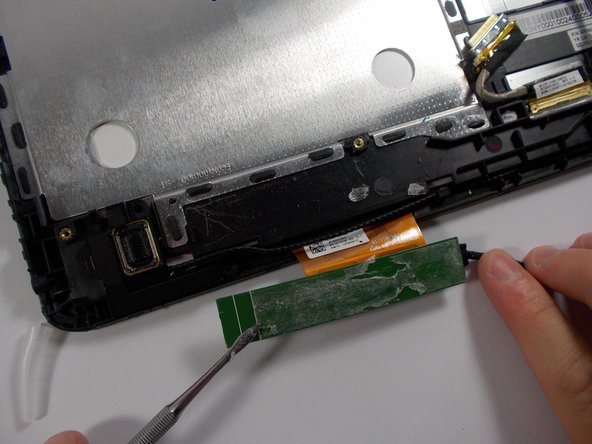
– Take the pointy end of your trusty nylon spudger and gently pop the unit board out of the case like a pro.
Tools Used
Step 18
Handle that metal spudger with care—it’s sharp enough to damage your device if you’re not paying attention.
You might want to grab a couple of spudgers or opening tools to keep that screen propped up while you gently work it free from the device. Keep at it, you’ve got this!
– To put your device back together, just retrace these steps in reverse—it’s like rewinding a fun DIY adventure!
– Cancel: Nope, I didn’t finish this guide.
– Need help? No worries! You can always schedule a repair.
Tools Used
Success!
