Acer Iconia Tab A501 USB Port Replacement Guide: Step-by-Step DIY
Duration: 45 minutes
Steps: 6 Steps
The USB-A/Micro-USB Port is your tablet’s ticket to connecting with other portable devices. Dive into this guide to swap out the USB-A/Micro-USB Port like a pro!
Step 1
Before you start tinkering, make sure to power down your device – safety first!
– Grab your trusty plastic opening tool and gently pry apart the back cover, kicking things off right at the volume buttons.
– Keep the momentum going as you work your way along the short side near the camera and around the rest of the device.
Step 2
– Once you’ve made some headway and the device is more than halfway separated, the back cover should pop off with ease.
Step 3
In the next step, remember to handle the motherboard with care—no squeezing too hard or scratching it! You’ve got this!
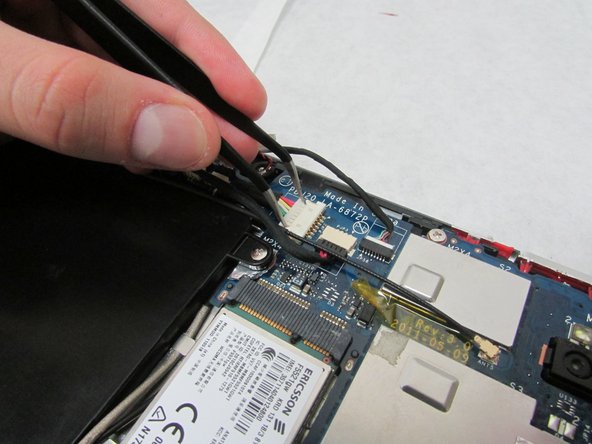
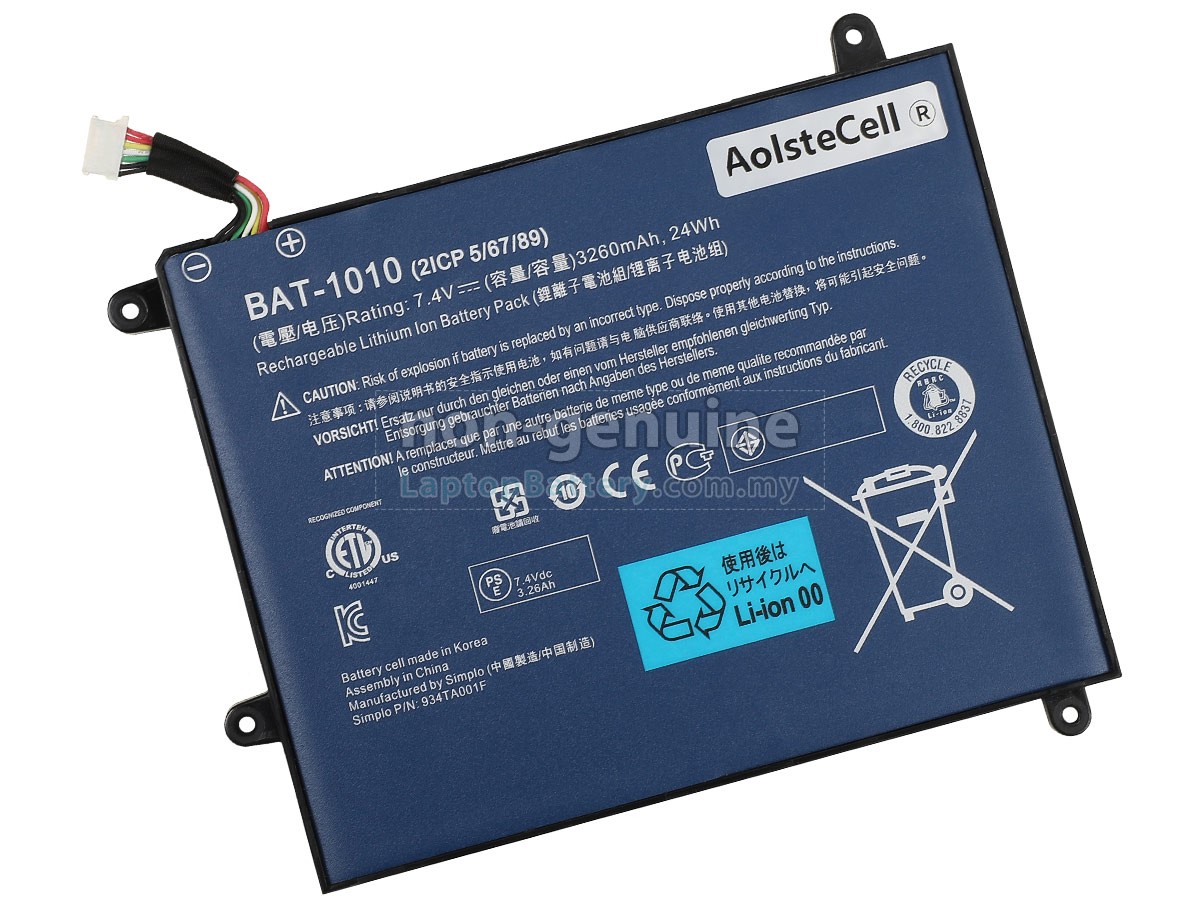
– Grab those angled tweezers and gently disconnect the white motherboard-battery connector located right in the middle of the side that’s opposite the docking port. You’ve got this!
Step 4
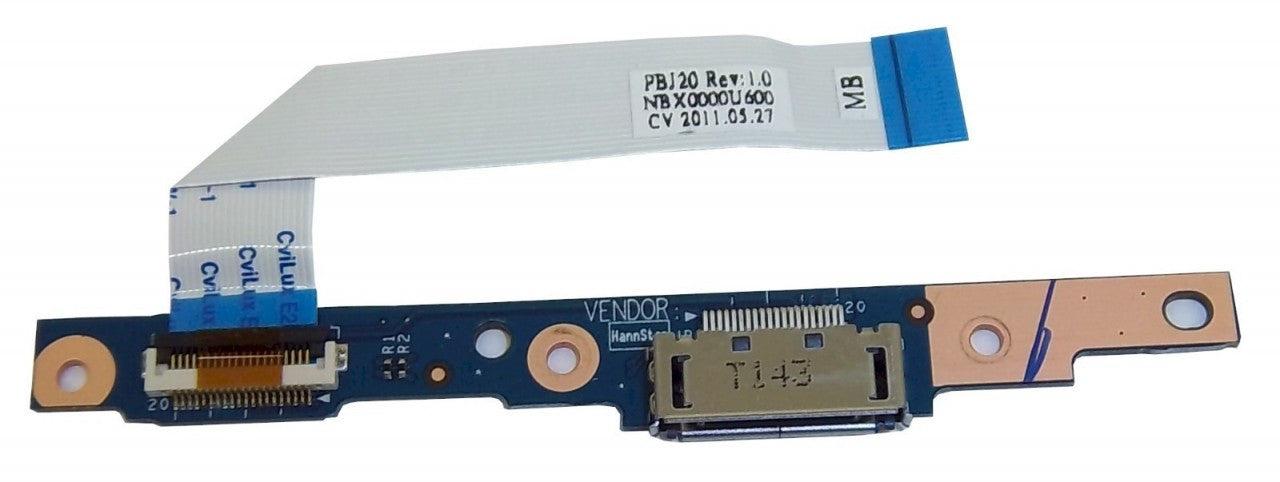
– Time to get that USB port board disconnected! Use your trusty plastic opening tool to gently flip up the locking mechanism that’s holding the flat, white ribbon cable in place.
– Now that the locking mechanism is open, carefully remove the flat, white ribbon cable from the USB ports’ board.
Step 5
– Grab your trusty Phillips #1 screwdriver and unscrew the two 4.0 mm Phillips screws holding the metal plate, USB board, and the device together. You’ve got this!
Tools Used
Step 6
– Now it’s time to put your device back together! Just retrace your steps and follow these instructions in reverse. You’ve got this!
– If you hit a snag, don’t hesitate to schedule a repair for some expert help.
–
Tools Used
Success!


