Acer Iconia Tab Motherboard Replacement Guide
Duration: 45 minutes
Steps: 13 Steps
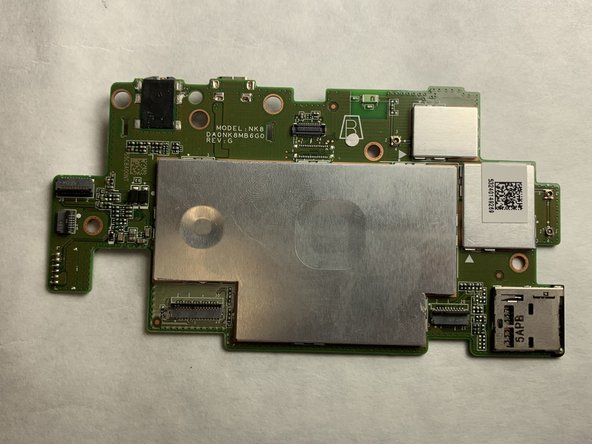
The motherboard is like the heart of your device – almost everything connects to it in some way! Removing it can be a bit of a challenge, but don’t worry, this guide will walk you through it step by step.
Step 1
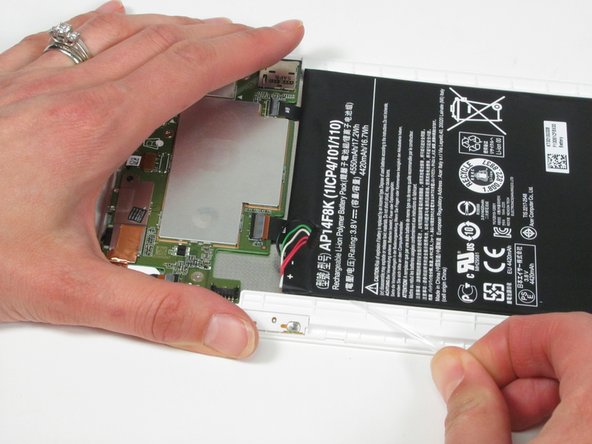
– Gently slide the plastic opening tool into the gap between the back case and the display.
– Carefully maneuver the tool around the seam until the back case pops free from the display.
Step 4
The clear adhesive strips on the tabs are super stretchy. Keep at it; just keep pulling the tabs until the battery pops out. Heads up: The strips won’t be reusable.
Step 5
– Grab your trusty spudger and gently pry up the two tabs highlighted. Just slide the spudger under the gray section of the connectors and give those tabs a little tug. You’ve got this!
Tools Used
Step 7
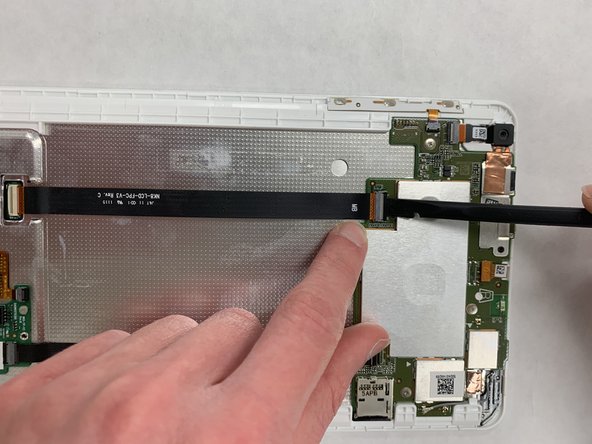
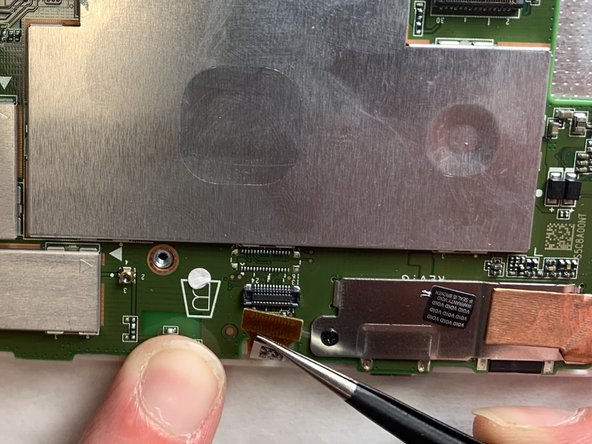
– Let’s get started! Use your trusty spudger to gently push the tab where the belt connects to the motherboard, and it should come free easily.
– Next, grab your tweezers and carefully pull the belt out of its slot in the motherboard. You’re making great progress!
Step 8
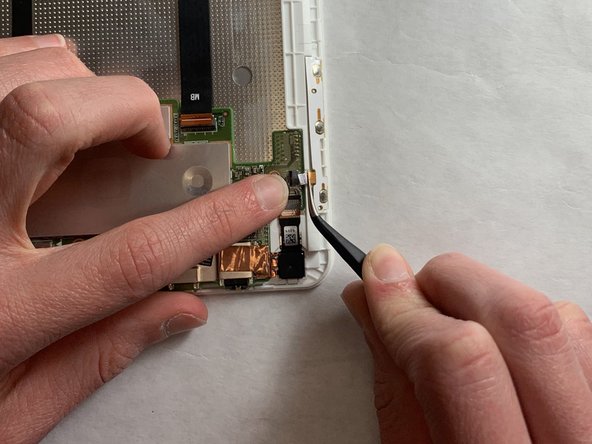
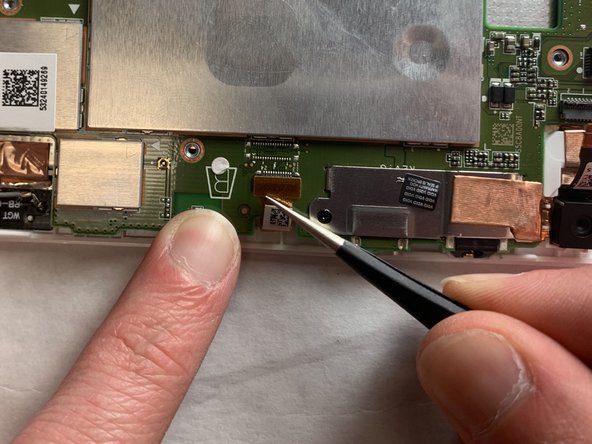
– Time to get this belt loose! Use your trusty spudger to gently push the tab that’s connecting it to the motherboard. Easy peasy!
– Now that the tab is free, grab your tweezers and carefully pull the belt out of its slot. You’re making great progress!
Step 9
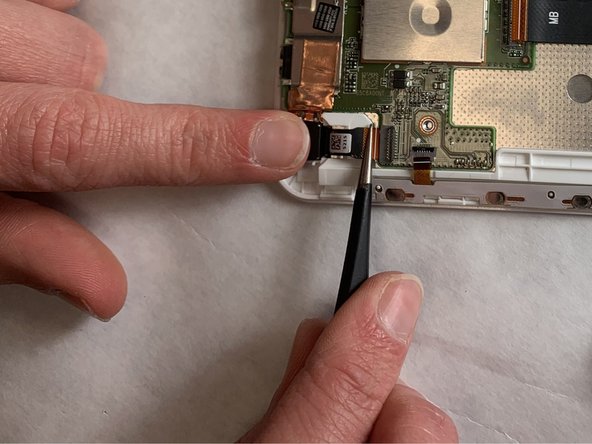
– With a steady hand, gently lift the end of this belt where it connects to the motherboard using your trusty tweezers. You’ve got this!
Tools Used
Step 10
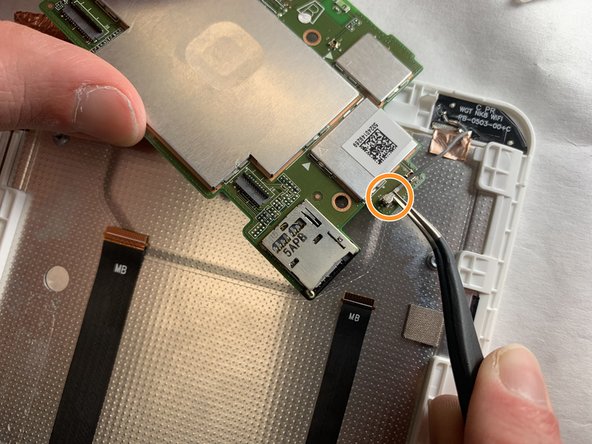
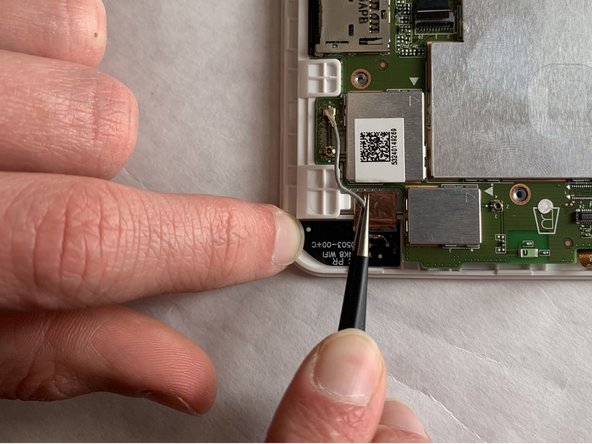
– Using your trusty tweezers, gently lift the gray wire from its cozy spot beneath the red-highlighted plastic piece.
– Next, position the tweezers at the end of the wire that’s circled, and carefully pull it away from the motherboard.
Tools Used
Step 11
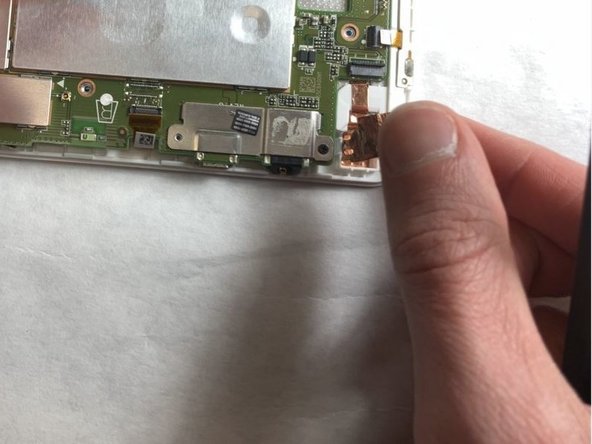
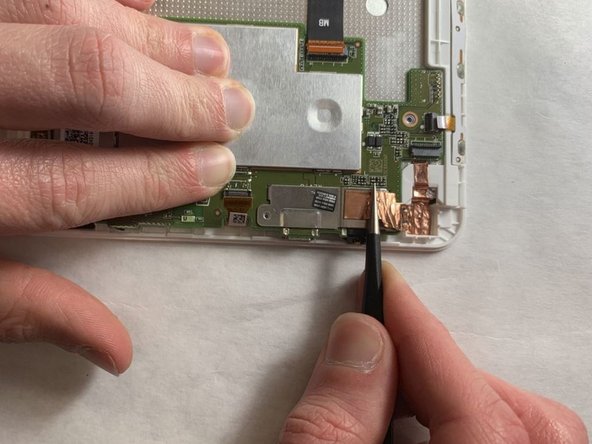
If the copper foil is being a bit stubborn, grab an iOpener heating pad to help loosen that adhesive up!
– Grab those trusty tweezers and gently lift a corner of the copper foil.
– Next, use your spudger to carefully peel the copper foil away from the motherboard.
Step 12
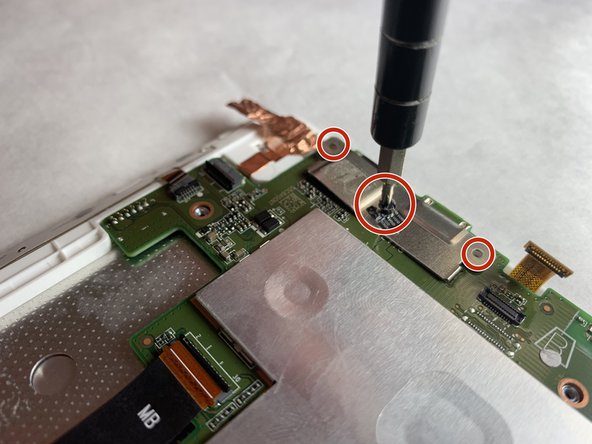
– Let’s get started! Remove the ‘void’ sticker using your trusty tweezers to expose a 3 mm screw.
– Grab your Phillips #000 screwdriver and remove the three 3 mm screws – you got this!
Tools Used
Success!


