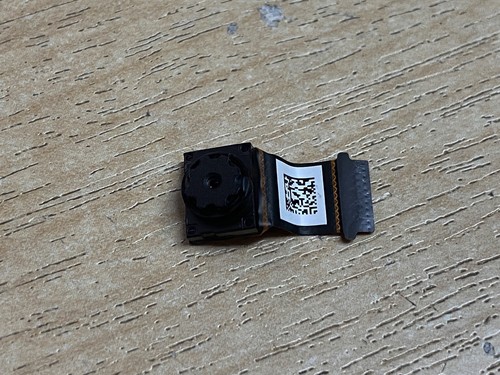
Acer Iconia W3-810 Rear-Facing Camera Replacement
Duration: 45 minutes
Steps: 5 Steps
Now that you’ve tackled the back panel and battery, it’s time to focus on the rear-facing camera. Whether it’s malfunctioning or just needs a swap due to damage, we’ll walk you through the simple steps to get it replaced and your device back in action. If you run into any trouble along the way, you can always schedule a repair for extra support.
Step 1
– Flip the tablet onto its back like a pro, placing it flat with the charger side facing you. Let’s do this with style!
Step 2
Be gentle when handling the plastic opening tool – it’s best to steer clear of the charging dock and media ports to avoid any potential damage.
– Let’s get started by using a plastic opening tool to carefully pry the back panel off your device.
Step 3
– Time to get this repair started! Use a plastic opening tool to gently lift the retaining flap that’s holding the ribbon cord in place on the motherboard. This is a delicate step, but you’ve got this!
Step 4
– Gently pry the ribbon cord out of its slot using a trusty plastic opening tool – it’s time to set it free.
Step 5
– Ready to wrap it up? Just follow these steps in reverse to get everything back together. If you hit any roadblocks, no sweat—help’s just a click away! schedule a repair
–
Success!


