Acer Iconia W510 Dock Bottom Cover Replacement
Duration: 45 minutes
Steps: 4 Steps
Get ready to tackle the task of removing the bottom cover of your W510 keyboard/dock with this easy-to-follow guide! This step-by-step process will have you feeling like a tech whiz in no time. And hey, if you hit a snag, just remember: you can always schedule a repair for extra help.
Step 1

– Unscrew the two 6.6mm T6 Torx screws hanging out near the hinge—easy does it, you’re the boss here!
– Take out the four 3.6mm T6 Torx screws chilling on either side. Look at you go—making it look effortless!
Step 2


– Grab an Xacto knife and gently peel back the rubber strip just enough on each end to reveal the two screws underneath.
– Unscrew the two 4.5mm Phillips screws and you’re all set to move on!
Step 3


– Gently pop off the rear cover—like opening a treasure chest, but with less drama.
Step 4
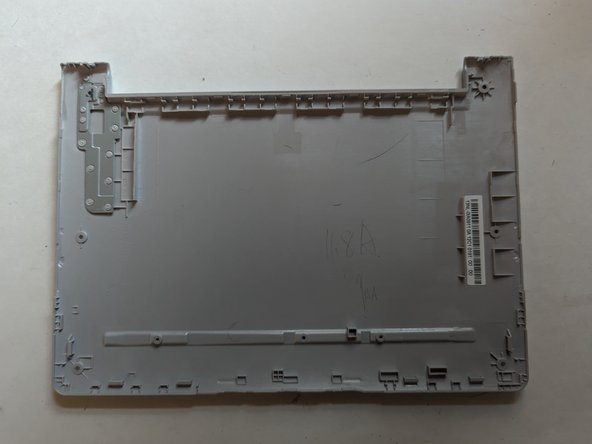
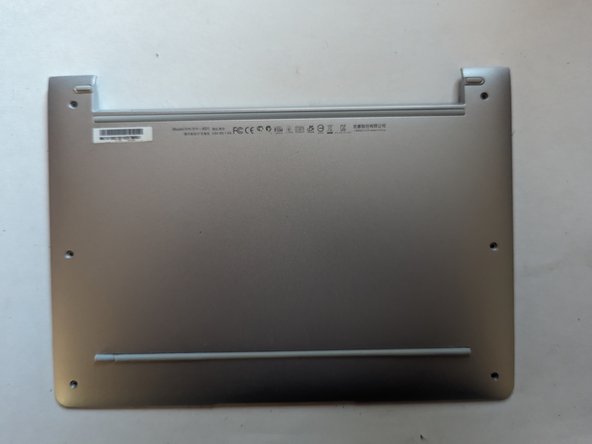

– Pop off that bottom cover like a pro!
Success!