Acer Iconia W510 Rear Cover Replacement
Duration: 45 minutes
Steps: 6 Steps
The rear cover of your tablet’s notebook is just hanging on by some little clips. To get it off, you’ll need to stroll around the entire edge of the tablet and gently unclip each side. Take your time, and it’ll pop right off!
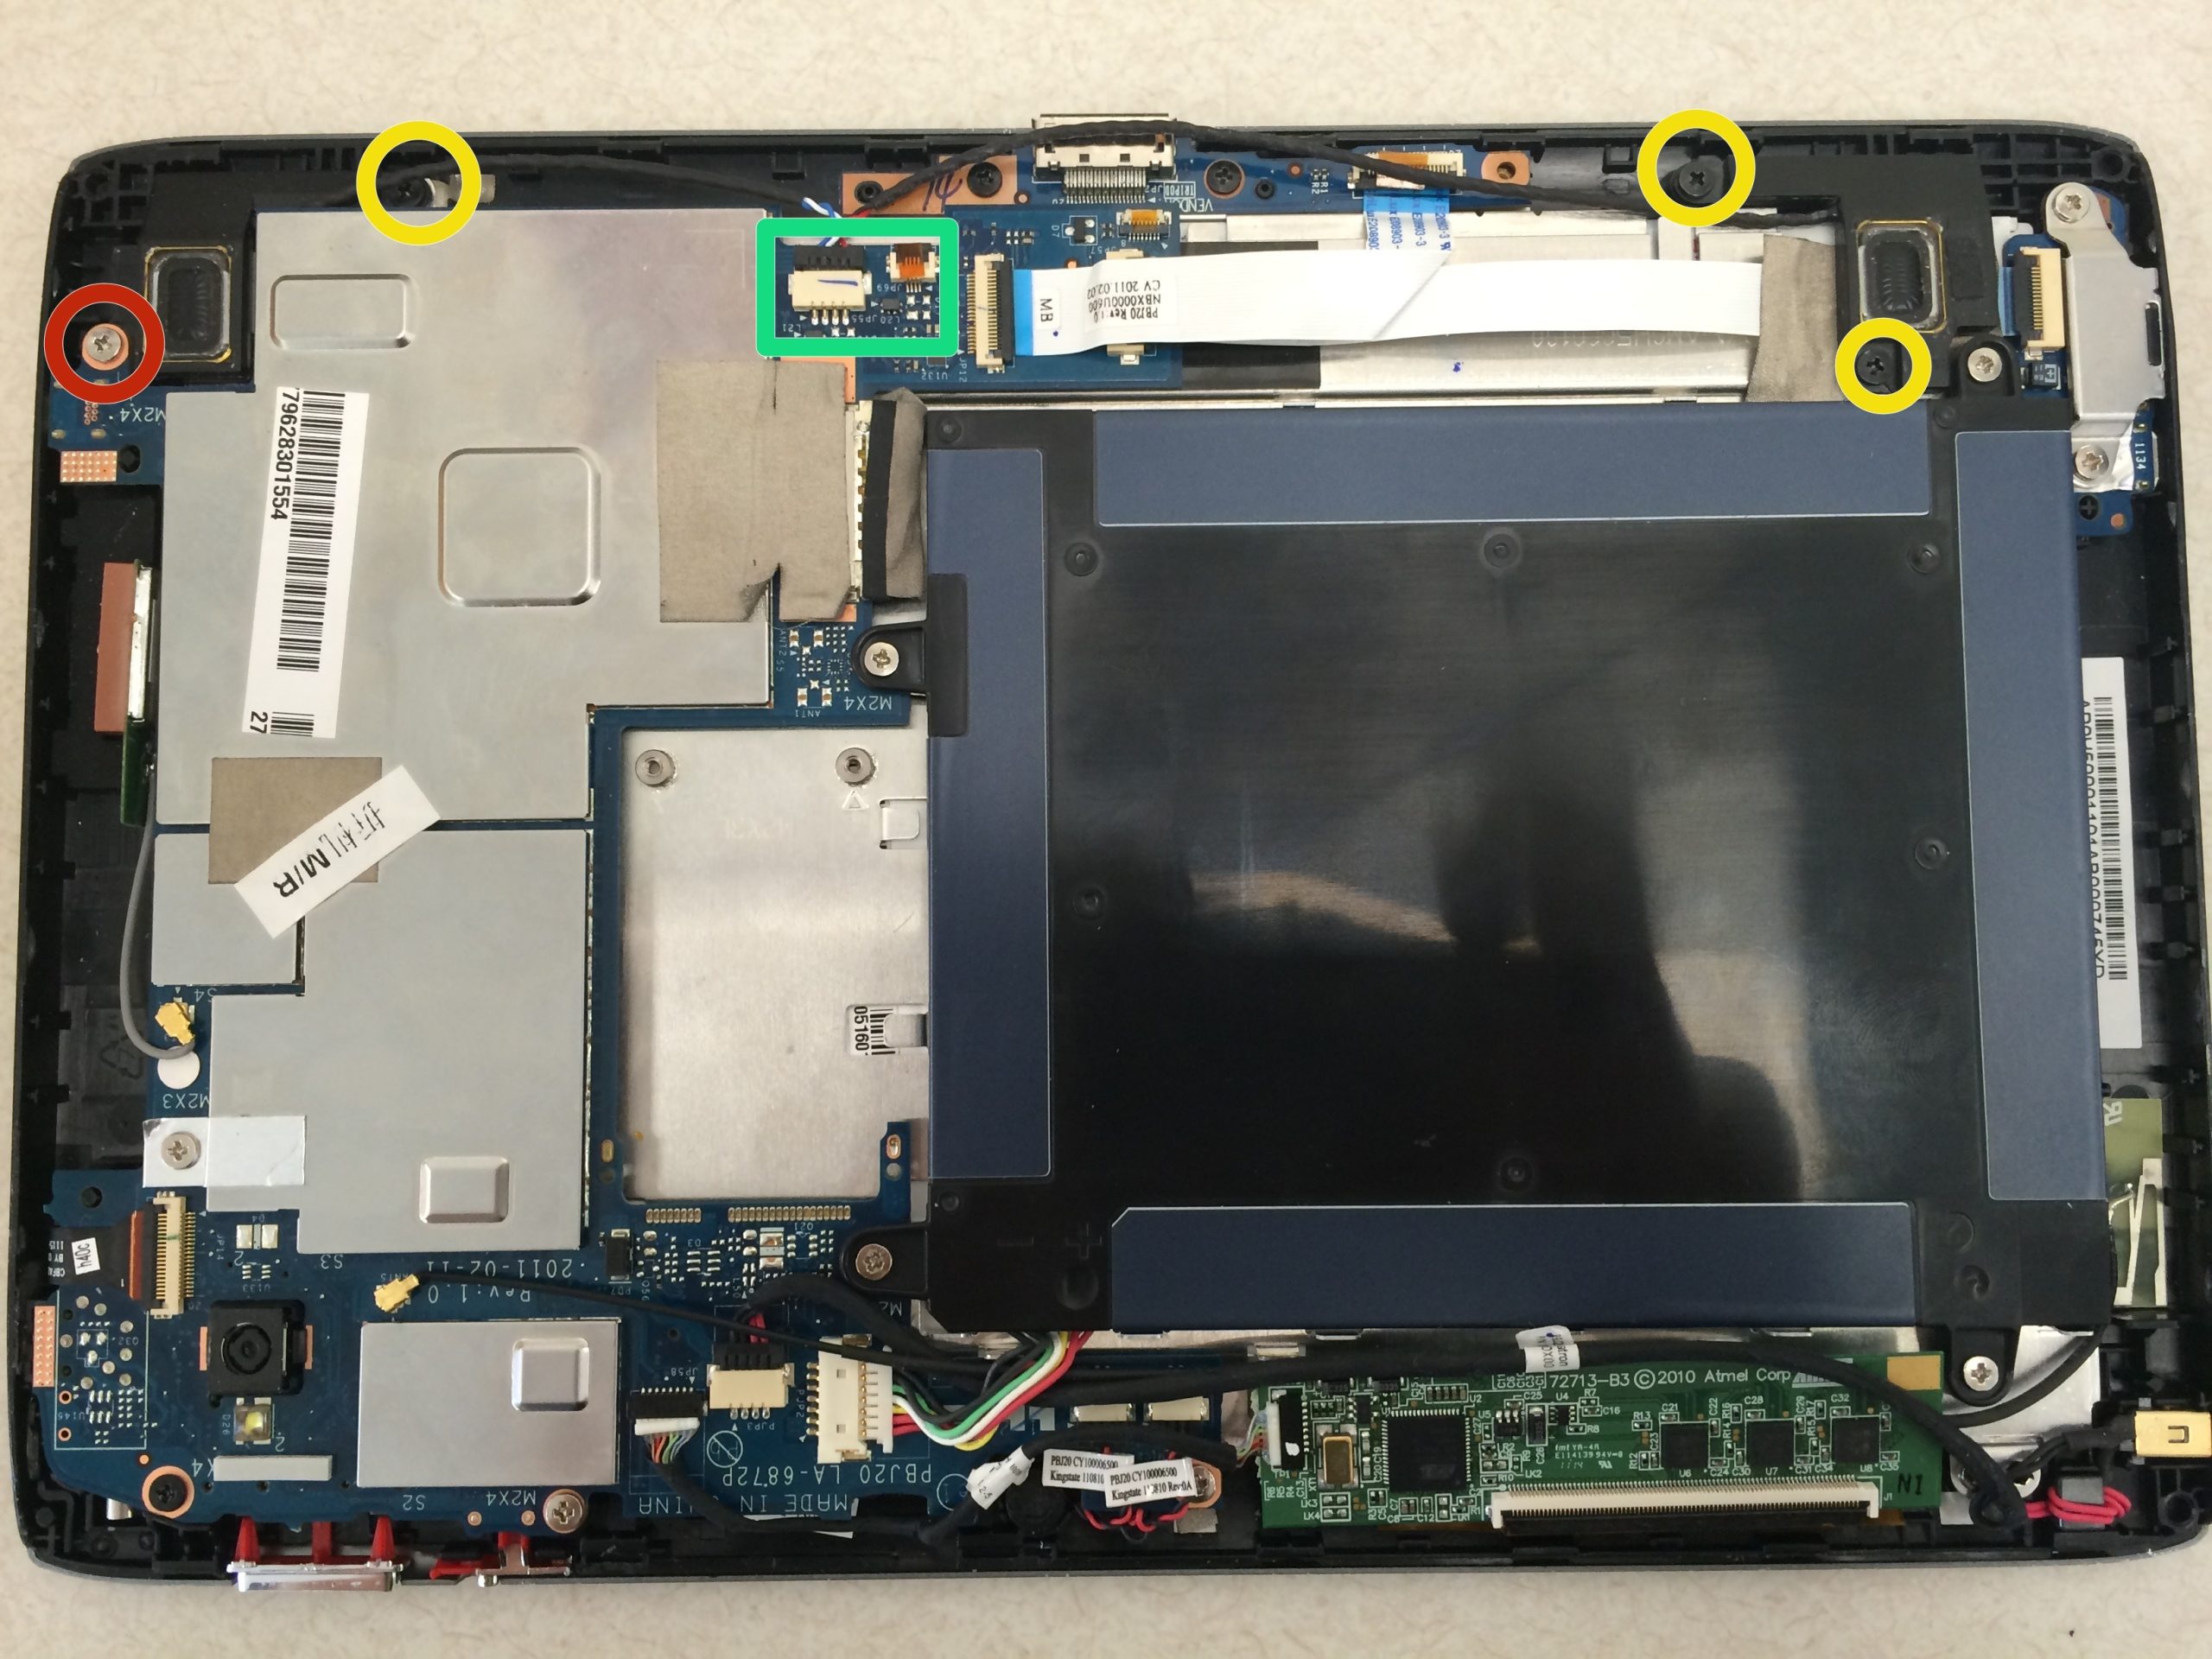
Step 1


– Slide your metal pry tool into the gap between the back cover and the frame, angling it just right to sneak in.
– Give it a confident twist to the left—like you’re unlocking a secret passage—to start popping those clips loose.
– Keep working toward the corner, prying and twisting like a pro to free the rest of the clips along the way.
Step 2


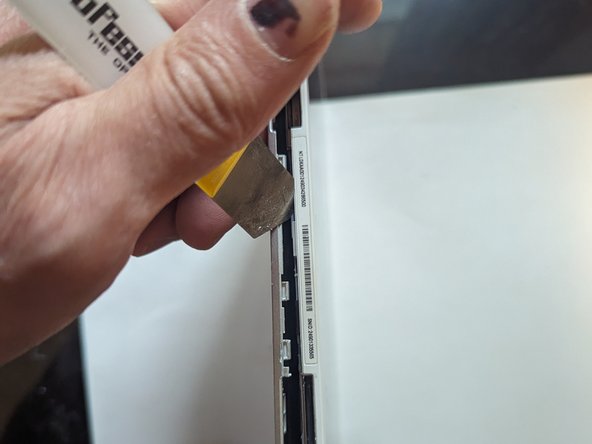
– Slide in an opening pick to keep those pesky clips from snapping back shut while you tackle the corner and venture over to the right side of the tablet.
– Keep going just like before—pry and twist to liberate the catches!
Step 3


When you reach the corner, steer clear of sticking the tool into the area below the power-on symbol. There’s a delicate clip there that’s super easy to snap if you’re prying. Trust me, you don’t want that kind of drama.
– Keep cruising along the top edge just like you did before!
Step 4


– Let’s get started by unclipping the left side of the tablet.
Step 5

– Alright, let’s head back to the bottom side again. This little piece can be a bit tricky to unclip, but just follow the same steps as you did with the first one and you’ll get it in no time!
– Now, for the final stretch! We’re between the keyboard/power connector and the right-hand guide pin, right back where we began. You’ve got this!
Step 6

– Let’s get that rear cover off!
Success!