Acer One 10 S1003-19GY Motherboard Replacement
Duration: 45 minutes
Steps: 5 Steps
Get ready to breathe new life into your Acer One 10 S1003-19GY by replacing a damaged motherboard. This vital component is the backbone of your computer, allowing all parts to communicate and receive power. If it fails, you might notice a weird burning smell due to its sensitivity to heat, or your system might not turn on at all. To avoid any damage, remember to use ESD-safe tools when handling the motherboard. Before you start, make sure your laptop is completely powered off and disconnected from any external power source. Let’s get started with this step-by-step repair guide from Salvation Repair.
Step 1


– First off, let’s power down that device and ensure it’s unplugged from any gadgets connected to it.
– Grab a plastic opening tool and gently wedge it between the front and back parts of your device to make a little space.
– Now, carefully slide that plastic tool all around the edge of the tablet to free the front from the back. You’ve got this!
Step 2

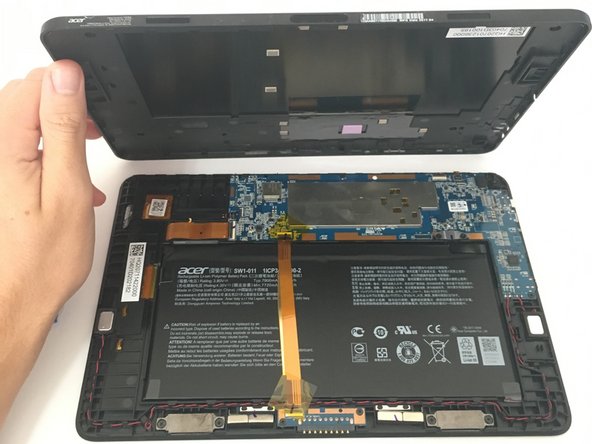
– Lay the device flat with the screen facing down, and carefully remove the back casing to get started on this repair journey.
Step 3


– Pop that latch open and gently free the ribbon—handle it like it’s made of gold.
Step 4


– Grab your trusty Phillips #000 screwdriver and let’s make some magic happen! Carefully remove those seven 3mm Phillips screws from the motherboard, and you’ll be one step closer to a happy device. You’ve got this!
Tools Used

Step 5

– You made it. To put everything back together, just reverse the steps you followed to get here. Nice job. If you need help or have another device that needs some TLC, you can always schedule a repair.
–
Success!