Acer Swift 3 Series Touchpad Replacement Guide: Step-by-Step DIY
Duration: 45 minutes
Steps: 12 Steps
Hey there savvy repair hero! Looks like you’ve reached this step, no sweat! Just a little heads up before you dive in – take your time, stay calm, and remember, even superheroes need a break sometimes. If you’ve got any questions or need a hand, don’t hesitate to schedule a repair. You’ve got this!
Is your Acer Swift 3 2022 touchpad feeling a bit lackluster? No worries! This guide will walk you through the steps to give it a new lease on life. But before you dive into the replacement, double-check those settings to ensure they’re all up to date. And don’t forget to gather all the right screwdrivers for the job! If you find yourself in a pinch, feel free to schedule a repair for some expert assistance.
Step 1
Don’t forget to shut down your laptop before diving in!
– Turn the device upside down, with the bottom panel facing upwards.
Step 2
– Grab your trusty TR6 Torx screwdriver and get ready to unscrew! Carefully remove the eleven 5 mm screws from the back of your device. You’ve got this!
Step 3
– Grab your trusty iFixit opening tool and gently work your way around the back of the device to pop it open.
– Carefully detach the bottom cover from the laptop and set it aside, ready to reveal the inner workings!
Tools Used
Step 4
– Carefully lift off the strip of black tape.
Step 5
Handle with care! This part is a little delicate and could use some extra TLC.
– Gently pull the white plastic piece towards you to disconnect the bundle of wires.
Step 6
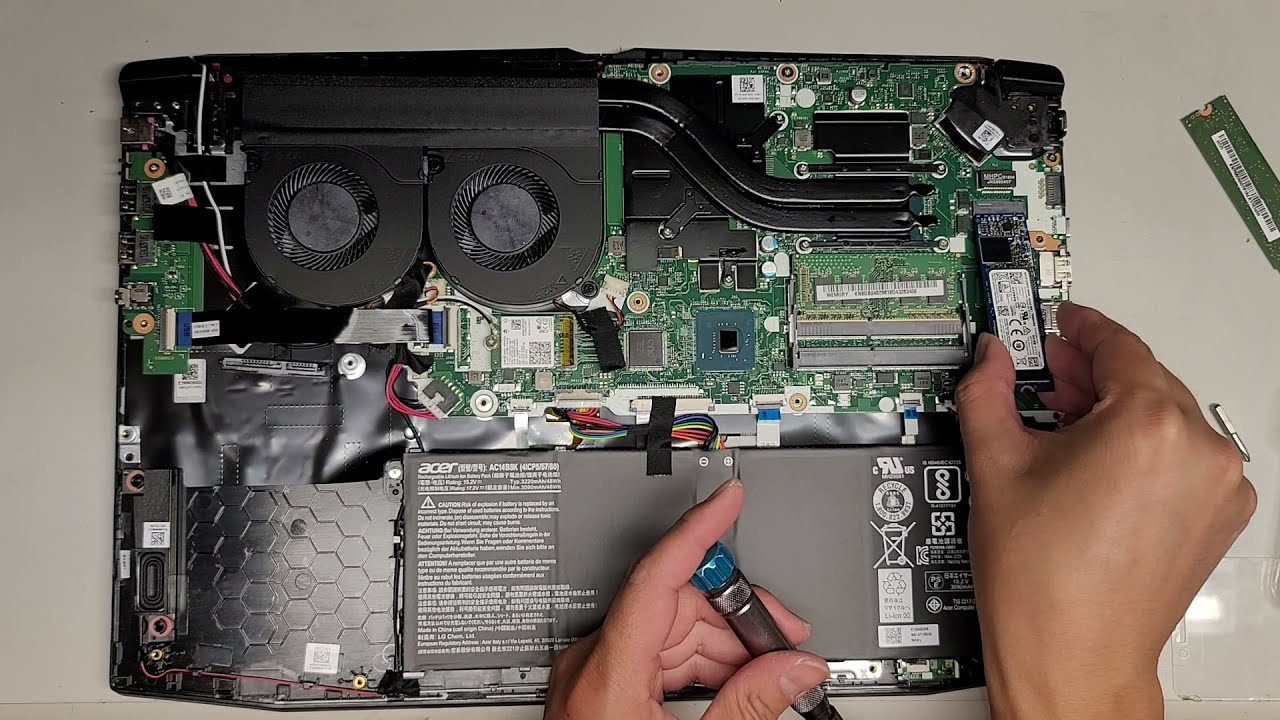
– Time to bust out your trusty TR6 Torx screwdriver and bid farewell to those two 5 mm screws coz they’re about to take a vacation!
– Gently remove those screws on either side of the battery with care and precision – they’re on their way out thanks to your expert handling.
Step 8
– Before getting down to business, make sure to slide a piece of paper or cloth gently between the touchpad and the screen. Trust us, it’s a neat trick to keep things smooth and tidy during this repair journey.
Step 9
It’s as easy as cracking open a soda!
– Get your hands on the trusty iFixit opening tool and gently lift up the cool black plastic flap that’s keeping the white ribbon cable in place.
Tools Used
Step 11
– Gently lift the black film flap to reveal those sneaky two screws waiting for you.
– Grab your trusty JIS #1 screwdriver and take out those two 2 mm screws like a pro!
Tools Used
Step 12
– Gently remove the touchpad from its cozy spot.


