Android tablet Digitiser Replacement
Duration: 45 minutes
Steps: 5 Steps
Step 1
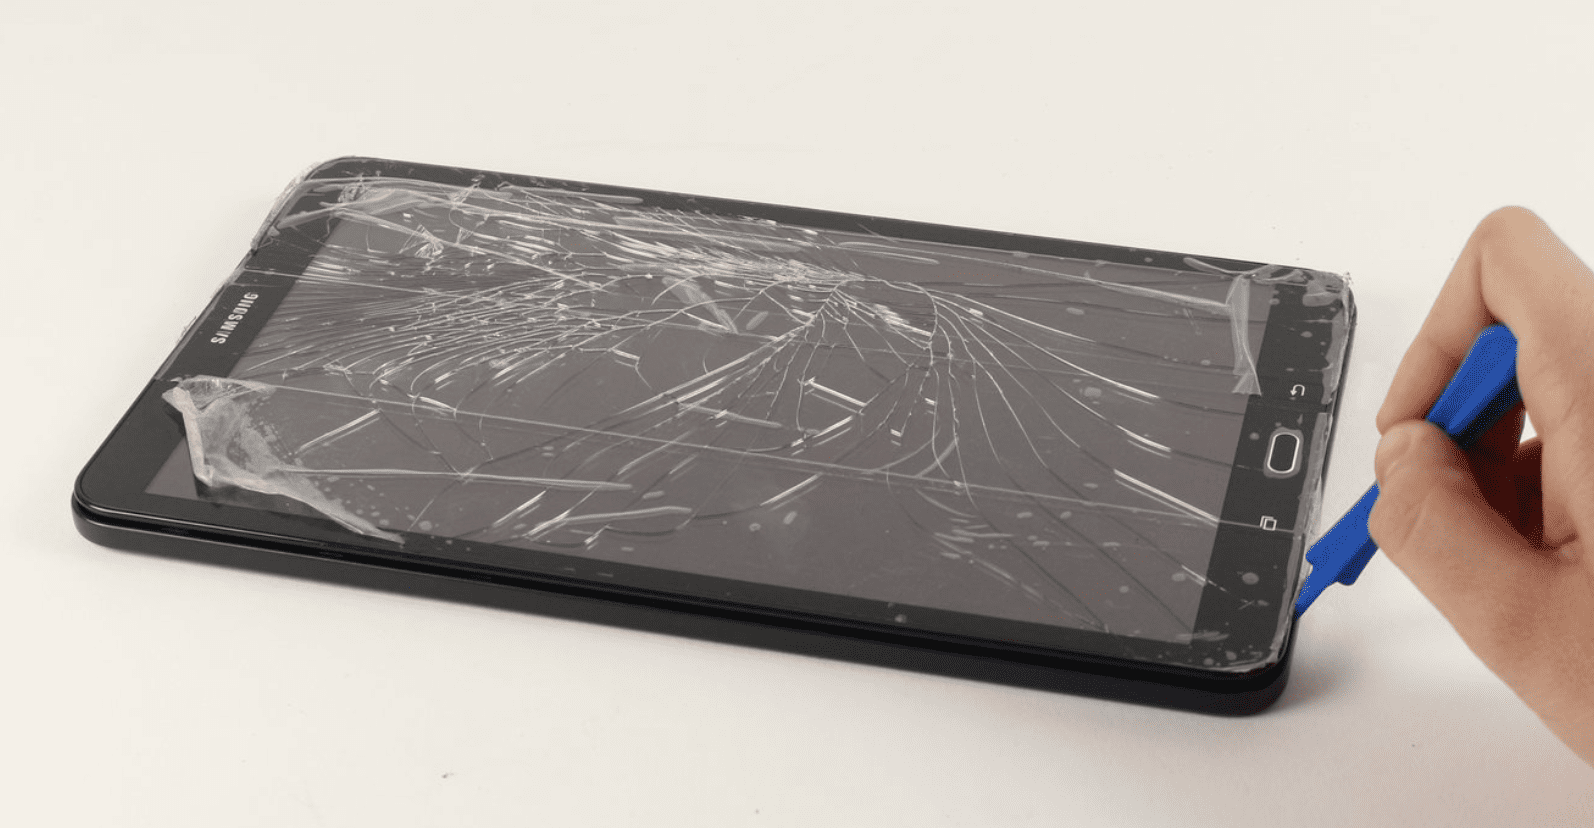
– No fancy tools to pop that bezel off? No problem! Grab your trusty kitchen oven instead. Just crank it up to 6 (that’s 180°C for our metric friends) and let the top heat up a bit. Place your digitiser assembly face down on the hot top of the oven (but not inside, please!). After about 5 minutes of warming up, take a kitchen knife and gently slide it between the digitiser and the bezel to separate the two. Easy peasy!
Step 2
– To clean the bezel, alcohol is your best friend. I tried using nail polish remover once, and let me tell you—it’s way too harsh and can mess up the bezel. Alcohol is much gentler, and though it might take a bit more elbow grease, it gets the job done without causing any damage. Just give it a little more effort, and you’ll be all set!
Step 3
– Once you’ve given that bezel a good clean, it’s time to peel away the protective film from the inside of the digitiser. Next, say goodbye to those pesky protective strips on the double-sided tape. Now, gently guide the flat cable through the opening and stick the digitiser to the bezel to complete the digitiser assembly. You’re doing great!
Step 4
– Make sure the digitiser is free from any stains since you’ve just peeled off the protective film. Your screen might be a bit dusty, and that’s totally normal. Just a friendly reminder: it’s super sensitive to touch! So, grab a dry cloth and gently sweep away those pesky little glass shards. No need to go overboard—just a gentle brush without any pressure will do the trick!
Step 5
– Pop your device back together by reversing these steps—and boom, you’re good to go!
– If you need help, you can always schedule a repair
Success!