Android tablet Nobis NB09 Camera Replacement
Duration: 45 minutes
Steps: 5 Steps
Get ready to tackle that camera replacement! This guide is packed with all the key info and steps you’ll need, including a straightforward breakdown of disassembly and removal. Start with steps 1-3 to pop that device open. Just skip over steps 4 and 5, and dive right into step 6 when you’re ready. You’ve got this! If you need help, you can always schedule a repair.
Step 1

– Let’s get cracking! Grab your trusty screwdriver and unscrew those two 00 Phillips screws chilling on the right side of your tablet. You’re almost there!
Step 2


Heads up! When you’re popping off the cover, don’t yank it too hard—there are wires chillin’ between the motherboard and the back cover that need some gentle love.
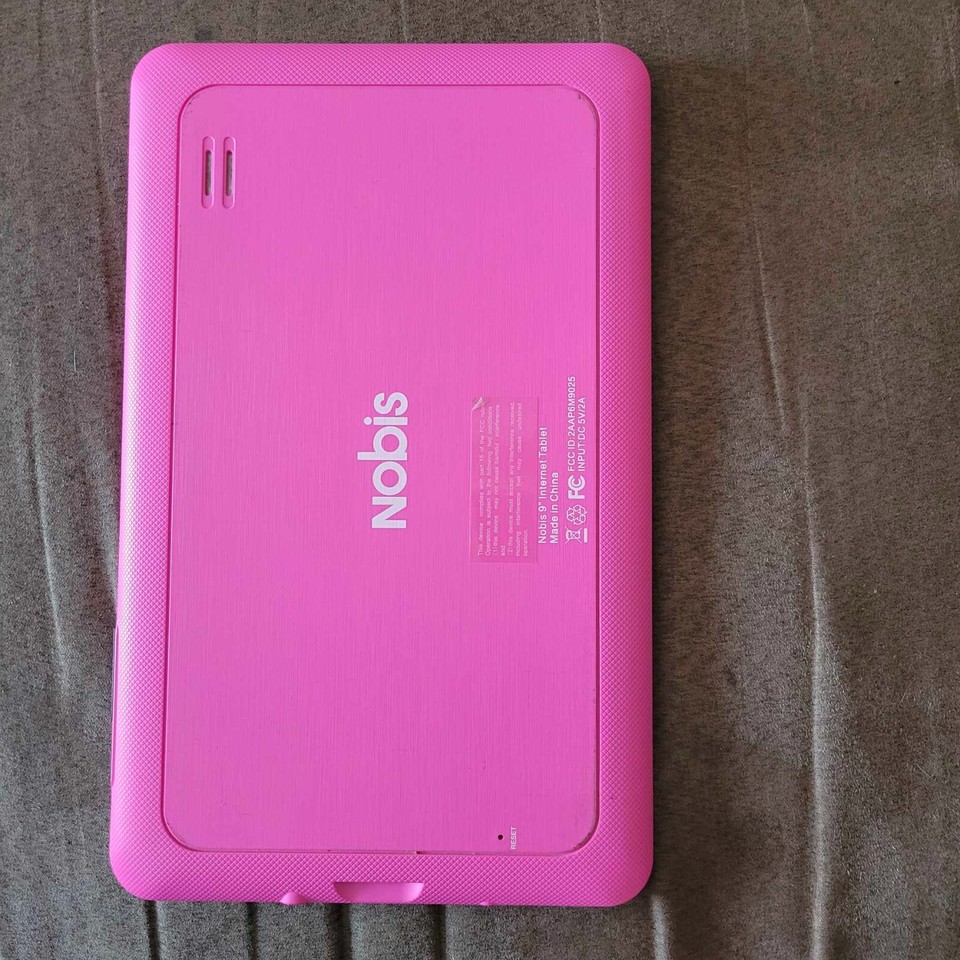
– Grab your trusty plastic opening tools and gently work around the edges to lift off the back plate (that pink piece). It might take a little patience, but it’ll pop off in no time!
Step 3

To keep your device’s circuits safe from ESD (Electro-Static Discharge), it’s a smart idea to rock a grounding bracelet. Trust us, your device will thank you!
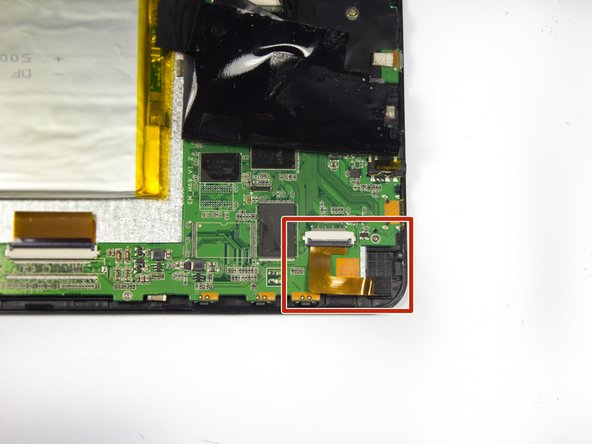
Peel back just enough tape to reveal the ZIF connector and camera. Keep it steady, we’re almost there!
– First things first, gently peel off the electrical tape covering the camera. It’s tucked away in the top left corner of your device, just waiting for you to uncover it.
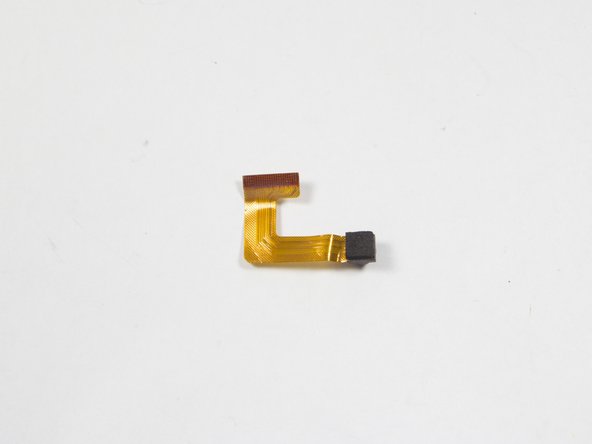
Step 4
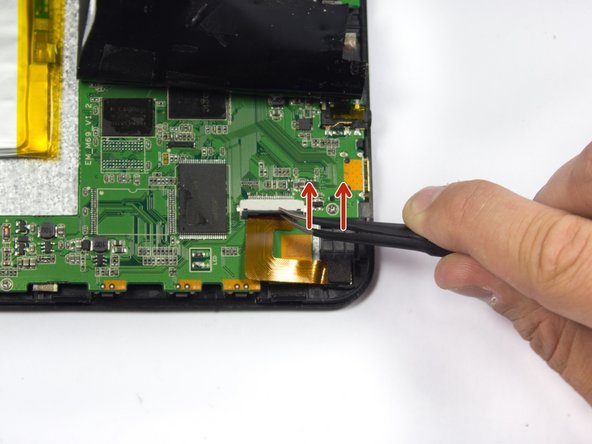
ZIF is short for Zero Insertion Force connector. Just double-check that the connector is fully unlocked before you dive in!
– Gently lift the black plastic lock on the ZIF connector using tweezers.
Tools Used

Step 5

– Put everything back together by retracing these steps in reverse. Don’t forget to slap that electrical tape back where it belongs.
– If things get tricky or you’d rather leave it to the pros, you can always schedule a repair.
Tools Used
Success!