Apple Watch Battery Replacement
Duration: 45 minutes
Steps: 16 Steps
Is your Apple Watch battery feeling a bit under the weather or looking like it’s puffed up? No worries! This guide is here to help you swap it out. Just a friendly reminder: if your battery is swollen, make sure to handle it with care!
Step 1
If your touchscreen is totally busted and won’t let you turn off the watch, here’s a nifty trick to shut it down instead.
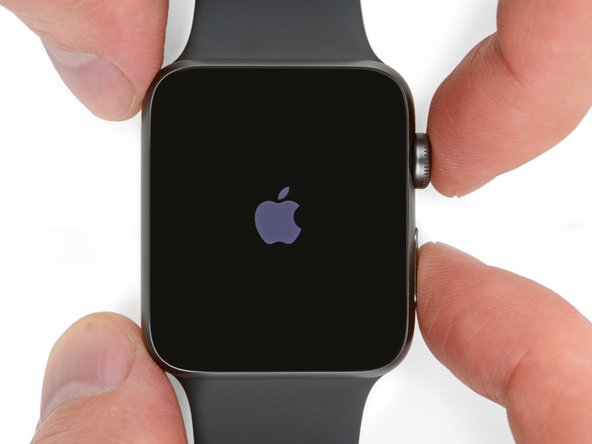
– Hey there, tech wizard! Before diving into your repair adventure, make sure to take your watch off the charger and shut it down.
Step 2

If you find parts of the screen cooling off, just keep that iOpener warm and on the move—staying flexible is key! Remember, persistence is cool, and if things get tricky, you can always schedule a repair.
– Get your iOpener ready (or grab a trusty hair dryer or heat gun) and warm up the front of the watch until it’s just a tad too hot for your fingertips.
– Keep the iOpener resting on the watch for at least a minute to ensure the screen is fully heated and the adhesive loosens up, making it easier to pop off.
Tools Used

Step 3


Keep those fingers safe and sound by ensuring they’re out of the knife’s way! If you’re feeling unsure, throw on a sturdy glove—leather or gardening ones work wonders.
Watch out! Applying too much pressure can make the knife slip, which could lead to some unwanted cuts or even damage your precious watch.
Don’t forget your shades! The knife or glass might just decide to break, sending bits flying. Better safe than sorry!
To tackle the delicate task of separating the screen from the watch body, you’ll need a sharp blade since the gap is super slim. Make sure to check out the following warnings before diving in!
Step 4


Hey there! While you’re working your magic with the knife, keep it cool and steady. Once you pop open that gap, stay gentle so it doesn’t slip and cut the battery. If you need help, you can always schedule a repair.
Opt for a curved blade to keep the odds of scratching the case or cracking the glass at bay. Just stick to prying with the curved part of the blade—avoid the tip and the flat areas!
This maneuver should nudge the gap open and give that glass a little pick-me-up from the case. If you hit a snag, remember you can always schedule a repair.
– Slide the curved part of your trusty blade into the cozy little space between the glass and the case at the bottom of the watch face, and give it a gentle but firm press straight down into that gap.
– Once the glass starts to lift, carefully pivot the knife downwards, encouraging the glass to rise a bit more by nudging it upwards.
Step 5


Take it easy with that opening pick! Just slide it in about 1/8″ (or about 3 mm) – that’s all you need. Go any deeper and you might just end up tangling with some cables. Better safe than sorry!
– Once you’ve pried it open just enough, slide the tip of your trusty opening pick right under that glass.
– Now, glide the pick along the bottom edge to help free that stubborn adhesive that’s keeping the screen stuck to the case.
Step 6


Just a friendly reminder—don’t shove that pick in too deep! It’s much easier to roll the pick instead of dragging the tip along. Keep it cool and take your time!
– Gently slide the opening pick along the button side of the watch, carefully pushing in to break the adhesive seal and create a little more space as you go.
Step 7


– Gently slide the pick around the top right corner, then glide it along the top edge of the screen like you’re giving it a little massage.
Step 8


Leave that pick chillin’ where it is, so the screen doesn’t stick back down again.
– Keep on sliding that pick around the edges of the screen, smoothly gliding down the left side to sever the last bits of adhesive holding it in place.
Step 9


– While keeping the first pick steady, grab a second one to ensure that all the adhesive has been released all around the screen’s edge. You’re almost there!
Step 10


Hey there! Just a heads up: there are a couple of cables chillin’ near the top left corner that connect the screen to the watch’s innards. Be gentle when you’re prying around so you don’t accidentally hurt those little guys. If you need help, you can always schedule a repair.
– Gently lift the right side of the screen to break free from any stubborn adhesive that’s still holding on.
– Now, give the left side a little nudge to release it too—but hold on there! The screen is still connected by two cables, so don’t try to pull it off just yet.
Step 11


Spotting the top layer of your Force Touch sensor peeking through the display adhesive? That means those two sensor layers have decided to part ways, and you’ll need to either replace or fix it up.
No worries! If you grabbed an iFixit screen and battery repair kit, it includes a shiny new Force Touch sensor. So, take a deep breath and let the repair adventure begin!
– If the top layer of the sensor seems to be stuck to the back of the screen, gently push it back down and carefully pull it apart.
Step 12


– Gently lift the screen and slide it to the left, but remember to watch out for those display data and digitizer cables – they’re a bit sensitive!
Step 13

Just a friendly reminder: Watch out for that screen and give those cables some love – no bumping or pulling while you’re on this repair journey!
– Set your watch down on something about 1/2 inch or 1 cm high—like a little box or the side of a book. This lets the screen hang down vertically, making it easier to get to the battery. If you need help, you can always schedule a repair.
Step 14


Hey there! Just a friendly reminder: leave that battery alone, it’s still plugged in and not going anywhere.
And remember, be super gentle with the battery—no bending or poking it, okay?
– Grab a pair of scissors and trim one of your trusty opening picks down to the size of the battery. No sharp points, please!
– Slide that customized pick between the right edge of the battery and the case.
– Steadily and smoothly, apply pressure to gently pry the battery up, breaking it free from its sticky adhesive grip on the system board.
– On the larger models (42 mm), be careful not to accidentally lift the system board beneath the battery. Only go deep enough to lift the battery, not the board!
– If the battery’s giving you a hard time, use a little high concentration isopropyl alcohol (90% or more) around and under it. That should loosen things up. If you need help, you can always schedule a repair.
Tools Used

Step 15


– Give that battery a gentle twist to the left to show off its connector.
Step 16


Hey there, if the battery’s looking a bit bumpy or bent out of shape, it’s time for a swap! Pop in a fresh one whenever you pull it out. And remember, if you need help, you can always schedule a repair.
– Lift the battery up and set it aside so you can see the battery cable connector.
– Grab a plastic opening tool and gently pry at the bottom of the case to disconnect the battery cable from the watch’s battery.
– Carefully take the battery out of the watch.