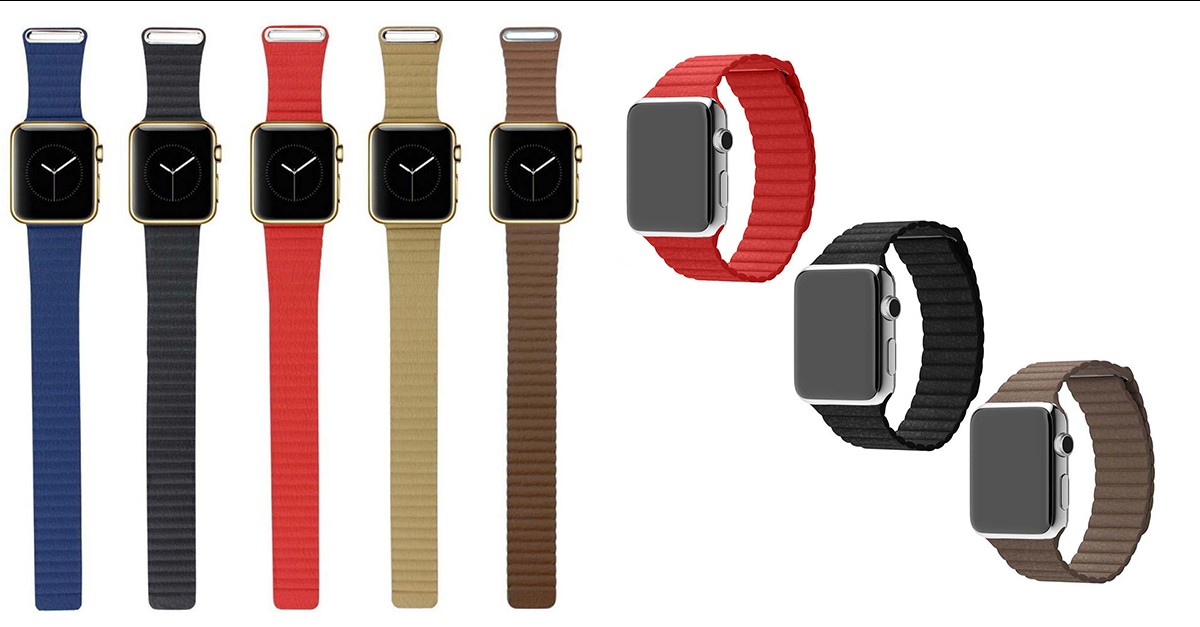
Apple Watch SE Mother Board Removal
Duration: 45 minutes
Steps: 9 Steps
Ready to roll after removing your battery and screen? Grab those same trusty tools—we're sticking with the classics for this round.
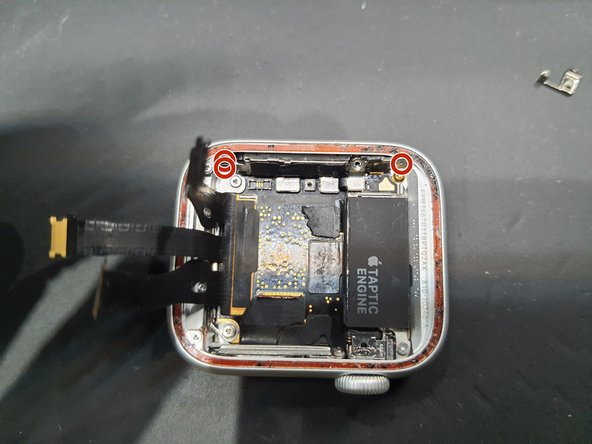
Step 1


Next up, take out those two Tri-screws. Don’t worry, they’re not as tricky as they sound!
- Pop out those Tri-screws and lift off the tiny plate—like opening a treasure chest, but with fewer pirates.
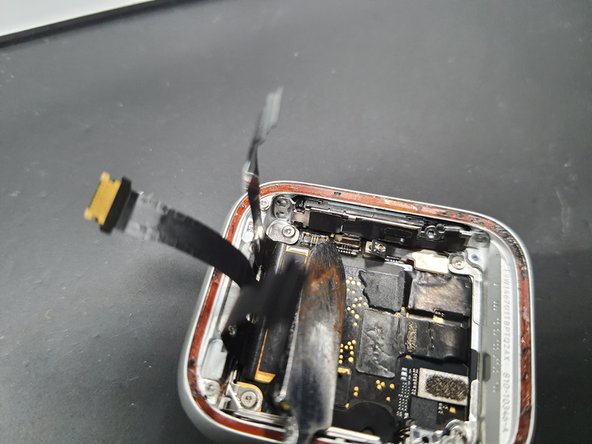
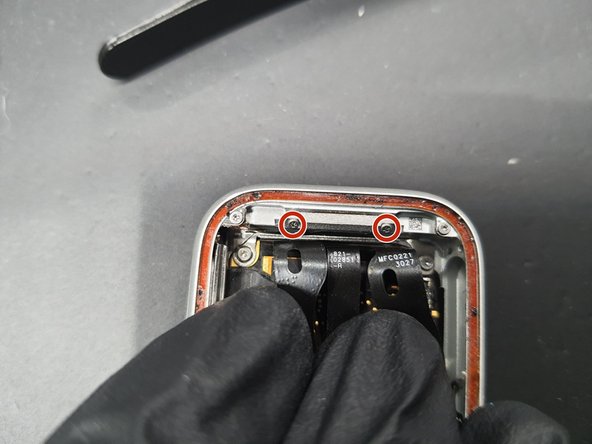
Step 2


Heads up: the Taptic engine cable (outlined in blue) is a bit clingy and likes to stick to the speaker with some adhesive.
- Unclip the two connectors shown in the photo—it's easier than untangling headphones.
- Now you can lift out the Taptic engine like the pro you are.
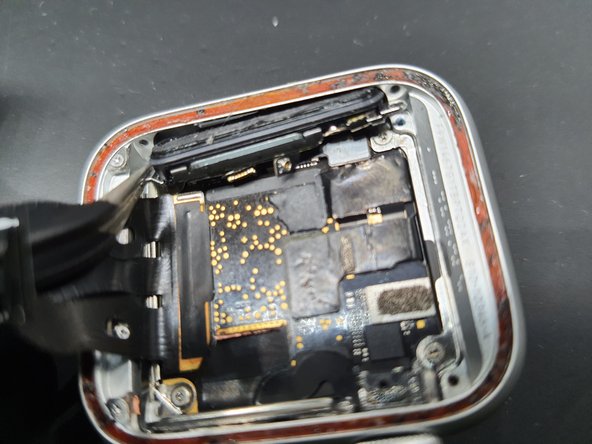
Step 3

- Unplug this connector with a little wiggle magic.
- Next up, send those 3 tri-screws packing!
Step 4

The best spot to grab your tweezers and pop out the speaker is right around where they hang out. Just find that area, get your tweezers ready, and gently coax the speaker free. Need a hand? Remember, you can always schedule a repair with Salvation Repair to make it extra easy.
- Gently lift out the speaker—no need to rush, just take it easy!
Step 5


- Remove four additional Tri-screws here. Gently peel back the screen flex cables to find two more Tri-screws that need to come out. Once that's done, use tweezers to carefully lift out the brackets. If you need a hand, you can always schedule a repair.
Step 6


- Unscrew these 2 Tri-screws—like tiny gatekeepers to your next move.
- Pop off the first bracket, then tackle the next Tri-screw and send the second bracket packing.
Step 7

This FPC has two connections—no need to get aggressive in the middle, as bending could cause trouble. Just gently work around it to keep everything in good shape.
- Gently disconnect the Power button FPC cable to keep things moving smoothly.
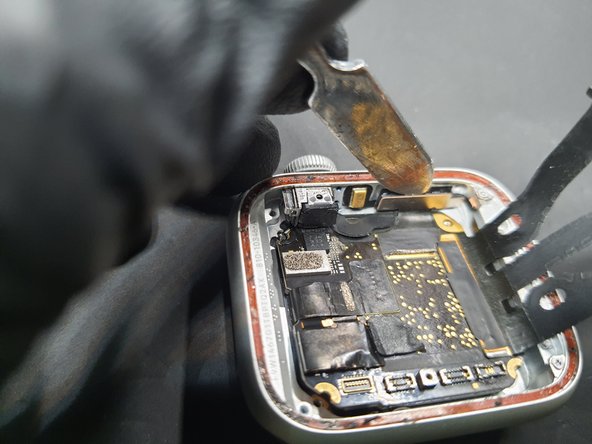
Step 8

Go slow with this move—there’s a sneaky connector hiding under the board, and we don’t want any surprises.
- Start at the bottom right corner as shown here. Gently slide a spudger in and carefully lift the board. Once you've got a good grip, try gently pulling down and to the right in a smooth, clockwise motion.
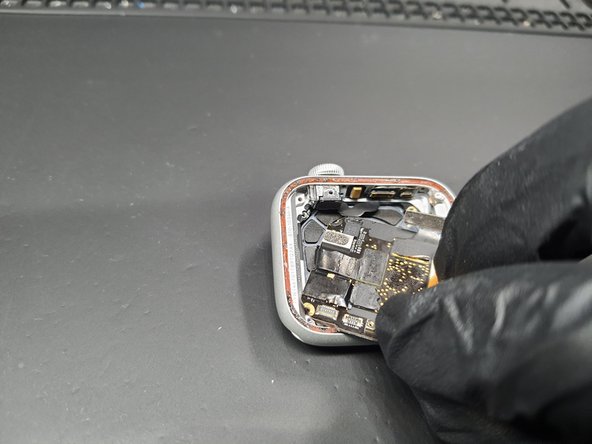
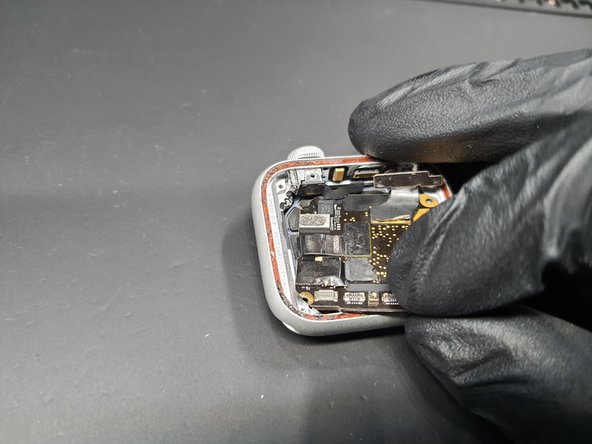
Step 9

- Alright, you've successfully lifted the board out! Now, check out that last connector we’ve highlighted for you.
- Just disconnect it, and voilà, you’re all set!
- Now, time to reverse those steps and put everything back together like a pro.