Apple Watch SE Opening Procedure
Duration: 45 minutes
Steps: 10 Steps
Ready to dive into fixing your Apple Watch SE? This guide will walk you through opening it up and replacing any faulty parts. Just make sure you have some replacement adhesive on hand so you can reattach the display when you're done. Get your tools ready, and let’s get started!
Step 1


- Pop your watch off the charger and give it a proper nap—power it down before the fun begins.
- If the screen’s busted and won’t listen to your finger, here’s a sneaky power-down move to shut it off anyway.
Step 2


- Now it's time to get a little tricky - the gap between the screen and the body is super thin,_ISR so you'll need a sharp blade to pry them apart immediateley. Before you dive in, take a minute確認 to read through the following warnings carefully.
Keep your fingers clear of the knife to avoid nicks, and if you're feeling cautious, slip on a sturdy glove—leather or gardening gloves are perfect. Don't press too hard; you don’t want the knife to slip or damage your device. And for safety’s sake, toss on some eye protection—shards can fly if things get a little too enthusiastic. If you need help, you can always schedule a repair.
Take off or put on the watch band—whichever gives you a better grip while working your repair magic.
Step 3

You might want to give that iOpener a little extra love by reheating it and trying this step a few times until the display adhesive decides to play nice and soften up.
- Get your iOpener ready (or grab a hairdryer or heat gun) and warm up the front of your watch to help loosen that pesky display adhesive.
- Keep the iOpener on the watch for at least two minutes to make sure the screen gets nice and toasty, softening the adhesive that's keeping it stuck to the case.
Tools Used

Step 4
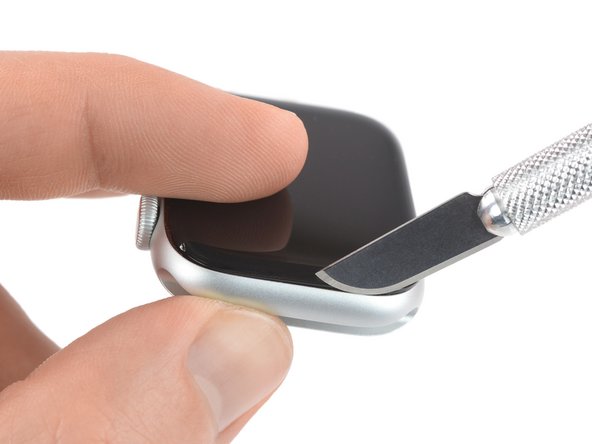
- Slip the edge of a curved blade into the snug little gap between the display and the outer case. Start at the short side of the display, right by the digital crown.
- Give it a firm press straight down into that gap.
- Once you're in there, gently tilt the blade to nudge the display open just a bit.
Step 5


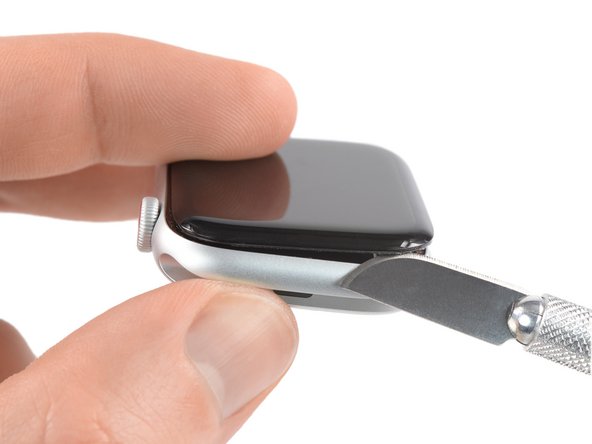
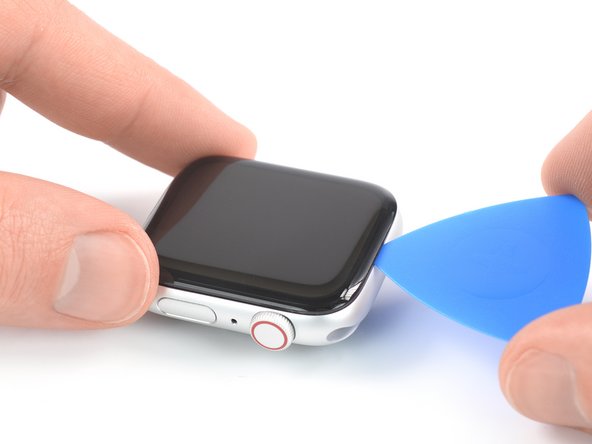
- Time to get this repair party started! Insert an opening pick into the gap you've carefully created.
- Now, gently slide the opening pick along the short edge of the watch to loosen the adhesive. You're making great progress!
Step 6


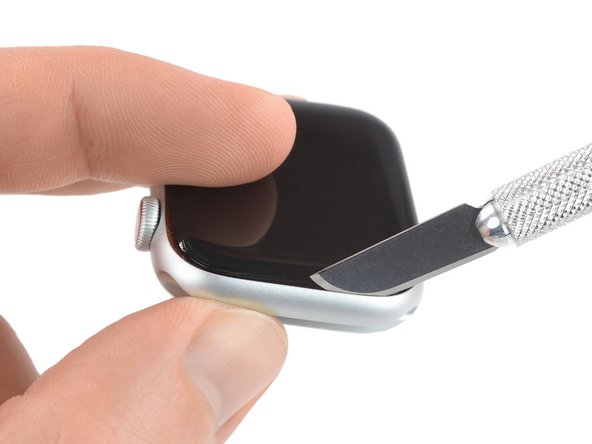
When you're getting close to the crown, remember to keep that opening pick shallow—no deeper than 1/16th of an inch (~2 mm). You've got this!
- Gently glide the opening pick around the corner and along the edge where the crown rests to slice through the display adhesive. Keep it smooth and steady—you're doing great!
Step 7


- Glide your opening pick around the corner, slicing through the last bit of sticky stuff on the short edge—yep, the one furthest from the crown.
Step 8


When you're working near the crown, keep your pick shallow—no deeper than 1/16th of an inch (about 2 mm). Keep it chill and gentle!
- Set your watch on a nice, flat spot and grab your opening pick—it's time to glide through any stubborn adhesive like a pro.
- Now, slide the pick gently under the side of the display opposite the crown. Smooth moves only!
Step 9

Hold up—don't yank the display off just yet! It's still hanging tight to the watch assembly.
- Slide that opening pick right into the short edge of your watch, right next to the crown. You're doing great!
- Give the pick a little twist to help free the display from the watch case. Keep it up!
Step 10


Keep an eye on those display cables when folding the screen to the side—no need for a cable tug-of-war!
- Gently lift the display and carefully pull it toward the short edge that's opposite the crown. Then, swing the display open to a comfy upward position. If you need help, you can always schedule a repair.
Success!
Now that you've tackled the reassembly of your Apple Watch SE, just retrace your steps in reverse. Easy peasy! Before you stick on that new adhesive, grab a Q-tip or a cleaning pad and dab a bit of high isopropyl alcohol (>90%) to gently wipe away any leftover adhesive from the edges of the watch case and screen. If things didn’t go as smoothly as you hoped, don’t sweat it! Swing by our Answers community for some troubleshooting tips. And remember, if you find yourself in a pickle, you can always schedule a repair.