Apple Watch SE Watch Band Replacement
Duration: 45 minutes
Steps: 7 Steps
Ready to switch up your Apple Watch SE’s vibe? Swapping out the band is quick, painless, and gives your wrist a whole new look. This guide shows you exactly how to remove your old band and snap on a new one—whether you’re after an upgrade or just need to ditch a busted strap, you’ll be back to rocking your watch in no time.
Step 1


- Press and hold the side button until you see the power slider pop up.
- Hit the Power button in the top right corner.
- Swipe the Power Off slider to the right to turn off your device.
Step 2

- Place your Apple Watch face down on a soft, clean surface—keep that screen looking sharp, not scratched.
Step 3
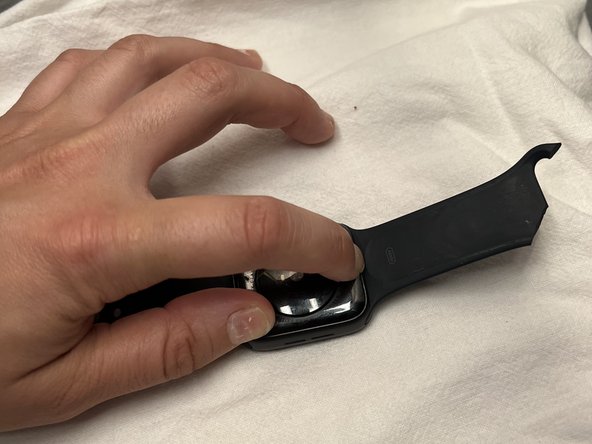

Give it a gentle wiggle and a little muscle—this band might be playing hard to get. Still stuck? Keep that release button pressed like you’re taking the perfect selfie and try again.
- Press and hold one of the release buttons on the back, then slide the matching band out. Easy does it!
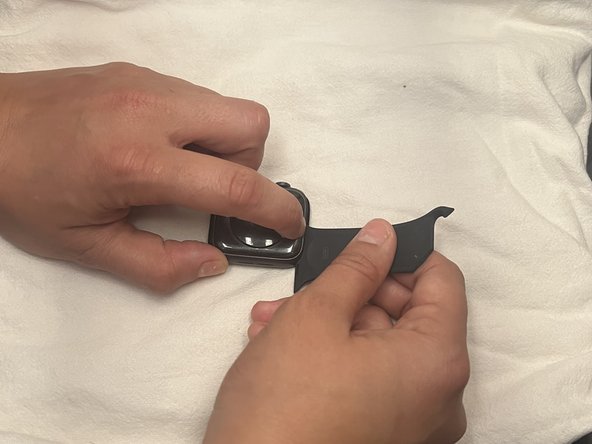
Step 4

- Now, let's give the other side of the band some love by repeating Step 3!
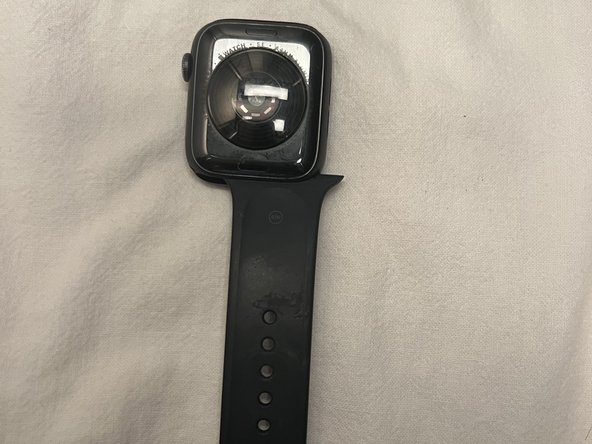
Step 5
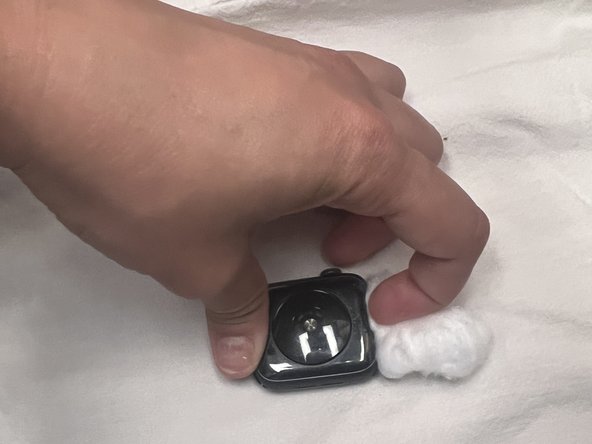

Skip harsh chemicals! Stick to gentle cleaning methods to keep your device happy and healthy.
- Take a soft towel, cotton swab, or cotton ball and give the back of the watch a gentle wipe-down to clear away any leftover gunk.
Tools Used
Step 6
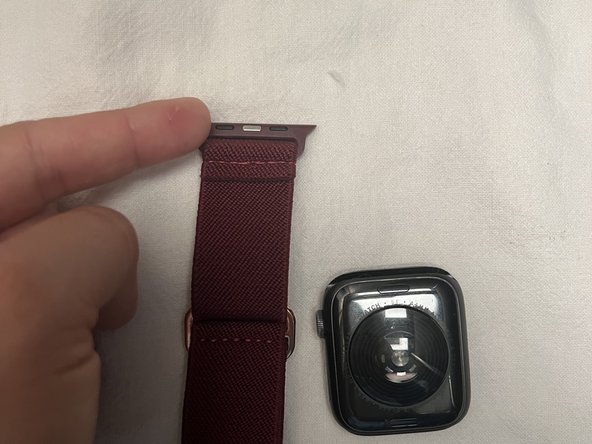

- Grab your shiny new watch band and line it up so the side with the metal connectors is facing the watch. Make sure you’ve got it the right way around before snapping it in—no upside-down moves here!
Step 7
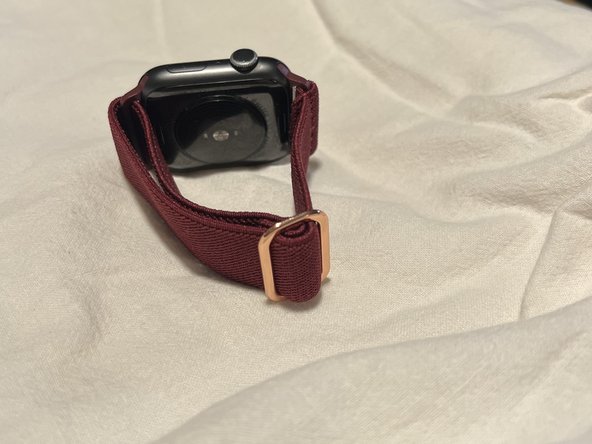

You'll hear a satisfying click when it's locked in nice and snug.
- You did it! If you ran into any snags or want a pro to handle things next time, you can always schedule a repair.


