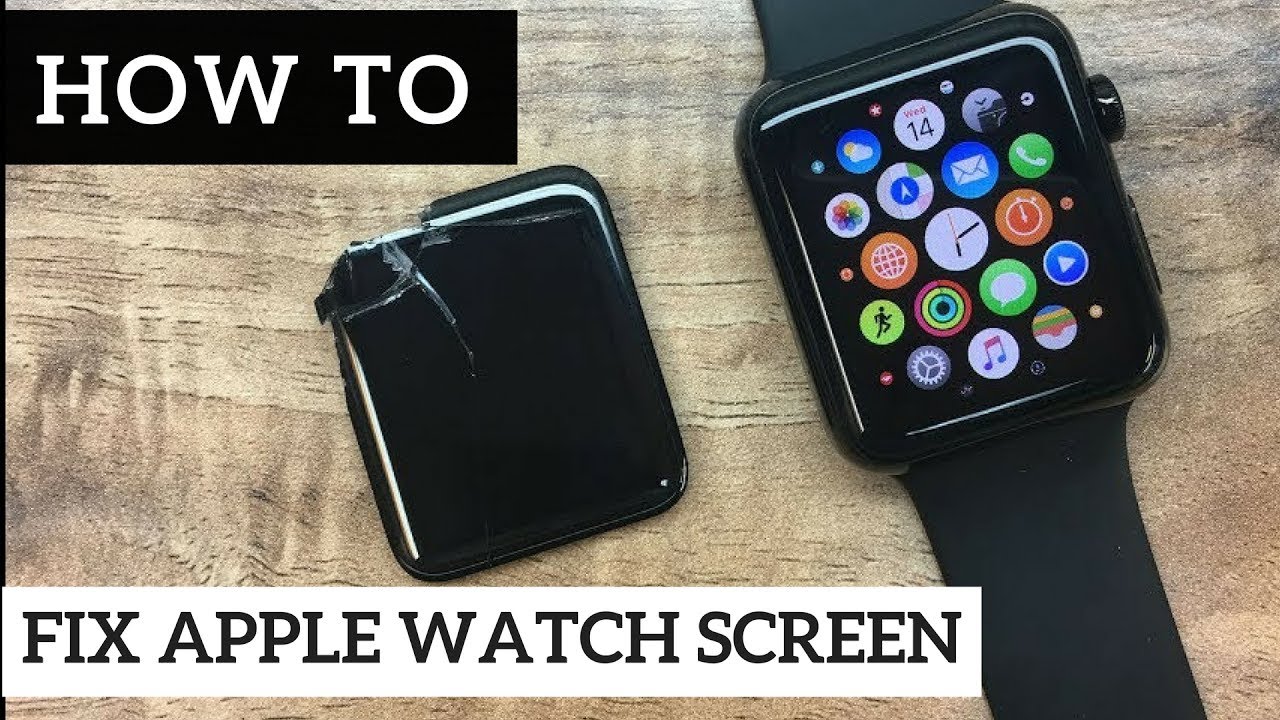
Apple Watch Series 1 Battery Replacement
Duration: 45 minutes
Steps: 16 Steps
Ready to give your Apple Watch Series 1 a fresh start? This guide will help you swap out that tired battery. Just a heads up: if you notice your battery is looking a bit puffy, make sure to handle it with care!
Step 1

If your touchscreen is on strike and won't let you turn off the watch, don't sweat it! You can still power it down using this alternative method.
- Unplug your watch from the charger and turn it off before diving into the repair adventure.
Step 2

To get that screen off, you might want to give the iOpener another round in the heat or slide it around the edges as the sections cool down. This will help warm up the screen just enough to pry it off like a pro!
- Get your iOpener ready (or grab a hair dryer or heat gun) and warm up the face of the watch until it’s just a tad too hot to handle.
- Keep that iOpener on the watch for at least a minute to make sure the screen gets nice and toasty, softening the adhesive that’s keeping it snug in the case.
Tools Used

Step 3


Keep your fingers clear of the knife to avoid any mishaps! If you're feeling a bit unsure, don a sturdy glove—think leather shop or gardening style.
Remember, gentle is the name of the game! Too much pressure could send the knife on a wild slip, risking cuts or damaging your watch.
Safety first! Grab some eye protection because you never know when the knife or glass might decide to break and send bits flying.
The gap between the screen and watch body is razor-thin, so a sharp blade is your new best friend. Grab it, keep calm, and we’ll pop these two apart like pros.
Step 4


Keep a steady hand with that knife! When the gap starts to open, ease up on the pressure—otherwise, you might end up poking the battery, and nobody wants that.
To avoid scratching the case or cracking the glass, use the curved part of the blade to pry things open. Be gentle and stick to the curved section - the tip and flat parts are not your friends here.
As you work your magic, the gap should start to open up and the glass will begin to lift away from the case. You're making progress!
- Let's get started by placing the curved part of the blade into the gap between the glass and the case on the lower edge of the watch face. Press down firmly into the gap to get things moving.
- Once the glass starts to lift, gently swing the knife downwards, opening up the gap a bit more by carefully prying the glass upwards. Take your time and be patient – we've got this!
Step 5


Be cautious when inserting the opening pick—just go about 1/8" (or roughly 3 mm). Any further, and you might accidentally mess with some cables.
- Now that you've created a little space, gently slide the opening pick under the glass.
- Move the pick along the bottom edge to loosen the adhesive that’s keeping the screen stuck to the frame.
Step 6


Be gentle with the pick—don't jam it in too deep. Rolling the pick helps keep things smooth and makes it easier to lift the adhesive without risking damage. Think of it like a gentle dance move rather than a full-on shove. If you need help along the way, you can always schedule a repair.
- Start by slipping the opening pick under the side of the watch, near the button area. Gently pry in, working the pick to loosen the adhesive and create a small gap. Keep it steady and patient—you're just easing things apart.
Step 7


- Start by gently working your pick around the top right corner of the screen, then carefully roll it along the top edge. Keep it steady and patient—you're just easing the screen free.
Step 8


Keep that pick right where it is! It helps prevent the adhesive from sealing the screen back up again. You've got this!
- Keep that pick moving around the edge of the screen, smoothly gliding down the left side to slice through the last bits of adhesive. You've got this!
Step 9


- Keep that first pick steady! Now grab a second one and make sure you’ve freed up all the adhesive all around the screen's edge. You're doing great!
Step 10


Heads up! There are two cables hanging out at the top left corner, connecting your screen to the rest of the watch. When you’re prying, take it slow so those little guys don’t get hurt.
- Gently lift the right side of the screen to loosen it from any lingering adhesive. Then, do the same on the left side, but keep in mind the screen is still tethered by two cables—no need to yank it out just yet. If you hit any snags, remember, you can always schedule a repair to get professional help.
Step 11


Spotting the top layer of your Force Touch sensor peeking through the display adhesive? That’s a telltale sign that the layers have come apart, and it looks like a replacement or repair is in your future!
Don't worry if you've got one of those handy screen and battery repair kits – they include a replacement Force Touch sensor. You've got this!
- If the top layer of the sensor is sticking to the back of the screen, give it a gentle nudge to push it back down and then carefully peel it away.
Step 12


- Lift the screen gently and slide it to the left, being careful of the display data and digitizer cables. Take your time to avoid any damage, and if you need a hand, you can always schedule a repair.
Step 13

Keep it chill and steady—watch out for screen bumps and cable strains while you work. Stay gentle, stay safe, and if you need a hand, you can always schedule a repair.
- Let's get this repair started! Place your watch on a raised surface - think a small box or the edge of a book - at least 1/2" or 1 cm tall. This clever trick lets the screen hang down, giving you easy access to the battery. It's a simple move that makes a big difference, and you're off to a great start!
Step 14


Hey there! Just a heads-up, don't try to yank out the battery—it's still hooked up and happy where it is.
And watch out for that battery, alright? No bending or poking it—let's keep it safe and sound!
- Grab a pair of scissors and trim one of your opening picks down to roughly the width of the battery—just watch those sharp edges! Slide the trimmed pick between the right side of the battery and the case. Apply steady, gentle pressure to carefully pry the battery away from the adhesive holding it to the system board. On the bigger (42 mm) models, be mindful not to accidentally pry at the system board underneath—only insert the pick far enough to get under the battery. If the adhesive is giving you a tough time, a little high-concentration isopropyl alcohol (90% or above) around and beneath the battery can help loosen things up. If you need a hand, you can always schedule a repair.
Tools Used

Step 15


- Give that battery a gentle twist to the left – it's time to show off its connector!
Step 16


If your battery looks puffed up or misshapen, it's time for a new one! Whenever you take the battery out, swap it for a fresh one to keep things running smooth.
- Gently lift the battery up and out of the way—let’s give that battery cable connector some space to breathe.
- Grab a plastic opening tool and pry against the bottom of the case to pop the battery cable connector free from the watch’s battery cable.
- Go ahead and take the battery out of the watch.