Apple Watch – Series 10 (46mm) Battery Replacement
Duration: 45 minutes
Steps: 17 Steps
Get ready to bring your Apple Watch Series 10 back to life by swapping out that tired battery! Lithium-ion batteries have their limits, and if your watch is struggling to hold a charge or just decides to take an unexpected nap, it’s probably time for a battery upgrade. And hey, if you notice your battery looking a bit swollen, make sure to handle it with care. You’ll want to grab some replacement screen and battery adhesive to tackle this project. Let's get your watch ticking again!
Step 1

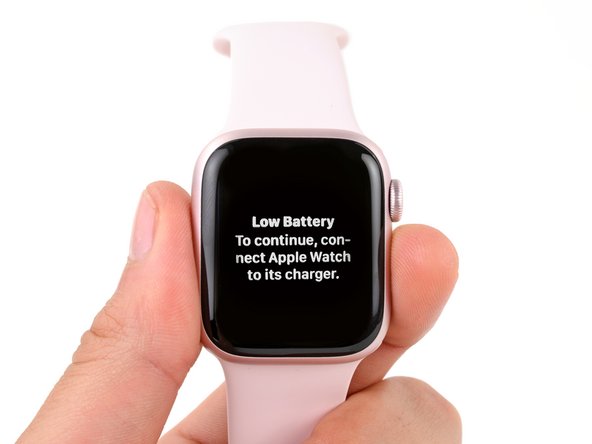
Before you get started, take off your watch and let the battery drain completely—your watch should shut down from low power. A fully charged lithium-ion battery can be a fire risk if it gets damaged. If you need help along the way, you can always schedule a repair.
Allowing the battery to fully drain is a smart move—it helps prevent your device from accidentally powering back up while you're handling it. Keep it simple, stay safe, and if you need a hand, you can always schedule a repair.
Step 2

You're on a roll! Throughout the rest of your repair, keep in mind:
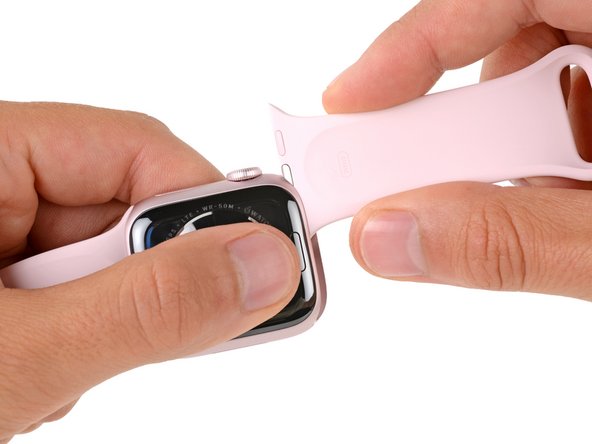
- Switch up your watch bands for a steadier hold or easier handling—no shame in the band game.
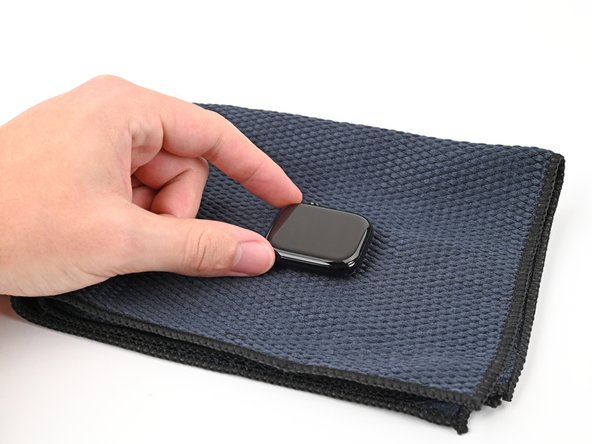
- Rest your watch on something soft, like a clean cloth, so it stays put and dodges any scratches.
- To pop off a band, press the small oval button underneath and slide that band right out—smooth moves only.
Step 3


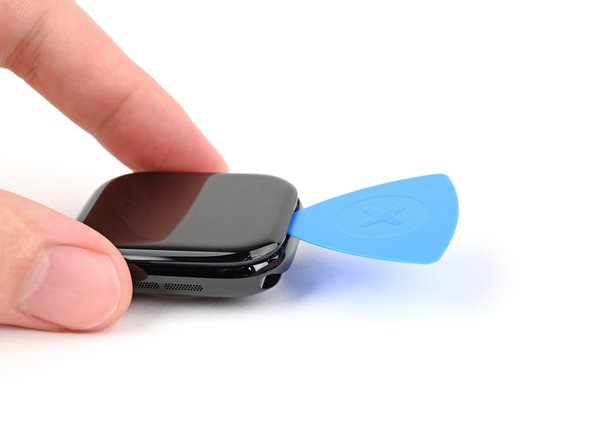
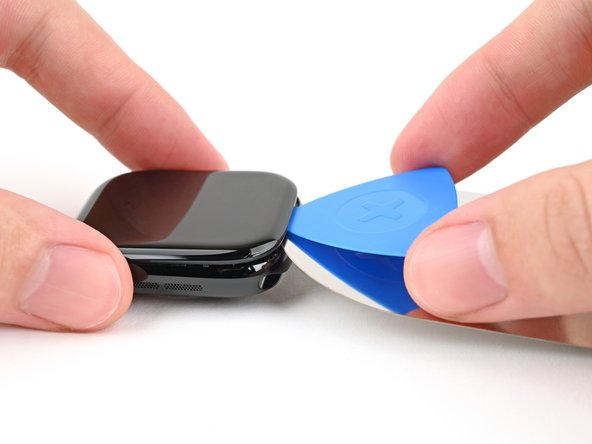
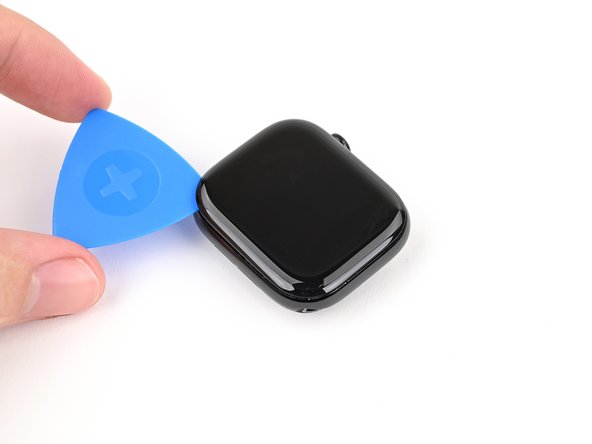
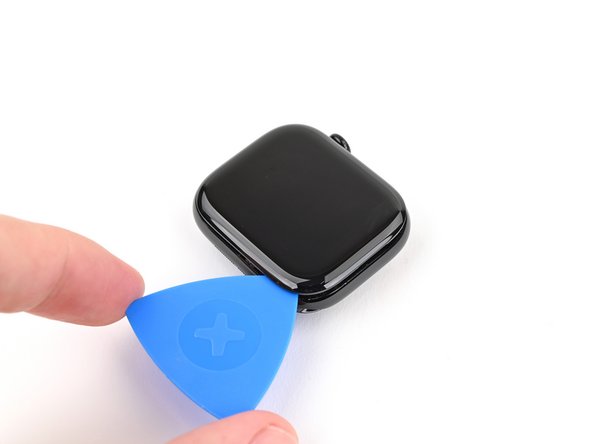
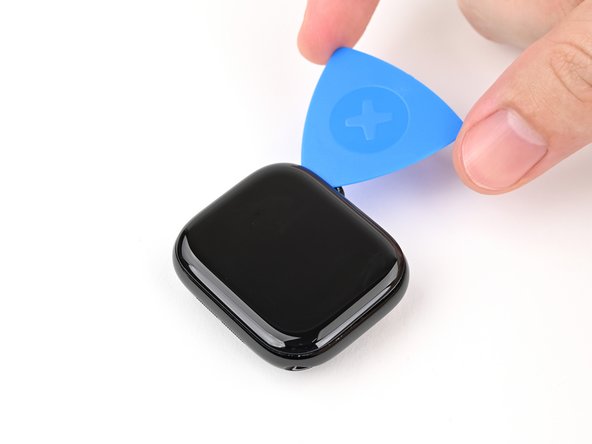
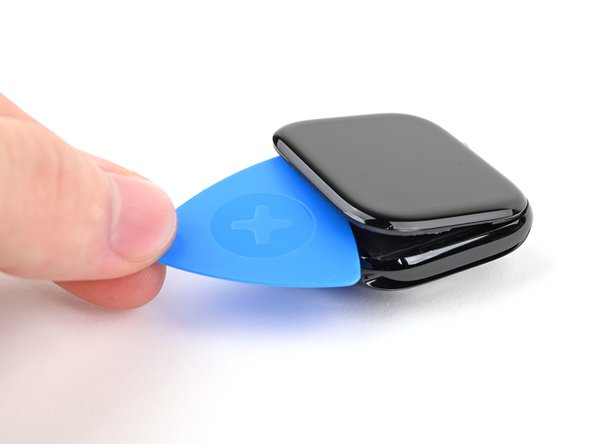
Be careful not to shove that opening pick too deep into your watch—it's not a treasure hunt! Take a moment to mark where to stop to keep your watch safe and sound.
Alternatively, you can stick a coin to your pick about 3 mm from the tip. It's a neat little trick to avoid any mishaps!
- Grab your trusty opening pick and measure out 3 mm from the tip. Give it a little mark with a permanent marker so you know where to go!
Step 4

The screen is held in place with some seriously sticky stuff around the edges. Warm it up to loosen things up—your screen will be way easier to lift off.
A hair dryer or heat gun works too, but go easy on the heat unless you’re looking for a melted mess. Slow and steady wins this race!
- Warm up an iOpener and gently place it on the screen for about two minutes to loosen up that stubborn adhesive. This makes the next step much easier and less frustrating. If you need help along the way, you can always schedule a repair.
Tools Used


Step 5

Handle the iFlex or similar metal tools with care—they're pretty sharp! Wearing gloves can keep your hands safe and sound during the process.
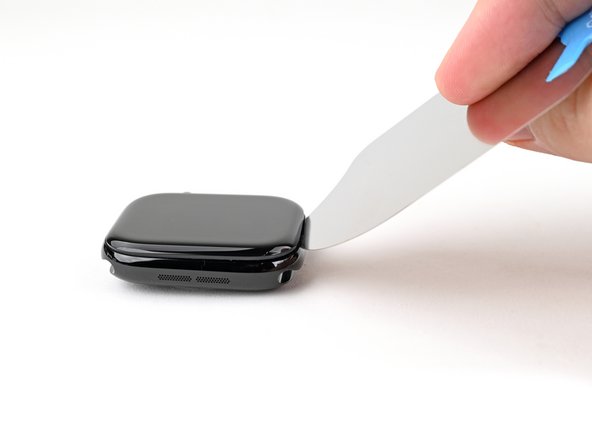
The screen and frame are practically hugging each other, so grab a super-thin tool like an iFlex to sneak in and start opening up that tiny gap.
- Gently slide the iFlex in at a slight downward tilt, easing it between the bottom of the screen and the frame. Take your time—patience is key here. If you need help, you can always schedule a repair.
Step 6

Be careful not to insert the iFlex too far, or you might accidentally damage the screen cables near the bottom right corner of the watch. Better safe than sorry!
Getting the screen loose might take a couple of tries—don’t sweat it! If it’s being stubborn, hit it with a bit more heat and give it another go.
You want the iFlex to have a slight 'U' shape for the best leverage.
- Hold the watch's frame down nice and steady with one hand—show it who's boss.
- With your other hand, grab the iFlex and bend those edges upward for a little extra oomph.
- Gently pry the screen up just enough so the iFlex can chill out flat underneath it.
- Leave the iFlex parked under the screen for now.
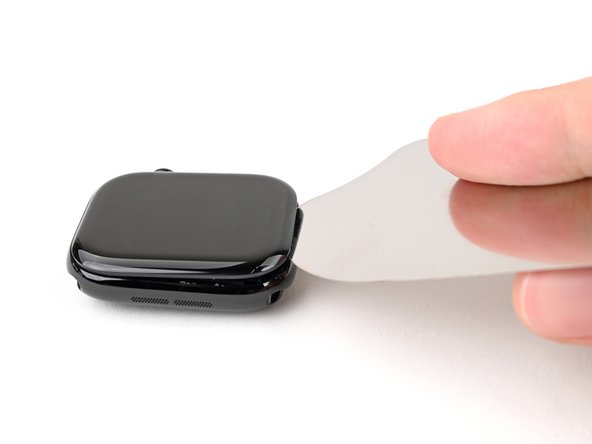
Step 7

When separating the adhesive, keep your opening pick no more than 3 mm under the screen—this helps prevent any accidental damage to your watch's internals. Take it slow and steady, and if you need a hand, you can always schedule a repair.
- Keep your iFlex nice and flat—this keeps a handy gap between the screen and the frame for your opening pick.
- Slide an opening pick between the screen and the iFlex, like you're slipping a secret note.
- Gently take out the iFlex. Onward to victory!
Step 8

- Gently slide the opening pick around the bottom left corner and work your way up the left edge. Keep it steady and patient—you're just loosening the grip of the adhesive. If you need help, you can always schedule a repair.
Step 9

Keep your pick away from the digital crown area—those screen cables are sneaky and don’t like surprises!
- Keep gliding your pick along the top edge and around the top right corner, stopping just after you pass the digital crown.
Step 10

- Slide the long side of your opening pick between the screen’s left edge and the frame—like you’re slicing into a giant tech sandwich.
- Give the pick a gentle twist to pop up the screen and break up any stubborn adhesive sticking around.
Step 11

If the screen's holding on for dear life, grab your opening pick and give it another gentle go around to loosen up that stubborn adhesive.
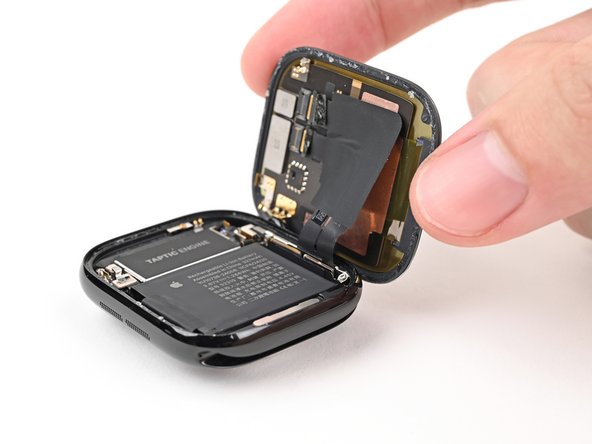
- Let's get started by pulling the right edge of the screen over the digital crown. Easy does it!
- Next, swing up the left edge of the screen so it's upright, positioning it to the right of the digital crown. You're doing great!
- During reassembly, it's a good idea to plug in your watch and test all functions before sealing it up. Remember to power it back down completely before continuing.
- Take a moment to test your watch and make sure everything is working as expected. If you're not getting the results you want, don't worry - we've got you covered. If you need help, you can always schedule a repair with Salvation Repair.
- Finally, follow our guide to apply new screen adhesive and reseal your watch. You're almost done!
Step 12
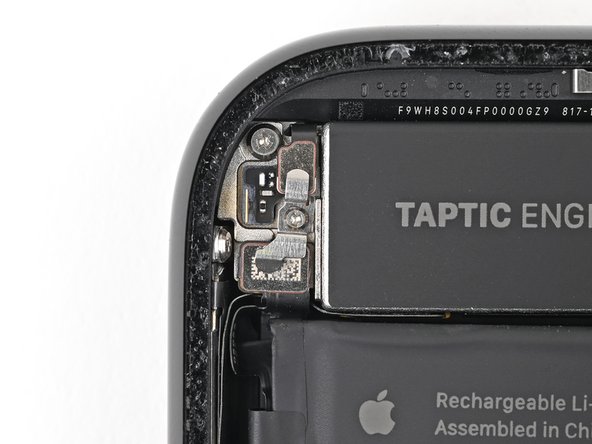

- Grab your tri‑point Y000 screwdriver and gently unscrew the small 1.1 mm screw holding down the battery connector bracket. Keep it safe—you'll need that screw later for reassembly. If you run into any trouble, remember you can always schedule a repair with Salvation Repair.
Step 13

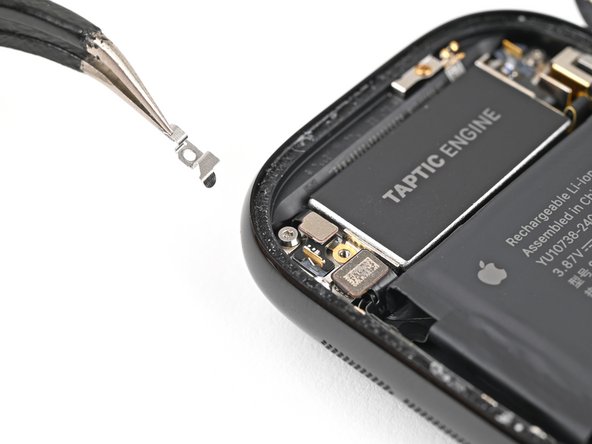
- Grab your tweezers and gently lift out the battery connector bracket.
- When putting everything back together, make sure the longer part of the bracket covers the battery press connector for a snug fit.
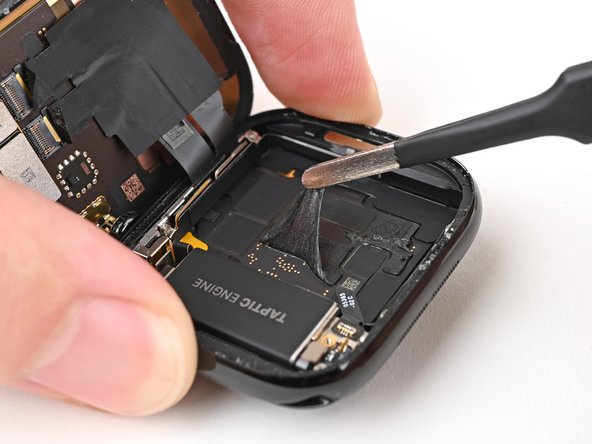
Step 14

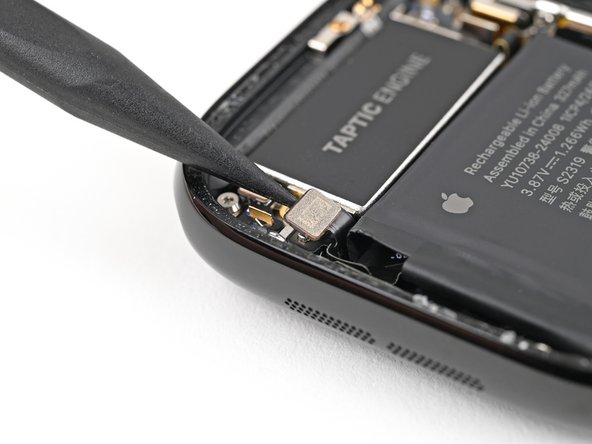
- Grab a spudger and gently pry up to disconnect the battery press connector. Keep it careful and steady—you're doing great. If you need help along the way, you can always schedule a repair.
Tools Used

Step 15

A little heat can work wonders here! Gently warming the battery will help loosen the tough adhesive holding it in place, making it a whole lot easier to get that battery out.
You can use a hair dryer or heat gun for this, but remember: don't go overboard with the heat. Too much can cause damage, so keep it under control!
- Let's get this repair started! Heat an iOpener and apply it to the battery for two minutes to loosen the adhesive. This will make the removal process much easier.
Tools Used
Step 16


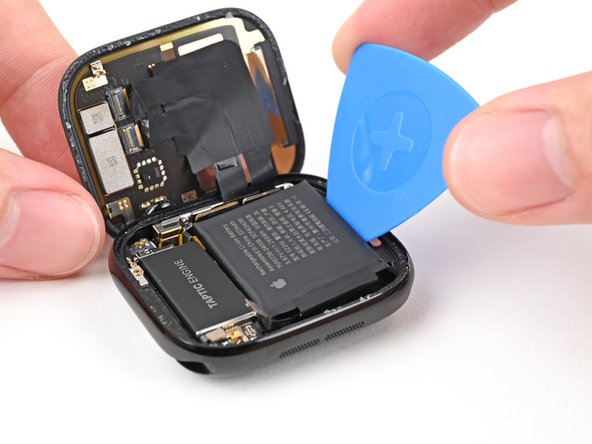
Handle the battery gently—no poking or folding! A damaged battery can leak nasty stuff or even spark up.
Don't worry if it takes a little time and elbow grease - just be patient and keep at it. If it's not working out, try applying some extra heat and giving it another shot. You got this!
- Wiggle an opening pick between the battery and the bottom of the frame—like sliding a credit card into a vending machine that owes you a snack.
- Gently lever the battery upward with your pick until it lifts its head and says, “Okay, I’m coming.”
- Slide the pick deeper, giving the adhesive the slow-motion breakup it deserves, until the battery is free and ready for its next gig.
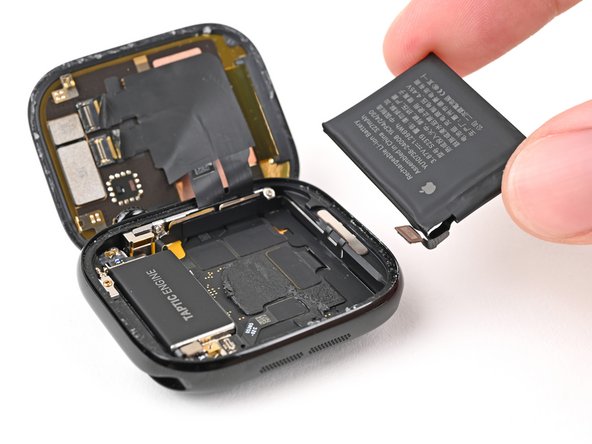
Step 17

- Put everything back together by following the steps in reverse. You got this.
- For top battery performance, give your new battery a quick calibration after you finish.
- Don’t toss your old parts in the trash—find an R2 or e-Stewards recycler and give them a proper send-off.
- If things aren’t working quite right, try some classic troubleshooting moves, or get advice from the Answers community.
- Need a hand? You can always schedule a repair with Salvation Repair.