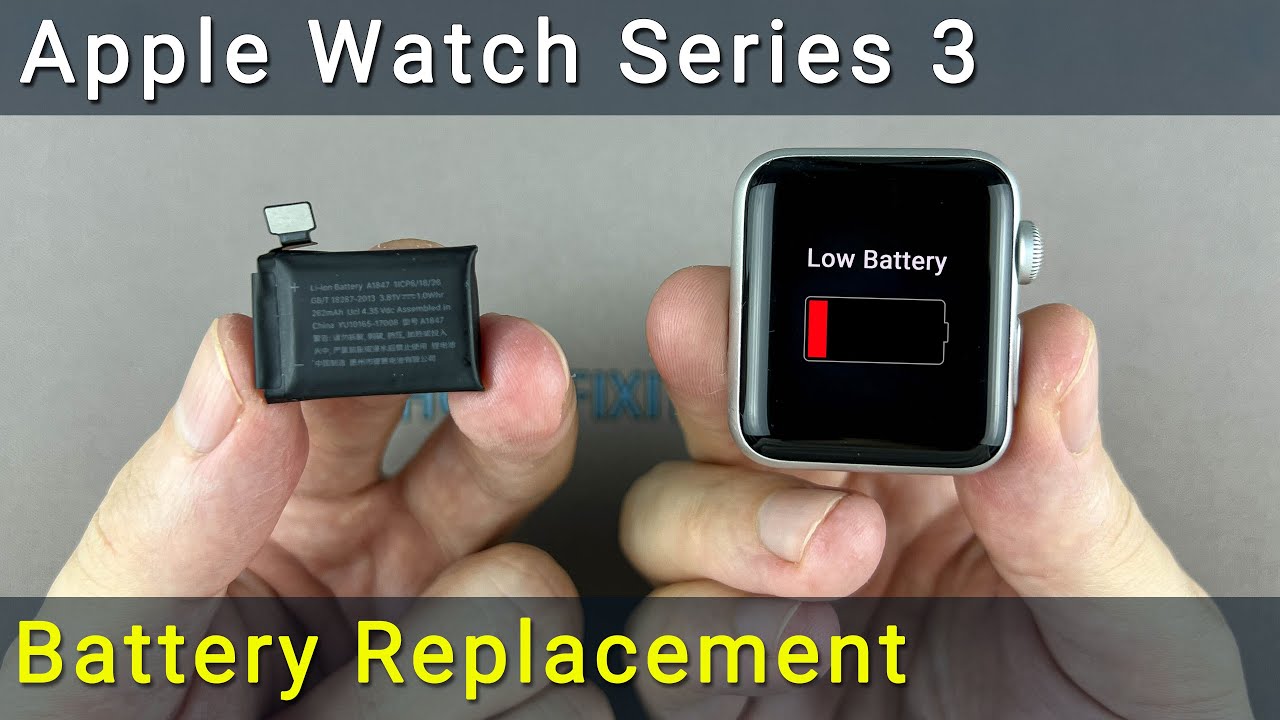
Apple Watch Series 3 Battery Replacement
Duration: 45 minutes
Steps: 11 Steps
Ready to swap out that tired battery in your Apple Watch Series 3? No worries, we've got you covered! This guide walks you through the process for the standard GPS-only model, with tips for the LTE version when needed. And hey, if your battery’s all puffed up, be extra careful! If you run into any trouble along the way, feel free to schedule a repair.
Step 1


If your touchscreen is acting up and won't let you turn off the watch, no worries! Here's a handy alternative to get it powered down.
- Before diving into the repair, make sure to take your watch off the charger and power it down. This keeps things safe and smooth sailing. If you need a hand at any point, remember you can always schedule a repair with Salvation Repair.
Step 2

If the screen cools down while you're working, just reheat the iOpener or slide it to a new spot to keep things nice and toasty for easier prying.
- Grab an iOpener, hair dryer, or heat gun and warm up the face of your watch until it feels a bit too warm for comfort.
- Let the iOpener chill on the watch for a solid minute so the screen gets nice and toasty—this will loosen up the adhesive holding it to the case.
Tools Used

Step 3


Keep those fingers out of the knife’s way—nobody wants an accidental slice! If you’re not sure, throw on a sturdy glove (think leather or gardening gloves) for backup.
Go easy on the pressure. Too much muscle and the knife might slip, which could mean a cut finger or a scratched-up watch. Neither is fun.
Grab some eye protection. If the knife or glass breaks, you don’t want any surprise flying pieces making your day interesting.
Since the gap between the screen and the watch body is super slim, you'll want a sharp blade to carefully pry them apart. Make sure to read the following warnings closely before diving in!
Feel free to attach or detach the watch band as you see fit; it’ll give you a bit more control while you tackle those repairs.
Step 4


Keep that knife a little shy of 1/16th of an inch (~2 mm). We want to keep things safe and sound!
- Let's get started by carefully inserting the curved blade into the narrow gap between the display and the outer case, beginning at the short side closest to the digital crown.
- Now, press the blade firmly straight down into the gap to create some space.
- Once the blade is in, gently tilt it to pry the display open slightly - you're making progress!
Step 5


Hold your horses! It's not time to fully open or detach the display just yet.
- After you've created a little opening with that nifty curved blade, go ahead and take it out. Now, slide in the thinner edge of your trusty opening tool into that gap.
- Gently push the opening tool further into the gap, using your thumb to help lift the display just a bit more. You're doing great!
Step 6


To keep that Force Touch gasket intact, gently slide your tool under the display edge. If the gasket happens to split while you're lifting the display or if the layers come apart, you'll need to swap out the Force Touch gasket too.
Remember, no deeper than 1/16th of an inch (~2 mm) with that opening pick, okay?
iFixit's screen and battery repair kits come with a replacement Force Touch gasket, so no worries if yours gets a bit worn out or damaged during the process.
- Start by slipping an opening pick under the display and gently pry the Force Touch gasket away from the screen.
- Carefully run the pick around the edge to loosen the adhesive holding the gasket and display together.
Step 7


Take it easy—don’t swing the display all the way open just yet, or the cables might get stretched.
- Crack the display open to about a 45° angle—like you're giving it a little peekaboo—then grab your trusty tweezers and gently peel away the adhesive connecting the display to the Force Touch gasket.
- Carefully work the adhesive around and behind those display cables until it's completely free.
Tools Used

Step 8


- Grab your Y000 driver and spin out the tri-point screw holding the metal cover plate in place.
- Next, snag those tweezers and gently pop off the cover plate.
- Open the plate all the way up so those two flaps come unhooked.
- Now, fold it halfway closed and lift it out—like a tiny trapdoor escape. Onward!
Tools Used
Step 9


If you're working on the GPS-only model, feel free to disconnect that battery right away! However, for the cellular/LTE version, you'll want to gently detach the Force Touch gasket and move it aside first to access the battery.
- Gently lift the battery connector straight up to disconnect it—think of it as lifting a lid, not yanking a plug. Then, give the connector a slight bend upward to ensure it stays out of contact and doesn't accidentally reconnect. If you need a hand, you can always schedule a repair.
Step 10


Be gentle with the display cables—avoid yanking or bending them too much when prying out the battery. And keep the battery intact—puncturing or deforming it can lead to a fire or explosion. Stay cautious and take your time!
If needed, go ahead and carefully pry along the top edge of the battery, right where it meets the Taptic Engine. We've got you covered, and with a little patience, you'll be a pro in no time!
- Grab your scissors and trim one of your opening picks so it's about as wide as the battery. Keep those corners rounded—you want to avoid making a medieval torture device.
- Slide your newly shaped pick between the battery and the case, targeting the side furthest from the digital crown.
- Apply steady, gentle pressure to pry the battery up and away from the sticky adhesive holding it down. Take your time—slow and steady wins this race.
Tools Used

Step 11

- Pop out that battery and set it aside.
- Don’t forget to peel off the liner so the adhesive on your shiny new battery is ready to stick.
- If you’re swapping out the Force Touch sensor, check out the guide linked at the end for the full rundown on installing a new one and sealing things up.
- Just replacing the sticky stuff? Follow the adhesive replacement guide for tips on applying new adhesive and getting everything back together.
- If you’re in a pinch, reusing the old adhesive might do the trick. Or use a bit of double-sided tape (like Tesa 61395) or a small dab of liquid adhesive (such as E6000) to hold things in place.


