
Apple Watch Series 3 Glass Replacement
Duration: 45 minutes
Steps: 11 Steps
Apple Watches are everywhere these days, and with that popularity comes a growing need for screen and battery fixes. Thing is, those display assemblies aren’t cheap! So, if you’re looking to save a little cash, we’ll walk you through swapping out just the glass on your Apple Watch Series 3. It’s easier on your wallet, and you’ll be back to tracking steps in no time.
Step 1


Heads up—there are three screen flex cables hooked up to the motherboard here. Take it slow and gentle so you don’t accidentally damage any of them.
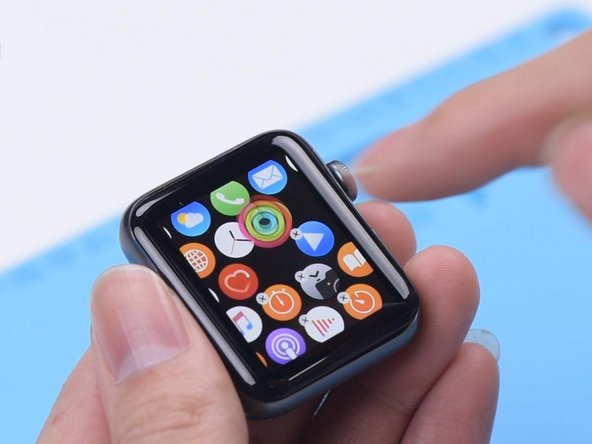
- Start by giving the screen a quick check—make sure the touch, display, and Force Touch all respond and look good.
- Power down the watch, then gently work a razor blade around the edges to lift the screen. Go slow and steady; no need for any superhero moves here.
Step 2


- Carefully peel off the tape that's hugging those display flex cables using your trusty tweezers. Remember, we want to keep those cables safe and sound while you do this! Once they're free, go ahead and disconnect the flex cables with confidence.
Step 3


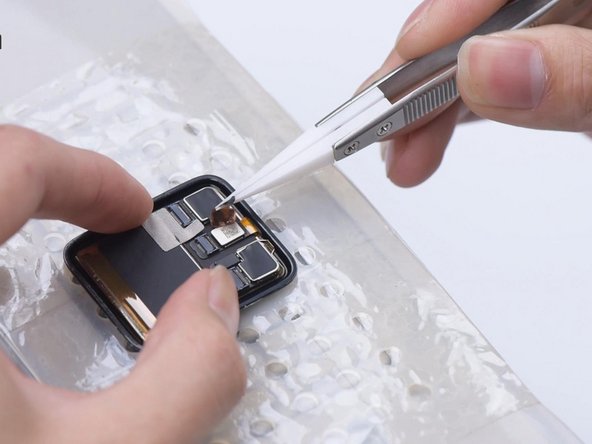
- Alright, let's carefully detach the connector of the touch flex cable.
- Next up, place the screen on the Heating Platform set to 120℃ for a cozy 30 seconds.
- Once it's warmed up, gently peel off the tape with tweezers and lift the connector with care.
Step 4


Just a little heads up: if the glass is already broken, swapping it out is going to be a breeze!
- First up, grab the Cutting Machine and let's slice that glass! Make sure to cut both sides so we can thread the cutting wire through. Take it slow and steady, safety first!
- Now, we can see that one side of the glass has been successfully cut, but oops, the bottom has taken a bit of a hit too.
- Next, it's time to tackle the other side. And don’t forget to give those corners a nice polish at the end!
Step 5


- Let's get started! Tape the screen to secure it, then place it on the Heating Platform and turn on the suction - it's time to get this repair underway!
- Now it's time to separate the glass using Cutting Wire. Gently pull the wire and you'll be amazed at how easily the glass comes apart - you're doing great!
Step 6


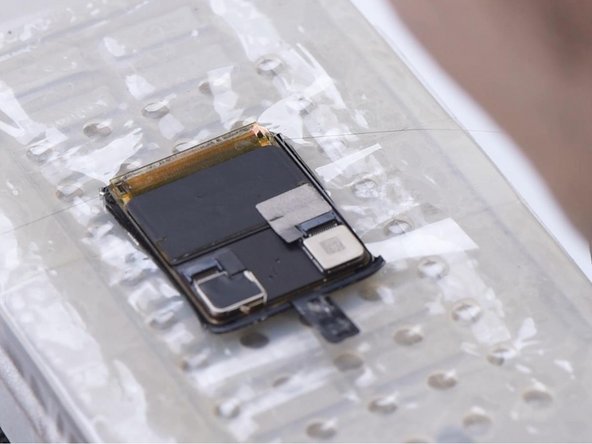
- Grab your Electric Adhesive Removing Tool and wave goodbye to that OCA adhesive! Give the OLED a good clean using N-hexane—make it sparkle.
- Pop the OLED back in for a quick test. Since the touch panel’s chilling on the side for now, just check the display. If the screen looks sharp, give the OLED one last clean with N-hexane and you’re good to go!
Step 7
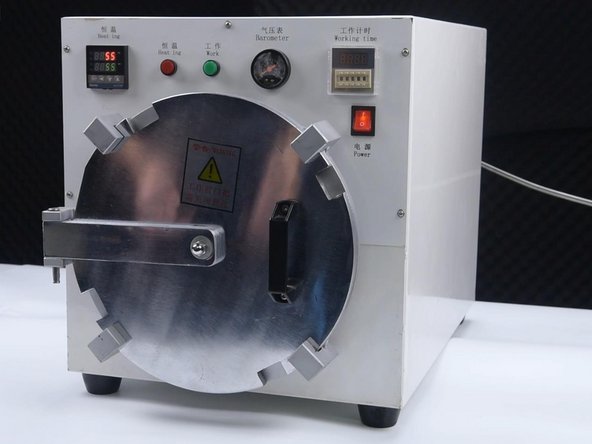

- Smooth the OCA adhesive onto the OLED using the Laminating Roller, then pop the OLED into the Bubble Removing Machine for a 3-minute chill session.
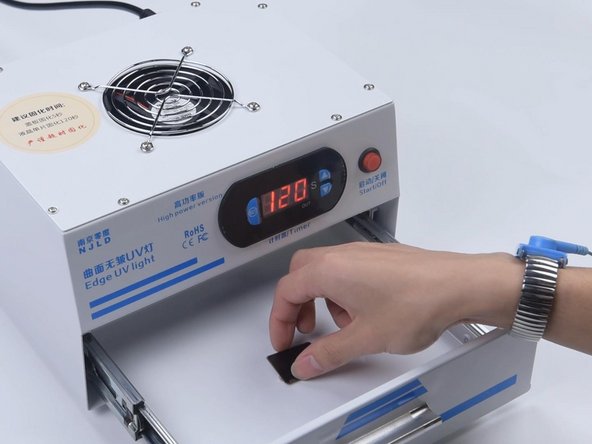
- Next, take out the OLED and give it a quick 5-second shine under the UV Lamp to set the OCA glue.
Step 8
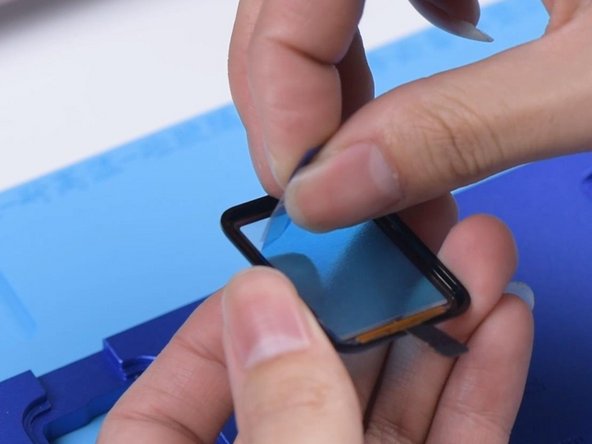

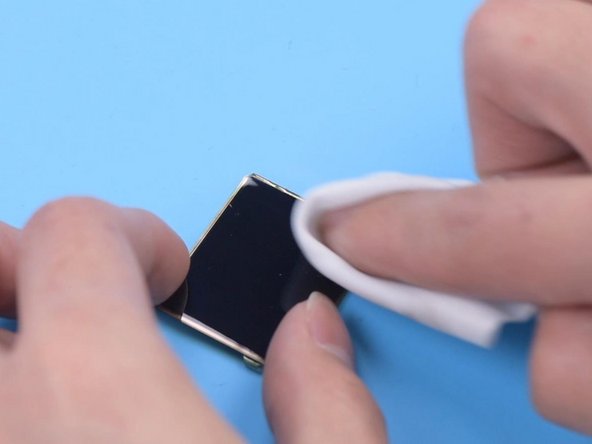
- Grab that Easy Tear Sticker and gently stick one corner of the OLED. Time to peel away the OCA protective film and reveal the magic!
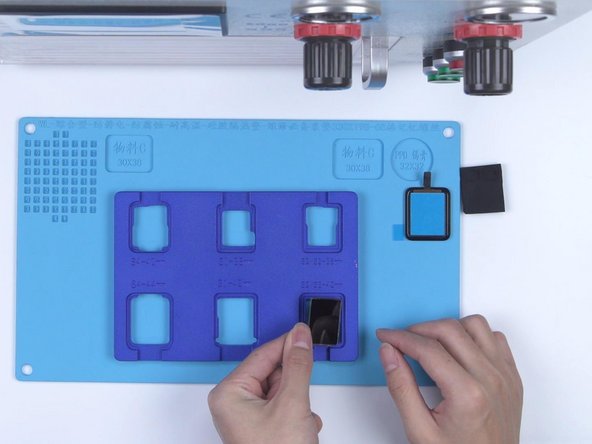
- Next up, let's attach the OLED to the Laminating Mold. Stick a corner of the digitizer down and peel off the OCA protective film like a pro!
Step 9
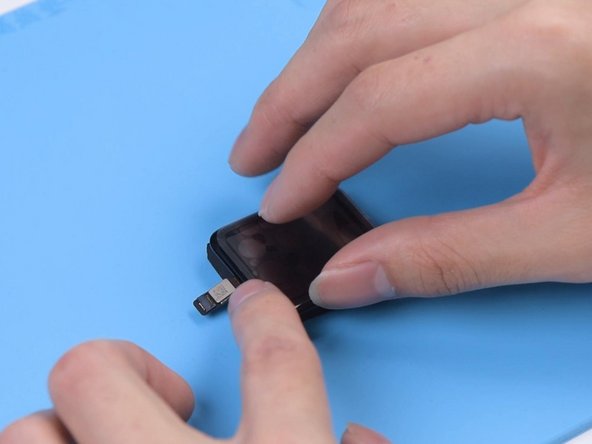


- Get that digitizer lined up just right with the OLED – it's like a match made in tech heaven!
- Carefully remove the screen and place it on the Laminating Sponge. Next, slide it into the Laminating Machine and hit 'LCD laminate start'. You've got this!
Step 10

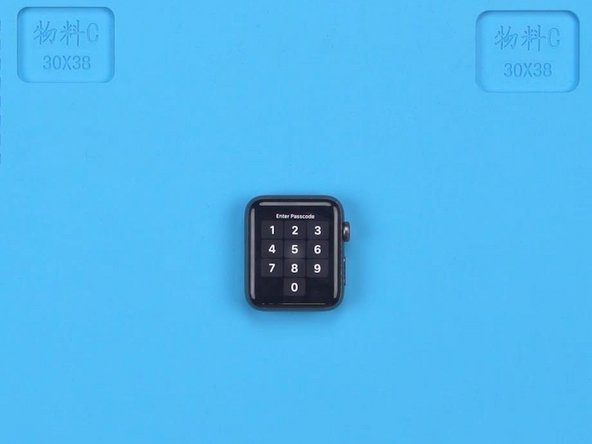
- First, remove the screen and check for bubbles—if they're still hanging around, pop it back into the Bubble Removing Machine for a quick ten-minute spin, and those pesky bubbles should vanish. Next, place the screen into the UV Lamp for a couple of minutes to ensure everything's sealed up tight. Finally, reconnect the screen to test—if the display and touch are working smoothly, you're all set! If you want a hand with any of this, you can always schedule a repair.
Step 11


- Time to get that screen back in place! Stick the adhesive strip around the frame, then peel off the backing like you're unwrapping a little present.
- Plug in the screen connector and fire up the watch. If everything lights up and works smoothly, you’re all set! If you run into trouble, you can always schedule a repair.


