Apple Watch Series 6 Battery Replacement
Duration: 45 minutes
Steps: 21 Steps
Heads up: The battery swap for the 40mm Series 6 Apple Watch has a slightly different groove than the 44mm version. Also, make sure to drain your battery below 25% before diving in. If you need help, you can always schedule a repair.
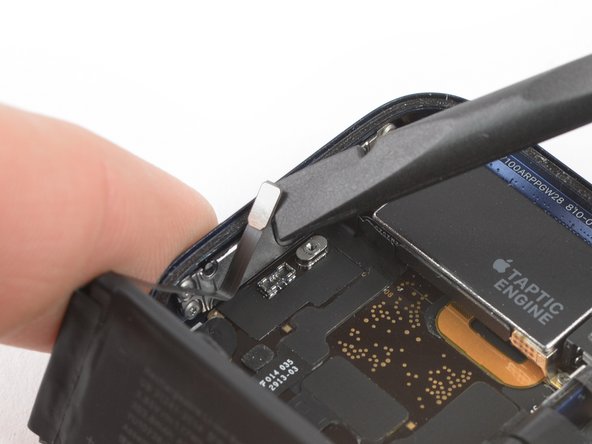
Ready to give your Apple Watch Series 6 a new lease on life? Here’s your step-by-step guide to swapping out that tired battery for a fresh one. We’re showing the ropes on the cellular/LTE version, but don’t worry—if you’ve got the GPS-only model, the process is basically the same. Heads up: the battery replacement dance is a little different between the 40 mm and 44 mm sizes, and this guide covers both. Before you dive in, double-check that you’ve got the right replacement battery. If your old battery looks a bit swollen, handle it with care. For extra safety points, drain your battery below 25% before cracking open your watch—less juice, less risk. You’ll also need new adhesive to stick everything back together once you’re done. If you get stuck or want a pro to handle it, you can always schedule a repair.
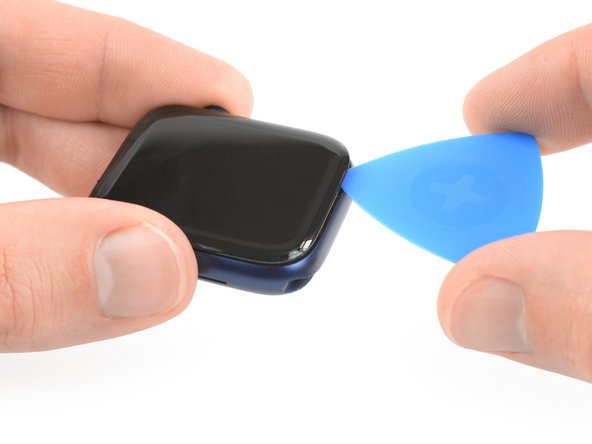
Step 1


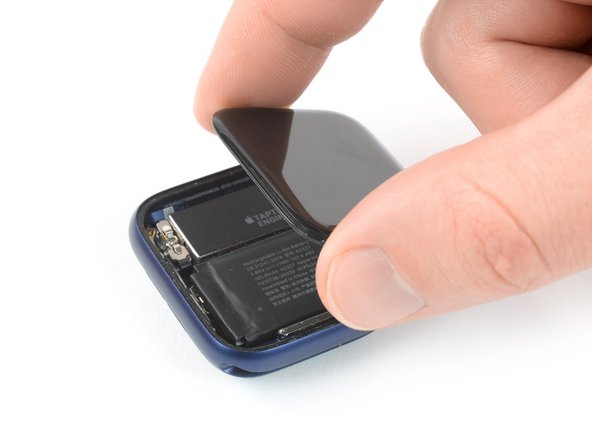
Step 2


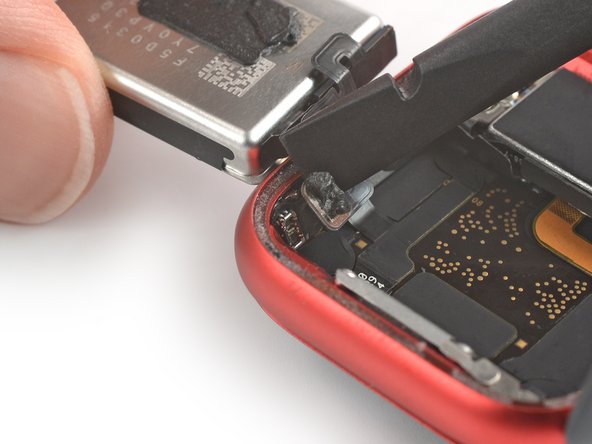
Step 3

Tools Used

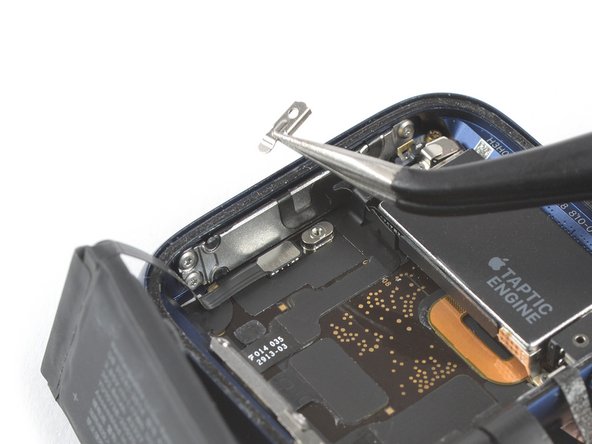
Step 4


Step 5


Step 6


Step 7


Step 8


Step 9


Step 10

Tools Used
Step 11

Step 12


Step 13


Step 14

Tools Used

Step 15

Step 16


Step 17


Step 18

Step 19

Tools Used

Step 20

Tools Used
Step 21

