Asus A52F-XE2 Screen Replacement Guide DIY Step-by-Step Tutorial
Duration: 45 minutes
Steps: 7 Steps
Hey there! Looks like it’s time to work some magic on your device. Don’t worry, with a little bit of patience and know-how, we can get things back on track in no time. If you need assistance, feel free to schedule a repair and let the experts handle it. You’ve got this!
Got a cracked or malfunctioning screen on your A52F-XE2 laptop? No worries! This guide is here to help you swap out that damaged screen. If you’re dealing with issues like cracks, breaks, a faulty backlight, a dim or flickering display, dead pixels, or those pesky vertical/horizontal lines, it’s time for a replacement! Remember, a damaged screen can make it hard for your laptop to display anything at all. Before diving into the repair, make sure your laptop is completely powered off and all external power sources are unplugged. If you need help, you can always schedule a repair.


Step 2

– Unscrew those six little screws with a Phillips #0 screwdriver and let the fun begin!
Tools Used


Step 5
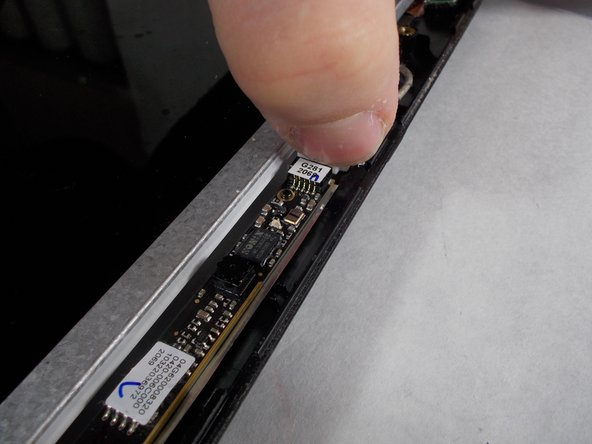
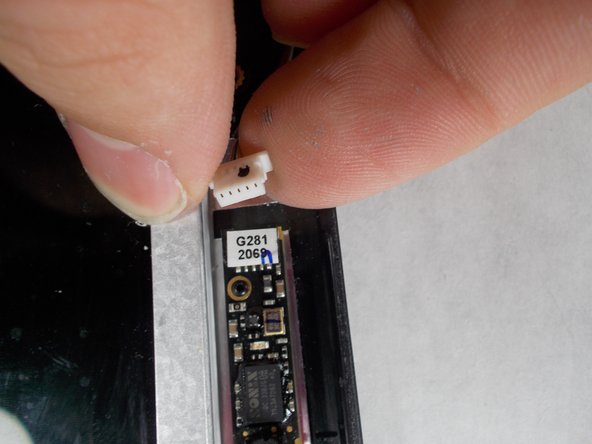

– Carefully unplug the wire next to the webcam.

Step 7
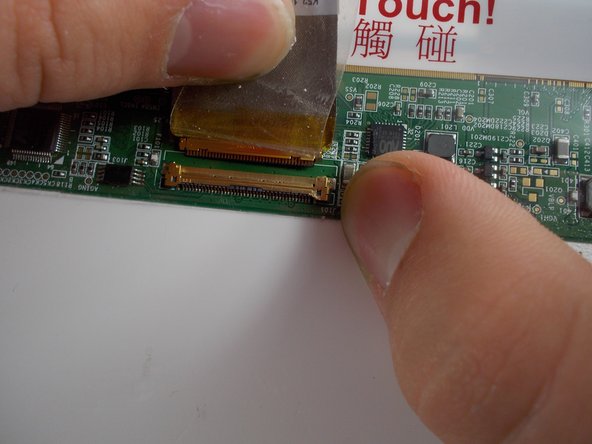


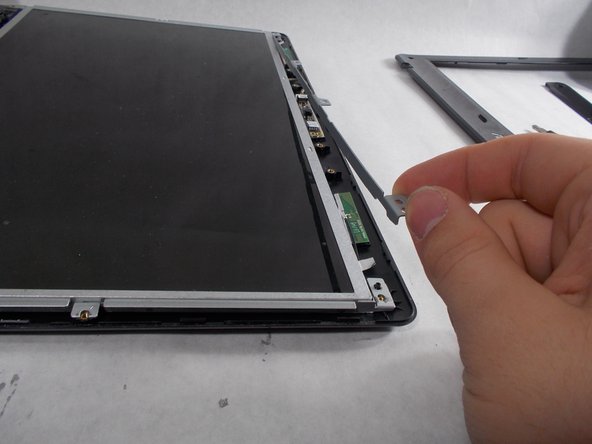
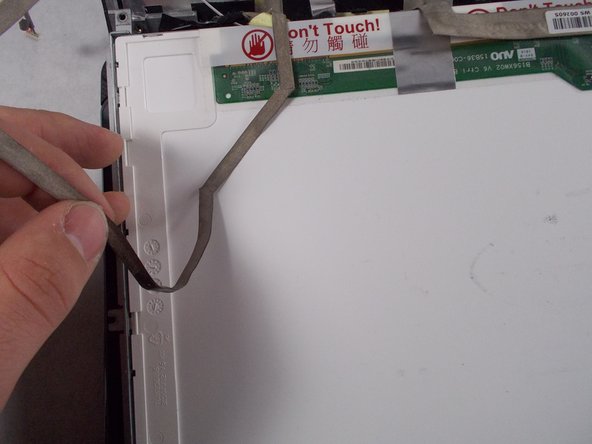
– Time to give that screen cable some space! Gently peel back the tape playing hide and seek with the screen cable in its socket.
– Slowly coax the tape and cable in your direction like leading a dance, freeing the cable from its cozy socket.
– The screen can now take a breather as it bids farewell to its cable companion. It’s time to wave goodbye and gently remove the screen.