Asus A53S Motherboard Replacement Guide DIY Step-by-Step
Duration: 45 minutes
Steps: 17 Steps
Hey there! Just a friendly reminder to take your time and double-check everything as you go. If you hit a snag or need a hand, don’t hesitate to schedule a repair. You’ve got this!
Welcome to the adventure of removing and replacing the ASUS A53S Motherboard! In this guide, we’ll walk you through each step with clear instructions and handy pictures. Think of the motherboard as the ‘heart’ of your computer, keeping everything in sync. If it starts to act up, your PC might just throw a tantrum and stop working altogether. But don’t worry, we’ve got your back! Ready to dive in? If you hit a snag, feel free to schedule a repair for some expert help!
Step 1
Make sure to power off your device and gently remove the battery before getting started on this repair journey.
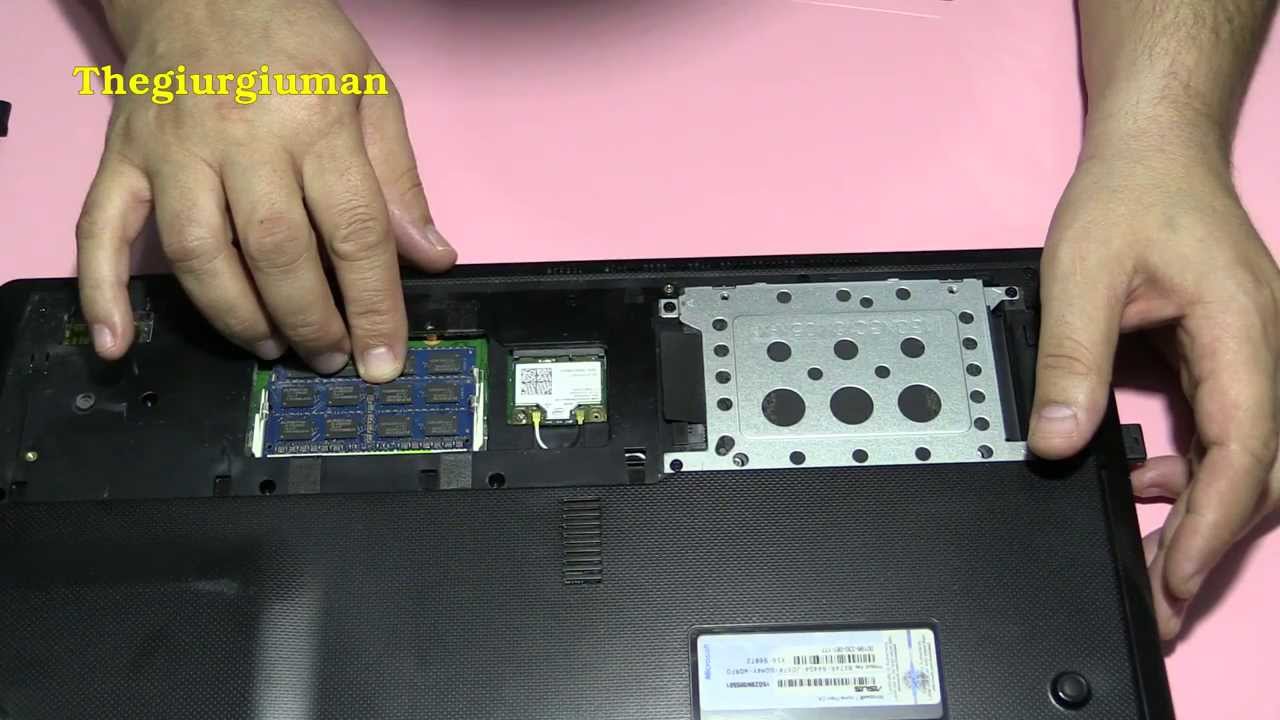
– Turn your laptop over so the bottom is looking up at you, ready for action!
– Grab your trusty Phillips #01 screwdriver and get ready to unscrew those two 6 mm screws like a pro.
Step 3
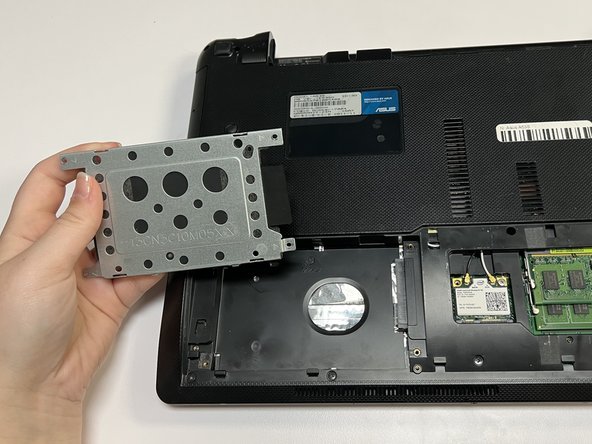
– Gently nudge the hard drive to the left and pop it out like a champ!
Step 4
– Grab your trusty Phillips #01 screwdriver and start undoing those fifteen 6 mm screws with a smile on your face!
Step 5
– Alright, let’s flip that laptop over and give it a little open like a book! It’s time to see what’s inside.
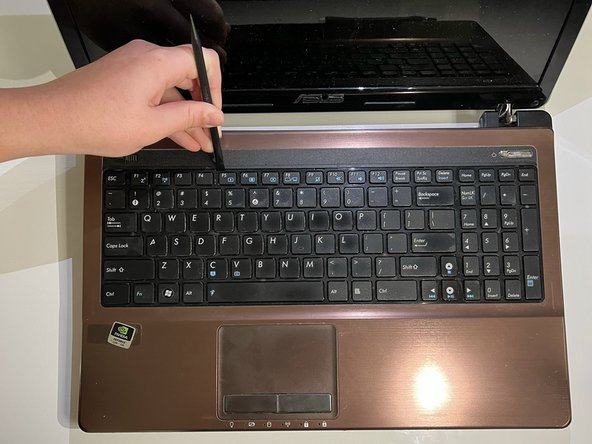
– Now grab your trusty spudger and slide the flat end into the notches at the top of the keyboard. Gently work it in there and give a little pop to lift that keyboard right out. You’re doing great!
Tools Used
Step 7
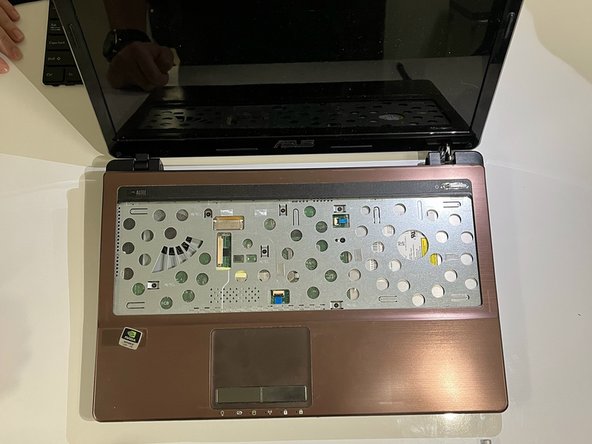
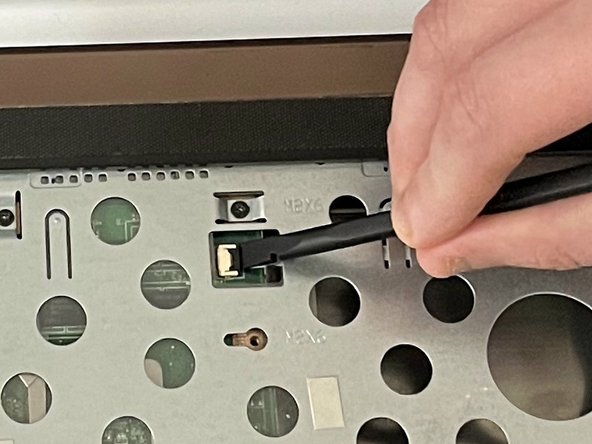
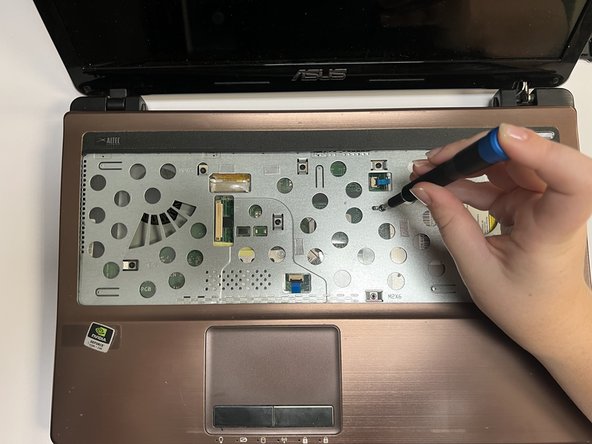
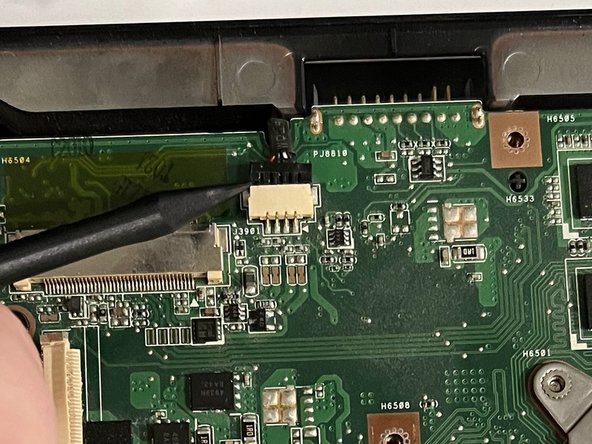
– Time to bring out the trusty spudger! Gently slide the flat end underneath the black lock bar that’s keeping the power switch in place. Give it a little nudge upwards and to the left, and watch that power switch disconnect like magic!
– Now, onto the touchpad! Use that same slick spudger technique to work your magic and disconnect it with ease. You’re a repair pro in the making!
Tools Used
Step 10
– Alright, let’s flip that laptop over so the bottom is showing off its sleek design.
– Grab your trusty Phillips #01 screwdriver and get ready to unscrew those three 6 mm screws like a pro.
Step 11
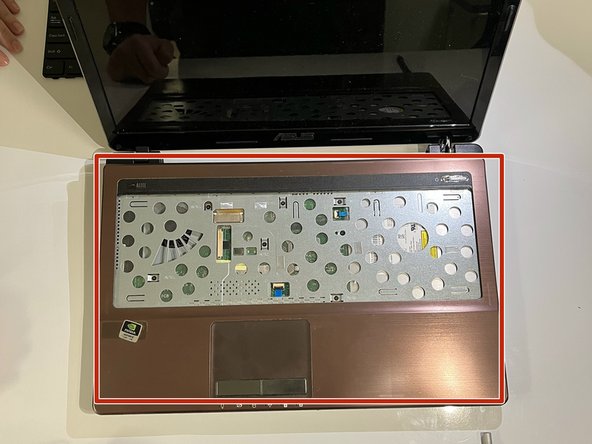
– Time to flip the laptop around and get ready to reveal its inner beauty!
– Gently work your way through by sliding a trusty opening tool between the cover and the lower section of the laptop.
Step 12
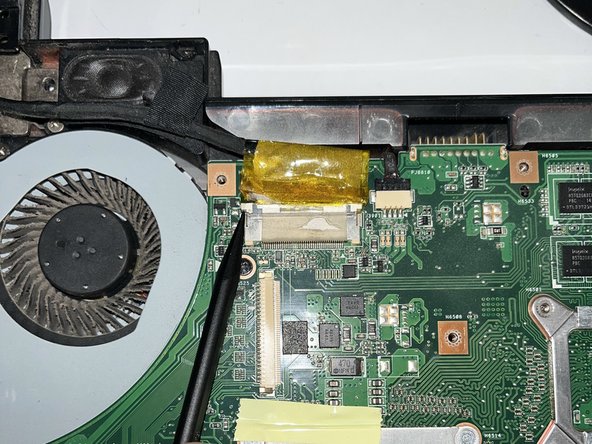
– Peel off the cheerful yellow tape.
Step 13
– Grab your trusty spudger and gently lift the ZIF connector lock bar. This will disconnect the USB board from the motherboard, making way for your repair adventure!
Tools Used
Step 16
All of these screws are marked with a handy little white arrow.
– Grab your trusty Phillips #01 screwdriver and let’s tackle those five 6 mm screws at the marked spots. You’ve got this!
– Now, with the same Phillips #01 screwdriver, let’s loosen those 5 mm screws. Easy peasy!
Step 17
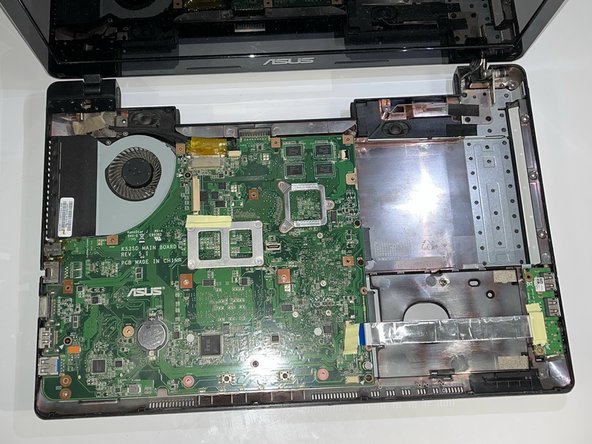
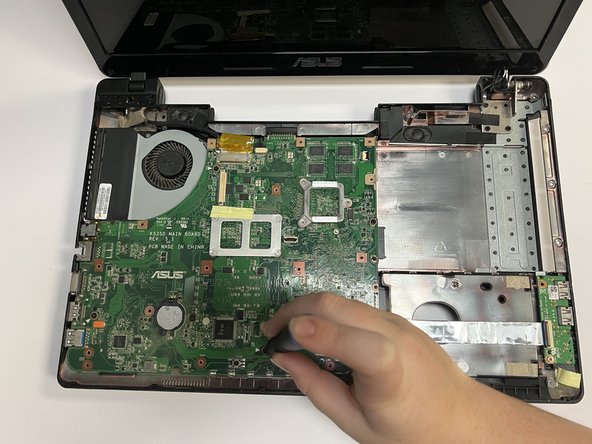
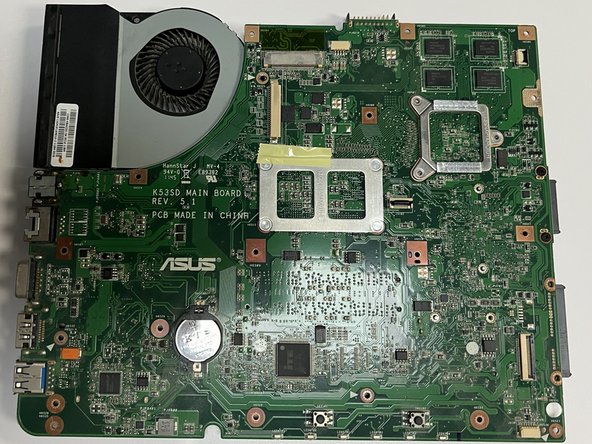
– Lift up the motherboard with care, delicately freeing it from the cozy confines of the laptop shell.


