Asus A53S RAM Replacement Guide Step-by-Step Tutorial
Duration: 45 minutes
Steps: 3 Steps
Hey there, repair rockstar! Just a friendly reminder that taking apart your device can be a bit tricky. Make sure to keep track of all those tiny screws and parts. If you find yourself in a pickle, don’t hesitate to reach out for some expert help. You can always schedule a repair!
Ready to give your Asus A53S a little boost? This guide is here to walk you through replacing that RAM like a pro! Random-Access Memory (RAM) is what keeps your laptop zipping along, so if it’s feeling sluggish, upgrading could be the way to go. The Asus A53S can handle up to a snazzy 8GB of memory! Just remember to power down your laptop completely, unplug it from any power sources, and pop out the battery before diving in. And if you find yourself in a pinch, don’t hesitate to schedule a repair!
Step 1


First things first, let’s power down your device and take out the battery before diving into this guide. You’ve got this!
– Turn your laptop upside down so we can get to work on the bottom side!
– Grab your trusty Phillips #01 screwdriver and loosen up those two 6 mm screws at the marked spots.
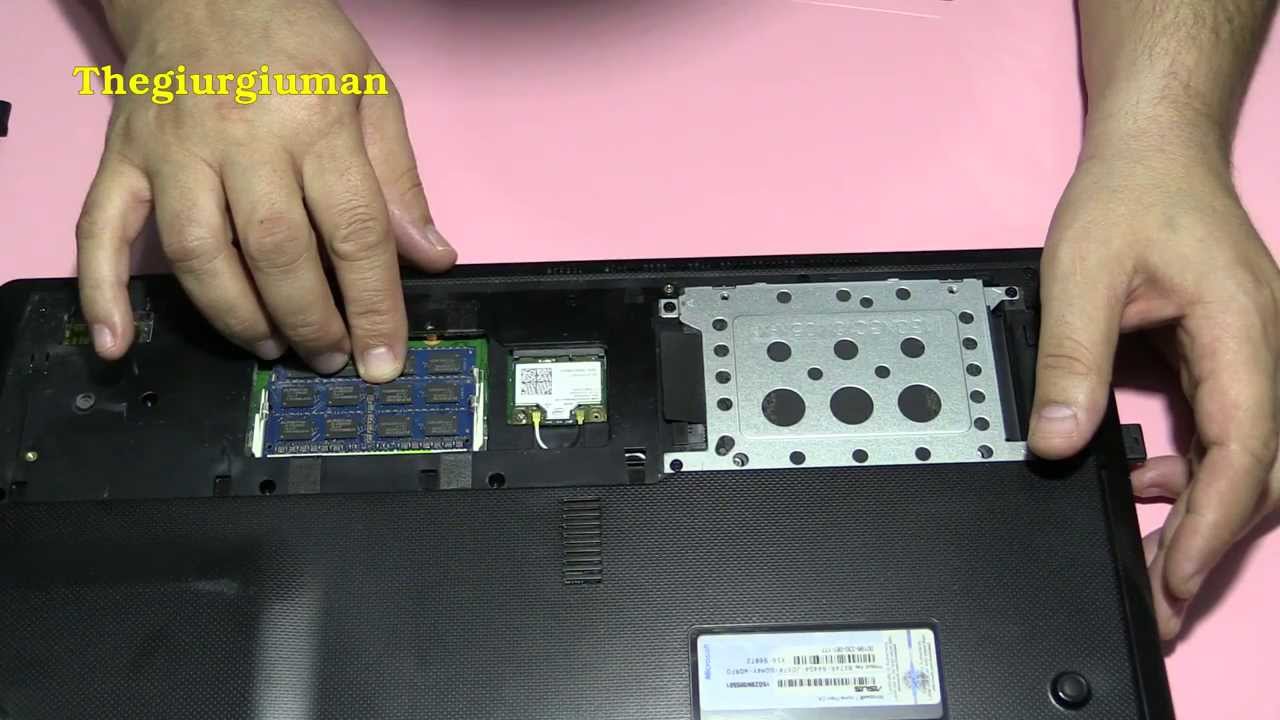
– Carefully take off the back plate and let’s see what’s inside!
Step 2


– With a gentle nudge, push those metal clips apart and watch the RAM rise up like it’s ready for a dance party.
– Now, it’s time to say goodbye to the top RAM. Go ahead and remove it!
Step 3


– Carefully nudge those metal clips apart, and watch the RAM spring up like it’s ready for a dance party!
– Now, go ahead and take out the bottom RAM with a smooth move.