Asus A53U-ES21 Motherboard Replacement Guide: Step-by-Step Tutorial
Duration: 45 minutes
Steps: 14 Steps
Heads up! Before you dive into this repair adventure, make sure you’re working in a clean and cozy spot. A little clutter can lead to big surprises, and not the fun kind! If you hit a snag or just want to skip the hassle, feel free to schedule a repair. We’ve got your back!
Is your computer acting a little grumpy when it comes to loading or booting up? Don’t stress! This guide will walk you through the steps to swap out that motherboard and get your device back in action. And remember, if you need help, you can always schedule a repair.
Step 1


Ensure your laptop is powered down before starting.
– Turn your laptop upside down so the battery is looking right at you.
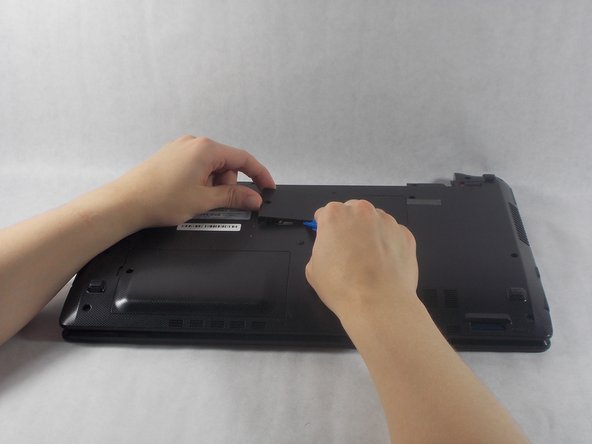
Step 2


– Slide those two sliders out towards the edges of your laptop like you’re giving it a little stretch.
– Now, with your left hand, gently pull out the battery while your right hand keeps that slider in place. You’ve got this!
Step 3


– Take out the tiny 5mm screw with your trusty Phillips #1 screwdriver.
– Time to use those cool iFixit opening tools to say goodbye to the RAM panel.
Tools Used


Step 4


– Grab your trusty Phillips #1 screwdriver and twist out that 7mm screw like a pro!
– Now, gently slide the optical drive out from the side of your laptop. You’ve got this!
Tools Used
Step 5

– Let’s kick things off by popping off the RAM cover from the bottom of the keyboard.
– Next, grab your trusty #1 Phillips screwdriver and unscrew those two 7mm screws with the cool ‘K’ engraving.
– Now, it’s time to tackle that 5mm screw that’s holding the panel steady—give it a twist with your Phillips #1 screwdriver.
– Finally, take your pry tool and run it along the edge to gently finish the removal. You got this!
Tools Used
Step 6
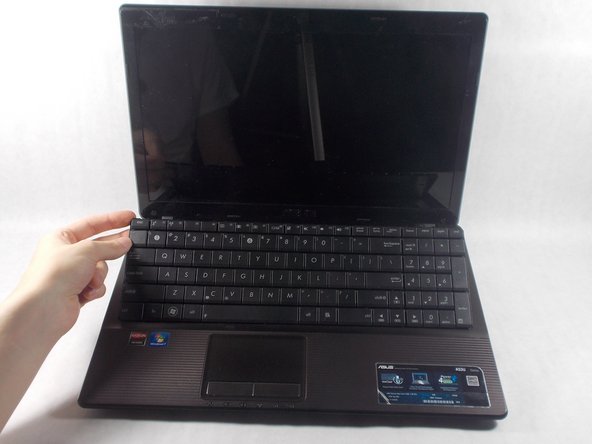

– Alright, make sure your device is chillin’ with the keyboard facing you and the screen rockin’ at the top.
– Locate those three rad buttons at the top of the keyboard, hanging out in the crack between the case and the keys. They’re shining bright in red for ya.
– Now it’s time to bust out the pry tool and give those buttons a little love tap. Watch that keyboard pop out like a champ!
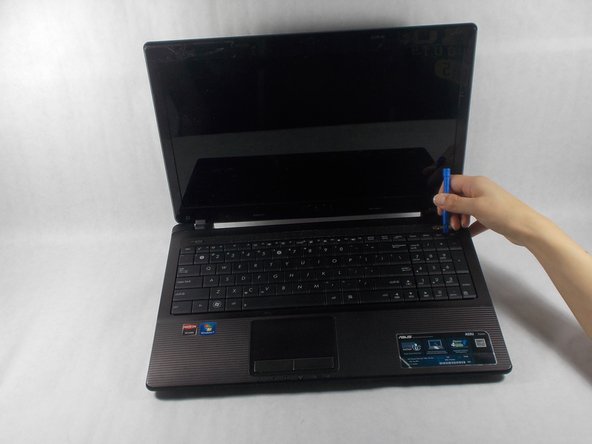
Step 7

– Swing that keyboard out towards you! It’s still hanging on by a ribbon to the rest of your device.
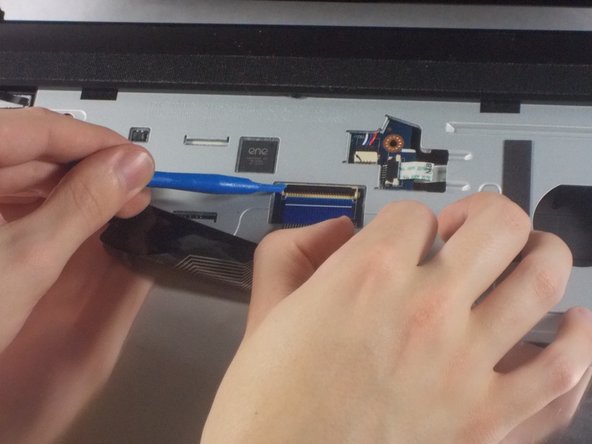
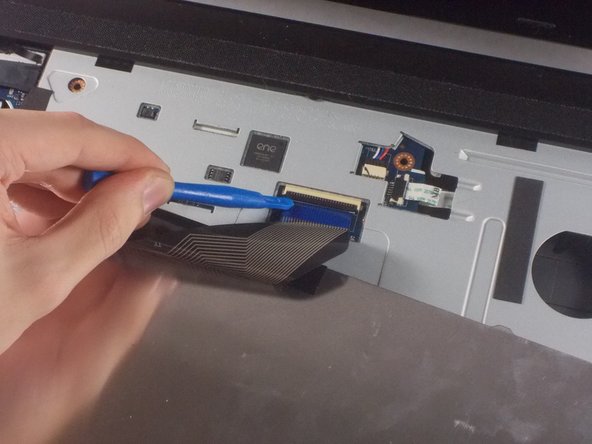
– Carefully grab your opening tool and gently lift the black piece that’s keeping the ribbon secure, then release that ribbon.
– When you put the black piece back on, make sure it covers the white line on the ribbon like a pro!
Step 8

– Time to give your laptop a little siesta. Close it gently and flip it over to its belly.
– Grab your trusty Phillips #1 screwdriver and bid adieu to the twelve 7mm screws. They’ll be off before you can say ‘Salvation Repair rocks!’
Tools Used

Step 10


– Gently detach the connectors from the wireless card with those handy plastic opening tools of yours.
– Carefully remove the white connector from its cozy spot in the RAM panel.
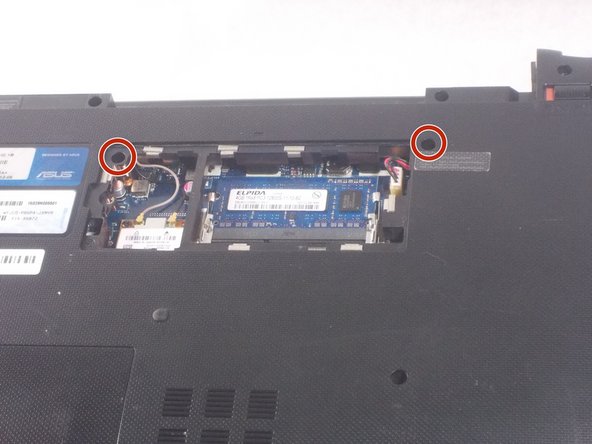
Step 11

– Turn your laptop over once more, open it up, and grab your trusty Phillips #1 screwdriver to unscrew those three 7mm screws. You’ve got this!
Tools Used
Step 12

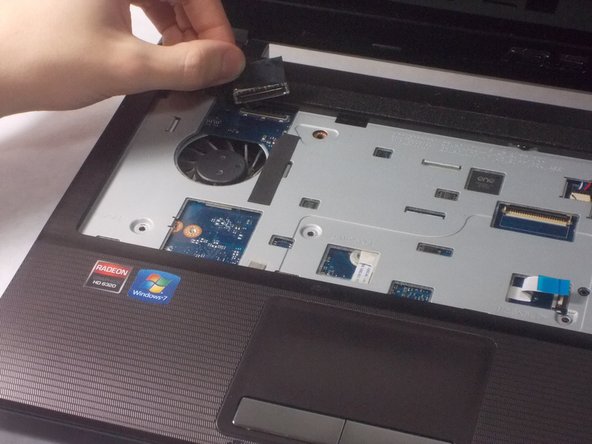
– Carefully peel back the tan flap from the cable using your trusty plastic opening tool.
– Gently nudge the tan piece towards the cable and let it go with the help of your plastic opening tool.
– Remove the black flap from its connector with a smooth motion.
Step 13


– Gently pry apart the laptop’s front plate from the back using your trusty plastic opening tool.
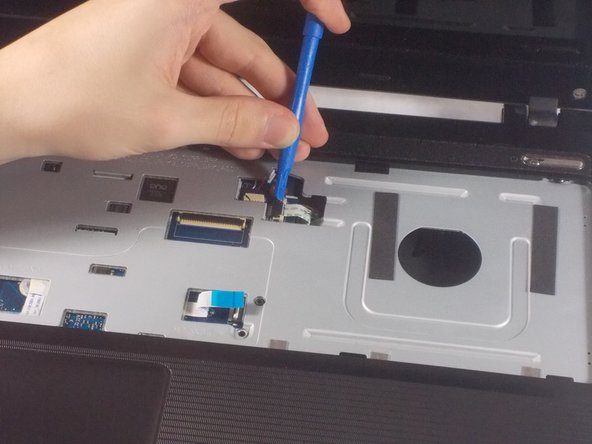
Step 14


– Let’s kick things off by unscrewing that lone 7mm screw from the motherboard with your trusty Phillips #1 screwdriver.
– Next up, gently tug on the two cables shown to free them from their cozy sockets using those handy plastic opening tools.
– Now, with a little finesse, carefully lift the motherboard out of the laptop. You’re doing great!
Tools Used