ASUS Chromebook C424MA-DH48F Touchpad Replacement
Duration: 45 minutes
Steps: 8 Steps
Hey there! Today we’re diving into the world of the ASUS Chromebook (Model C424MA-DH48F) to show you how to swap out that touch pad, also known as the mouse pad. First things first, you’ll want to pop out the battery so you can get to those sneaky connectors and screws hiding behind the scenes. Why might you want to replace the touch pad, you ask? Well, it could be due to some physical damage, a bit of erratic behavior, or even a splash of water damage. Let’s get started!
Step 1


Be sure to remove all the screws on this side! There might be a sneaky label or warranty sticker hiding a screw that you don’t want to miss.
– Grab your trusty Phillips #0 screwdriver and get ready to liberate those 11 screws holding the lower case in place – they’re 6.9 mm, just so you know.
– Now it’s time to slip an opening pick into the gap between the lower case and the chassis. Think of it like a special key to unlock the whole thing.
– Gently slide that pick around the entire perimeter of the laptop. It’s like a little dance, and when you’re done, the lower case should be fully released.
– The moment of truth: remove the lower case and take a peek inside. If you need help, you can always schedule a repair with the pros at Salvation Repair.
Tools Used

Step 2


– Get ready to set that battery free! Use an opening tool to carefully pry up the silver locking bar that’s holding the battery connector in place.
– Now it’s time to say goodbye to that connector – gently push it straight out of its spot on the motherboard.
Step 3


– Gently grab your trusty plastic prying tool and nudge up that locking bar. Once it’s popped, give the connector a lift with your fingers and voilà!
Step 4
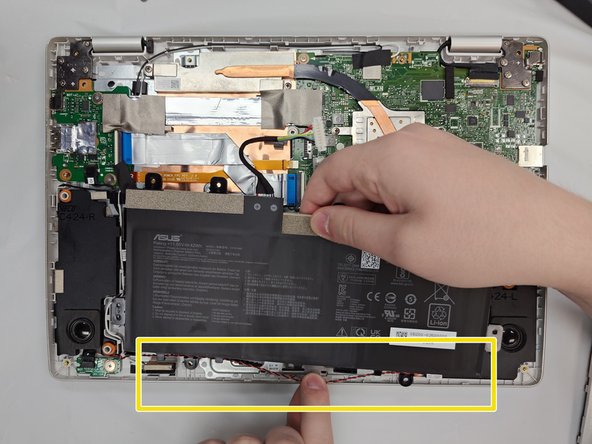

Heads up! The two screw holes (highlighted in orange) at the bottom don’t need screws anymore—they were taken out earlier when we removed the base. Easy breezy, right?
– Grab your trusty Phillips #0 screwdriver and get ready to tackle those six 4.1 mm screws holding the battery in place. You’ve got this!
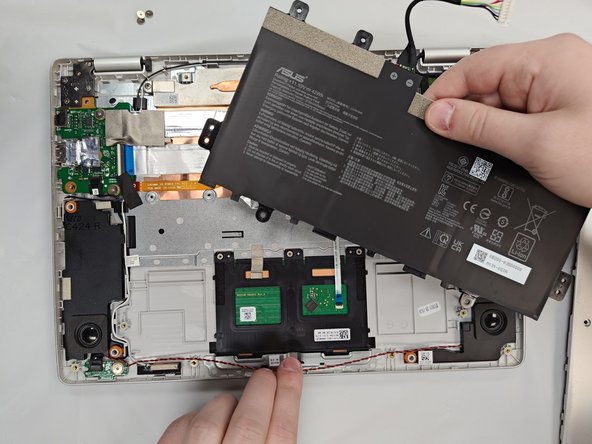
– Gently unclip the speaker cable from the black plastic hooks on the lower side of the battery. Just a little wiggle and it’ll be free!
– Now, lift that battery up and out of the chassis like a pro. You’re almost there!
Tools Used
Step 5

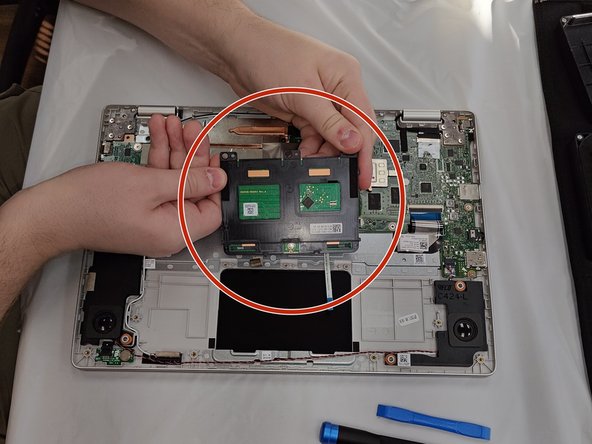
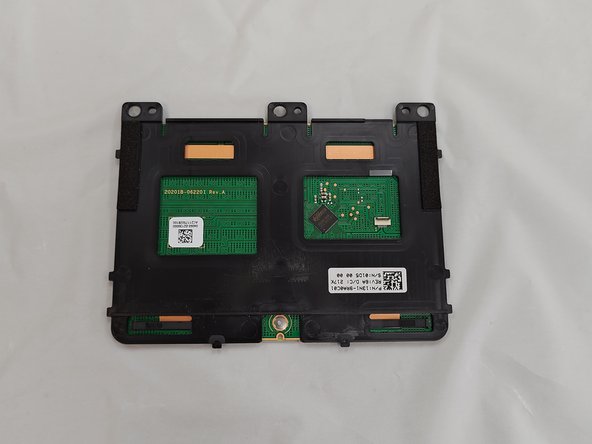
– Grab your trusty Phillips #000 screwdriver and carefully remove the three 1.9 mm screws that are holding the touchpad in place. Don’t worry, this is an easy one!
Tools Used

Step 6

– Gently peel away the gray tape covering the touchpad. Take your time—it’s like unwrapping a present, but a little more delicate.
Step 7

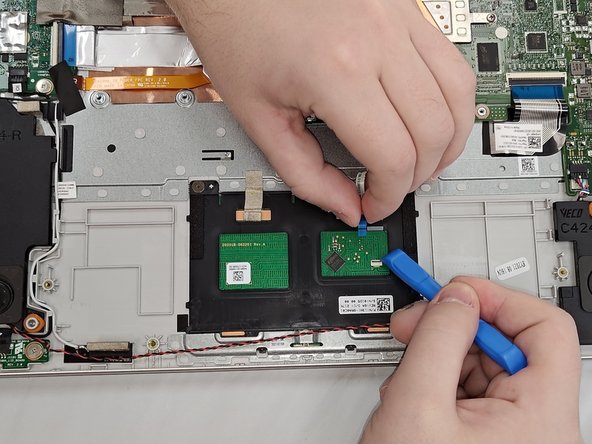
Handle the ribbon cable with care – it’s a little delicate and could tear if you’re not gentle with it.
– Grab your trusty opening tool and gently lift up the little black ZIF locking flap that’s holding the ribbon cable connector to the touchpad. You’ve got this!
– Now, give both sides of that ribbon cable connector a little pinch and smoothly pull it straight back to disconnect the touchpad. Easy peasy!
Step 8

– To put your device back together, just reverse the steps above! Have some old tech to get rid of? Drop it off at an R2 or e-Stewards certified recycler. If things didn’t go as smoothly as you’d hoped, try a little troubleshooting, or you can always schedule a repair for a helping hand.
–
Success!