ASUS Eee Pad Transformer Charging Port Replacement
Duration: 45 minutes
Steps: 10 Steps
The charging port is the lifeline of any gadget, providing the juice it needs to keep going! A faulty port can mean slow charges or no charging at all. These ports can take a beating from everyday use, but don’t fret—replacing one is a simple and straightforward process to get your device back in action.
Step 1
– Let’s get started! Use a T5 Torx Screwdriver to carefully remove the two 4.5 millimeter T5 screws located on either side of the port at the bottom of your tablet. Take your time and make sure they’re completely removed before moving on to the next step.
Tools Used
Step 2
The physical buttons are chilling on the right side along the outer rim. Keep following the guide to find the internal buttons hiding inside.
– Grab your trusty Plastic Opening Tool and gently wiggle it between the main tablet body and the outer rim casing. Carefully pry all the way around the device and lift that outer rim casing upwards. You’ve got this!
Step 3
– Take a moment to locate those four tiny 2 millimeter Phillips #00 screws at the corners of your tablet and remove them with care. You’ve got this!
Step 4
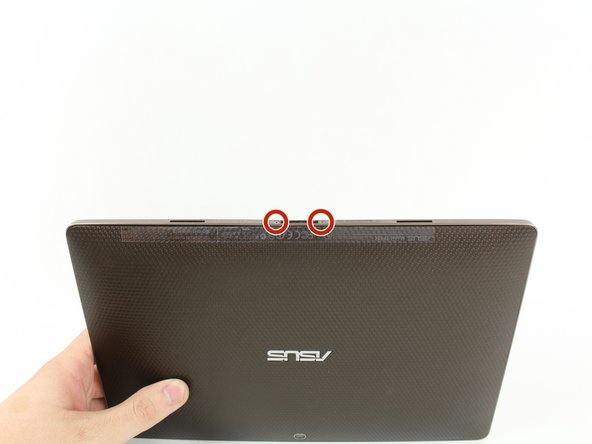
– Grab your trusty Phillips #00 screwdriver and unscrew those three 3mm screws keeping the front panel glued to the back panel. You’ll find them hanging out above the camera area, right at the top of the tablet. Easy peasy—let’s get it done!
Tools Used
Step 5
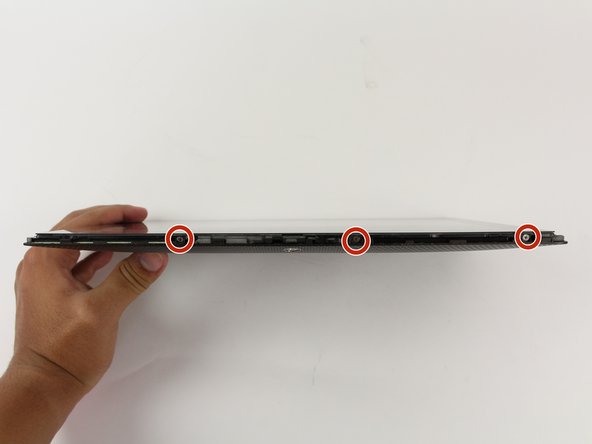
– Grab your trusty Phillips #00 Screwdriver and let’s get to work! Carefully remove the three tiny 3 millimeter screws that are keeping the front panel snug against the back panel. You’ll find them hanging out on the bottom part of the tablet, right near the port. You got this!
Tools Used
Step 6
– Carefully peel off the back panel—it’s like liberating your device from its shell. Go slow and steady.
Step 7
– Let’s get started! Use a trusty Phillips #00 Screwdriver to carefully remove the two tiny 3 millimeter screws located at the bottom center of your tablet, right near the charging port. Easy peasy!
Tools Used
Step 8
– Grab that trusty Plastic Opening Tool and gently pop up the white flap situated just to the left of the charging port—easy does it!
Step 9
– Time to get this charging port out! Use a trusty Plastic Opening Tool to carefully pry it up.
Step 10
Keep an eye on that red tab! If it gets stuck under the metal bar while you’re pulling out the port component, it could cause some serious damage to the charging port panel. Let’s avoid that mishap and keep everything safe and sound!
– Grab those tweezers and gently wiggle the port panel out from under the metal bar. A little patience goes a long way here!
Success!


