ASUS Eee Pad Transformer Screen Replacement
Duration: 45 minutes
Steps: 24 Steps
One small slip and suddenly your tablet’s on life support. Don’t fret—replacing a cracked or damaged screen can breathe fresh life into your device and keep it going strong. Follow this step-by-step guide to swap out the screen on your ASUS Eee Pad Transformer like a pro!
Step 1


– Grab your trusty T5 Torx screwdriver and use it to unscrew the two 4.5 millimeter T5 screws on each side of the port at the bottom of your tablet. Easy does it!
Tools Used

Step 2


The physical buttons are positioned on the right side along the outer edge. Keep going with the guide to find the internal buttons. You’ve got this!
– Grab your trusty Plastic Opening Tool and gently slide it between the tablet’s main body and the outer rim. Carefully work your way around the device, prying the rim up as you go. Once you’ve got the whole thing loosened, just lift it away!
Step 3

– Unscrew those four tiny 2 millimeter Phillips #00 screws that are hanging out at the corners of your tablet. They’re ready to be removed, so grab your screwdriver and let’s get this party started!
Step 4

– Grab your trusty Phillips #00 screwdriver and get ready for some action! Unscrew those three 3-millimeter screws that are keeping the front panel snug against the back panel. You’ll find them hanging out above the camera area at the top of the tablet. Let’s get this show on the road!
Tools Used

Step 5

– Let’s get started by removing the three 3 millimeter screws that hold the front panel to the back panel. You’ll find them at the bottom of the tablet, near the port. Grab your trusty Phillips #00 Screwdriver and get to work!
Tools Used
Step 6


– Gently pry off the back panel by giving it a little tug away from the rest of the device. You’ve got this!
Step 7

– Grab your Phillips #00 screwdriver and let’s tackle those four 3 millimeter screws on the metal panel. Unscrew them with confidence!
Tools Used
Step 8

The metal panel is stuck to the battery with adhesive—go easy on it as you pry it off.
– Grab your trusty Plastic Opening Tool and gently work it into the right corner of the metal panel. Once you’re in, keep prying your way around to pop that panel off like a pro!
Step 9

Be careful not to pry the battery connector upward – instead, gently pull it straight out in the direction of the wires. If you need help, you can always schedule a repair
Step 10


The battery is snugly attached to the device. Gently coax it off with care.
– Start by carefully peeling off the tape that’s holding the battery in place around the edges – it’s time to set that battery free.
– Next, grab your trusty Plastic Opening Tool and insert it into the slot on the side of the battery, near the wire bundle. This is where the magic happens.
– Now, gently lift the battery up and away from the device. You’re making great progress – keep it up.
Step 11

– Grab your trusty Phillips #00 Screwdriver and get ready to tackle this! Unscrew those six 3 millimeter screws holding the motherboard snug against the screen. You’ve got this!
Tools Used
Step 12


– Time to get disconnected! Carefully lift those Wifi and GPS antennas (the three coaxial cables hooked up to the motherboard) away from the device. You can use your hands, a metal spudger, or some trusty tweezers to get the job done. Just gently pry them loose and set them free!
Tools Used

Step 13


– Gently lift those clips on the ZIF connector using your fingers, a plastic opening tool, or a metal spudger. Once those cables are clear, carefully remove the ribbon cables hiding underneath.
Tools Used
Step 14

– Time to set those wires free! Go ahead and peel off any tape that’s keeping them down.
– Now, with a gentle touch, lift the motherboard and slide it out from its snug little home. You’ve got this!
Step 15


– Gently pop off the ribbon cable from the ZIF connector using a trusty plastic opening tool or a metal spudger. You’ve got this!
– Peel away any accessories that are stuck on with tape. Time to declutter!
Tools Used
Step 16

– Let’s get started! Use a Phillips #00 Screwdriver to carefully remove the four 3 millimeter screws that hold the two black ports in place at the bottom. Take your time, and make sure to keep track of those tiny screws!
Tools Used
Step 17


– Grab your trusty Phillips #00 screwdriver and tackle those two 3-millimeter screws holding the charging port to the screen. Let’s get that port out of there!
– Now, gently lift the metal end of the charging port and smoothly slide out the plastic piece beneath the gray screen. You’ve got this—just take your time!
Tools Used
Step 18

– Grab your trusty Phillips #00 screwdriver and remove the three 3mm screws holding the volume button board in place. Keep those screws safe—they tend to disappear when you’re not looking!
Tools Used
Step 19


– Grab your trusty Phillips #00 screwdriver and let’s tackle those three little 3-millimeter screws holding down the headphone jack board. You’ve got this!
– Now, gently unclip that No-fuss ribbon cable connector using your fingernail or a metal spudger. It’s easier than it sounds—just be careful!
Tools Used
Step 20
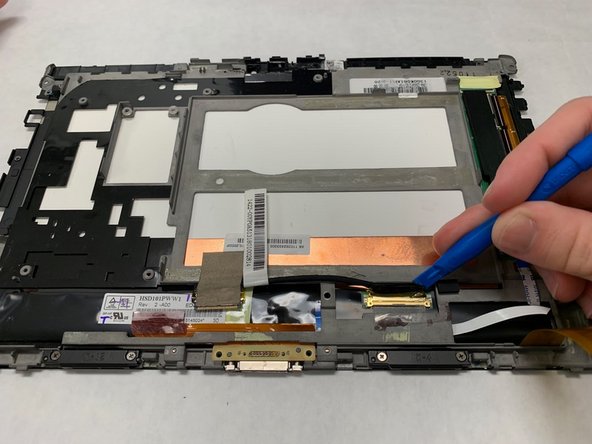

– Gently nudge the clip holding the display cable in place with your fingers, a trusty plastic opening tool, or a metal spudger. Once it’s lifted, slide that cable out like a pro!
Tools Used
Step 21


– Get your fingers, a trusty plastic opening tool, or that handy metal spudger of yours, and gently lift the glued-down left and right speakers. You’ve got this!
Tools Used
Step 22

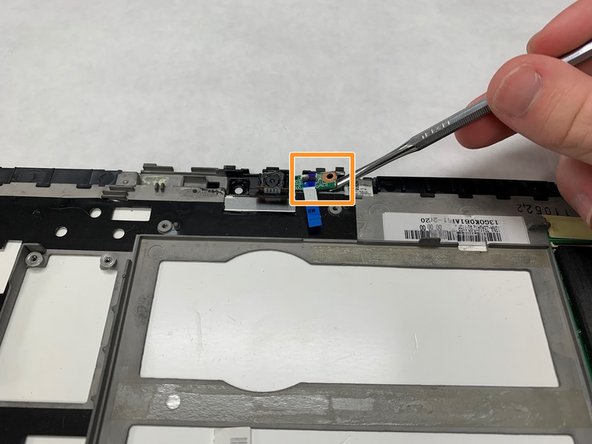
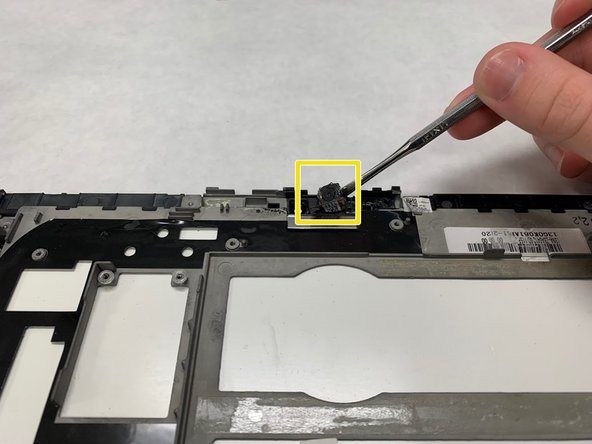
– Pop off the WiFi and GPS antenna from the screen. They’re glued down, so grab your trusty metal spudger and shimmy it under to lift them up.
– Snag that small electric board next to the camera with your metal spudger. It’s stuck with glue and held by plastic pillars, so finesse is key!
– Ease the camera out of its spot using a metal spudger. It’s glued in there pretty snug, but with a little patience, it’s coming loose.
Tools Used
Step 23


– Gently wiggle those two ZIF connectors loose with your fingers or reach for your trusty plastic opening tool or metal spudger to help out.
– Now, take your metal spudger and carefully lift that stubbornly glued motherboard up and away. You’ve got this!
Tools Used
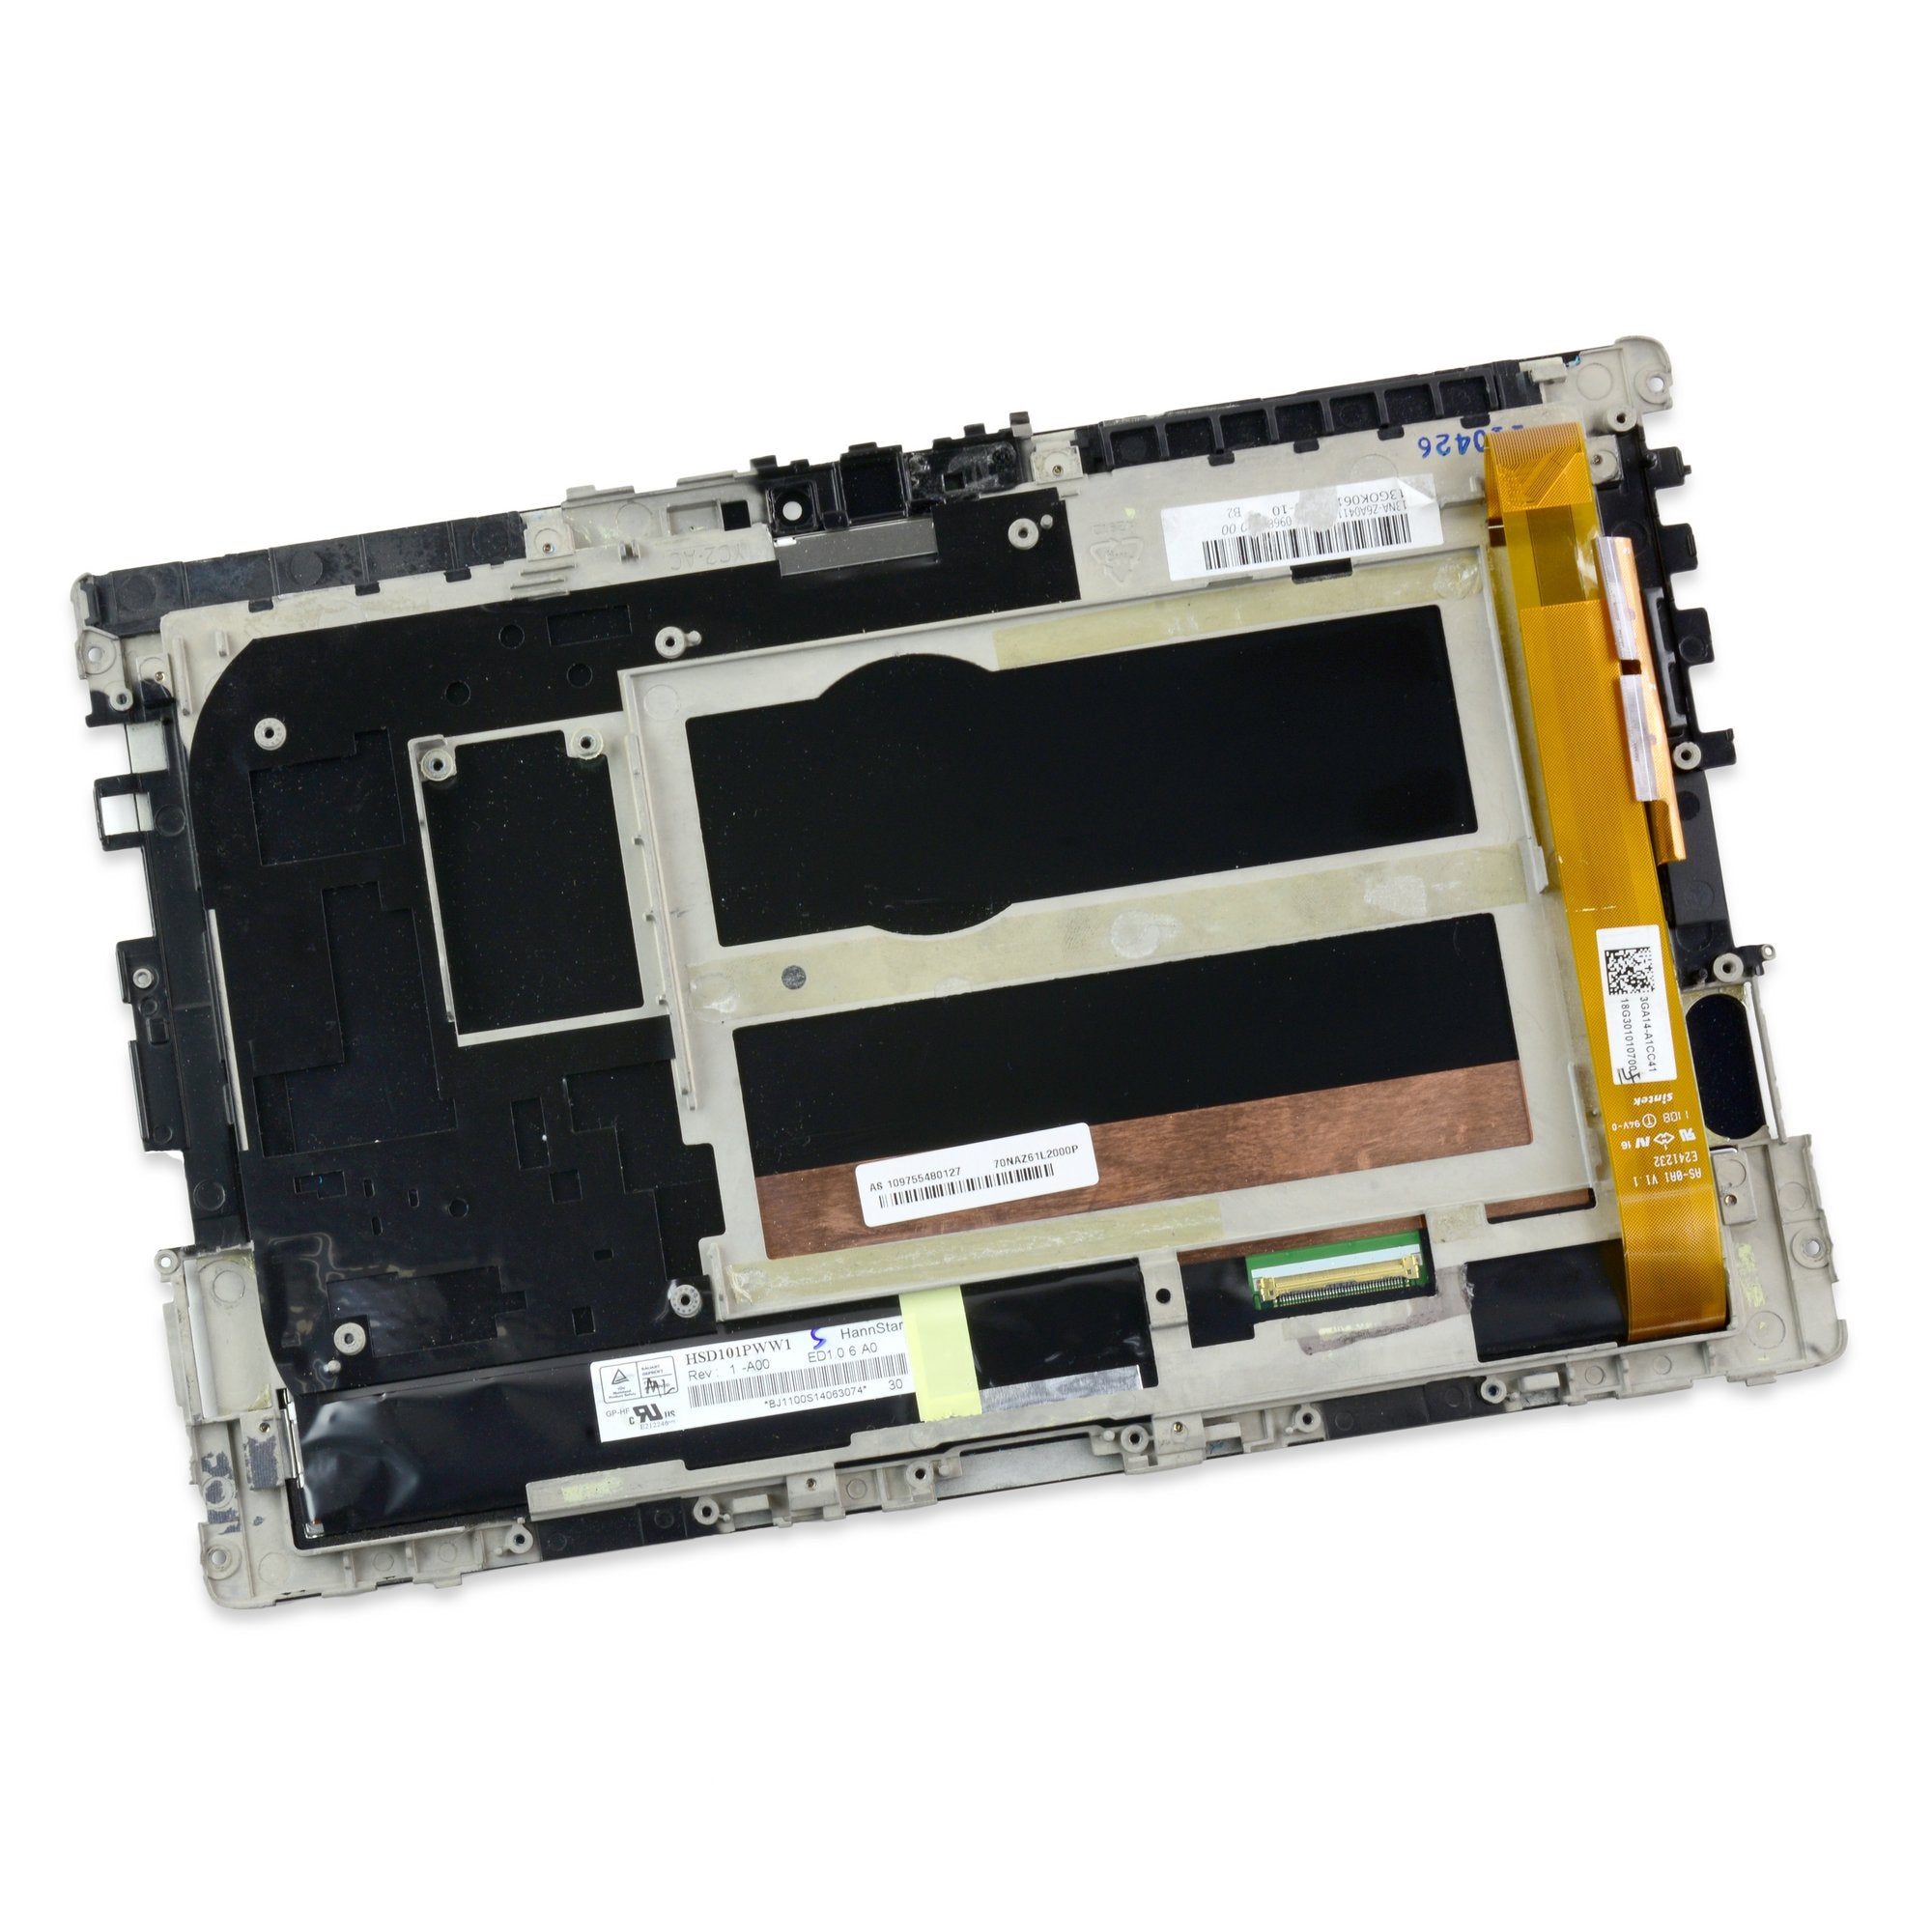
Step 24

– You’re almost done. This is what your device should look like after all the parts are removed. Take a moment to double-check your work and make sure everything is in order. If you need help, you can always schedule a repair
Success!