ASUS Eee Pad Transformer Speakers Replacement
Duration: 45 minutes
Steps: 9 Steps
Got no tunes coming out of your ASUS Eee Pad Transformer? Sounds like the speakers are out of commission and need to be swapped. This guide walks you through replacing the speaker set step-by-step. Grab a Phillips #0 Screwdriver and T5 Torx Screwdriver for the screws, a Plastic Opening Tool to pop off the plastic border, and tweezers to handle the speakers and the connection wire like a pro!
Step 1
– Grab your T5 Torx Screwdriver and loosen up—you’re taking out two 4.5 mm T5 screws located on both sides of the port at the tablet’s bottom. It’s a quick move, so let’s get cracking!
Tools Used
Step 2
The external buttons can be found on the right edge of the rim—easy peasy. Now, let’s dive in to uncover those hidden internal buttons!
– Grab your trusty Plastic Opening Tool and slide it between the main tablet body and the outer rim casing. Gently wiggle and pry all around to free the outer rim casing, then lift that lovely rim upward to reveal your device’s inner secrets!
Step 3
– Let’s get those screws out! Grab your trusty Phillips #00 screwdriver and carefully remove the four 2 millimeter screws located at the corners of your tablet. You’re doing great!
Step 4
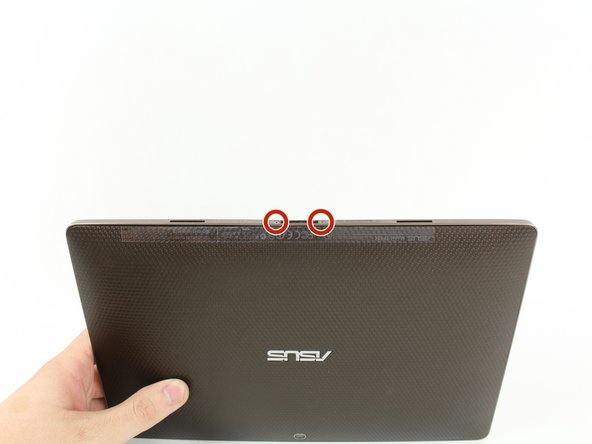
– Grab your trusty Phillips #00 screwdriver and let’s get to work! Carefully unscrew those three 3 millimeter screws that are holding the front panel snugly against the back panel, right above the camera area at the top of your tablet. You’ve got this!
Tools Used
Step 5
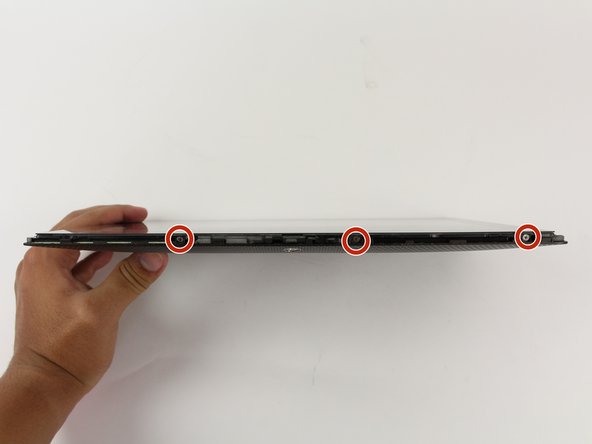
– Let’s get started by removing the three 3 millimeter screws that hold the front panel in place. Grab your trusty Phillips #00 Screwdriver and head to the bottom portion of the tablet, near the port. You’ll find the screws waiting for you – simply remove them and set them aside.
Tools Used
Step 6
– Gently tug the back panel away from the rest of the device, like you’re peeling off a sticker. Easy does it!
Step 7
– Grab those tweezers and get a hold of the speaker. Gently lift it up like you’re about to reveal a surprise and watch it come right out!
– Now, use your fingers to slide that speaker under the orange strip. It’s a smooth move that will have everything fitting just perfectly!
Tools Used
Step 8
– Grab your trusty tweezers and gently disconnect those speakers from the motherboard. You’ve got this!
Tools Used
Step 9
– To put your device back together again, follow these steps in reverse.
– You did it! If you need help, you can always schedule a repair
Tools Used
Success!


