Asus F555LA-AB31 Battery Replacement Guide DIY Step-by-Step Tutorial
Duration: 45 minutes
Steps: 6 Steps
Heads up! Make sure you’re in a comfy spot with all your tools ready to go. If you hit a snag or need a helping hand, feel free to schedule a repair.
Is your Acer Aspire 4741G-332G32Mn struggling to keep its charge? Sounds like it might be time for a battery swap! No worries, we’ve got your back with these easy-peasy instructions that require just a sprinkle of skill and a dash of effort. A healthy battery should keep your laptop powered up for hours on end, even when it’s not plugged in. But over time, after many charging cycles, batteries can start to lose their spark. To see how your battery is doing, try calibrating it. If you notice a drop in battery percentage, it’s probably time to think about a replacement. Remember to turn off your laptop before diving into the battery swap! If you see any signs of swelling, take extra care, and definitely steer clear of punctured batteries since they can be a fire hazard. Oh, and just a heads up, these instructions are based on the CD drive removal guide.
Step 1

– First things first, let’s give your device a little break! Make sure to power it down and unplug it before diving into the repair adventure.
– Grab your trusty Phillips #0 screwdriver and get ready to unleash your inner technician! You’ll need to remove ten 18mm Phillips #0 screws from the bottom of your laptop. Easy peasy!
Tools Used

Step 2


Watch out for those sneaky cables connecting the keyboard and trackpad to the motherboard! They’re like little highways, so handle them with care.
Step 3

To release a ZIF connector, gently use the tip of a spudger or your trusty fingernail to lift up the tiny, hinged locking flap. Then, with care, slide that liberated cable out of the socket like a pro!
– Unplug the keyboard flex cable from its cozy home in the motherboard’s ZIF socket.
Step 4


– Grab your trusty Phillips #0 screwdriver and carefully unscrew the lone Phillips #0 screw holding the CD drive snugly to the motherboard.
– Gently slide the CD drive out while keeping it level, and voilà, it’s free!
Tools Used
Step 5


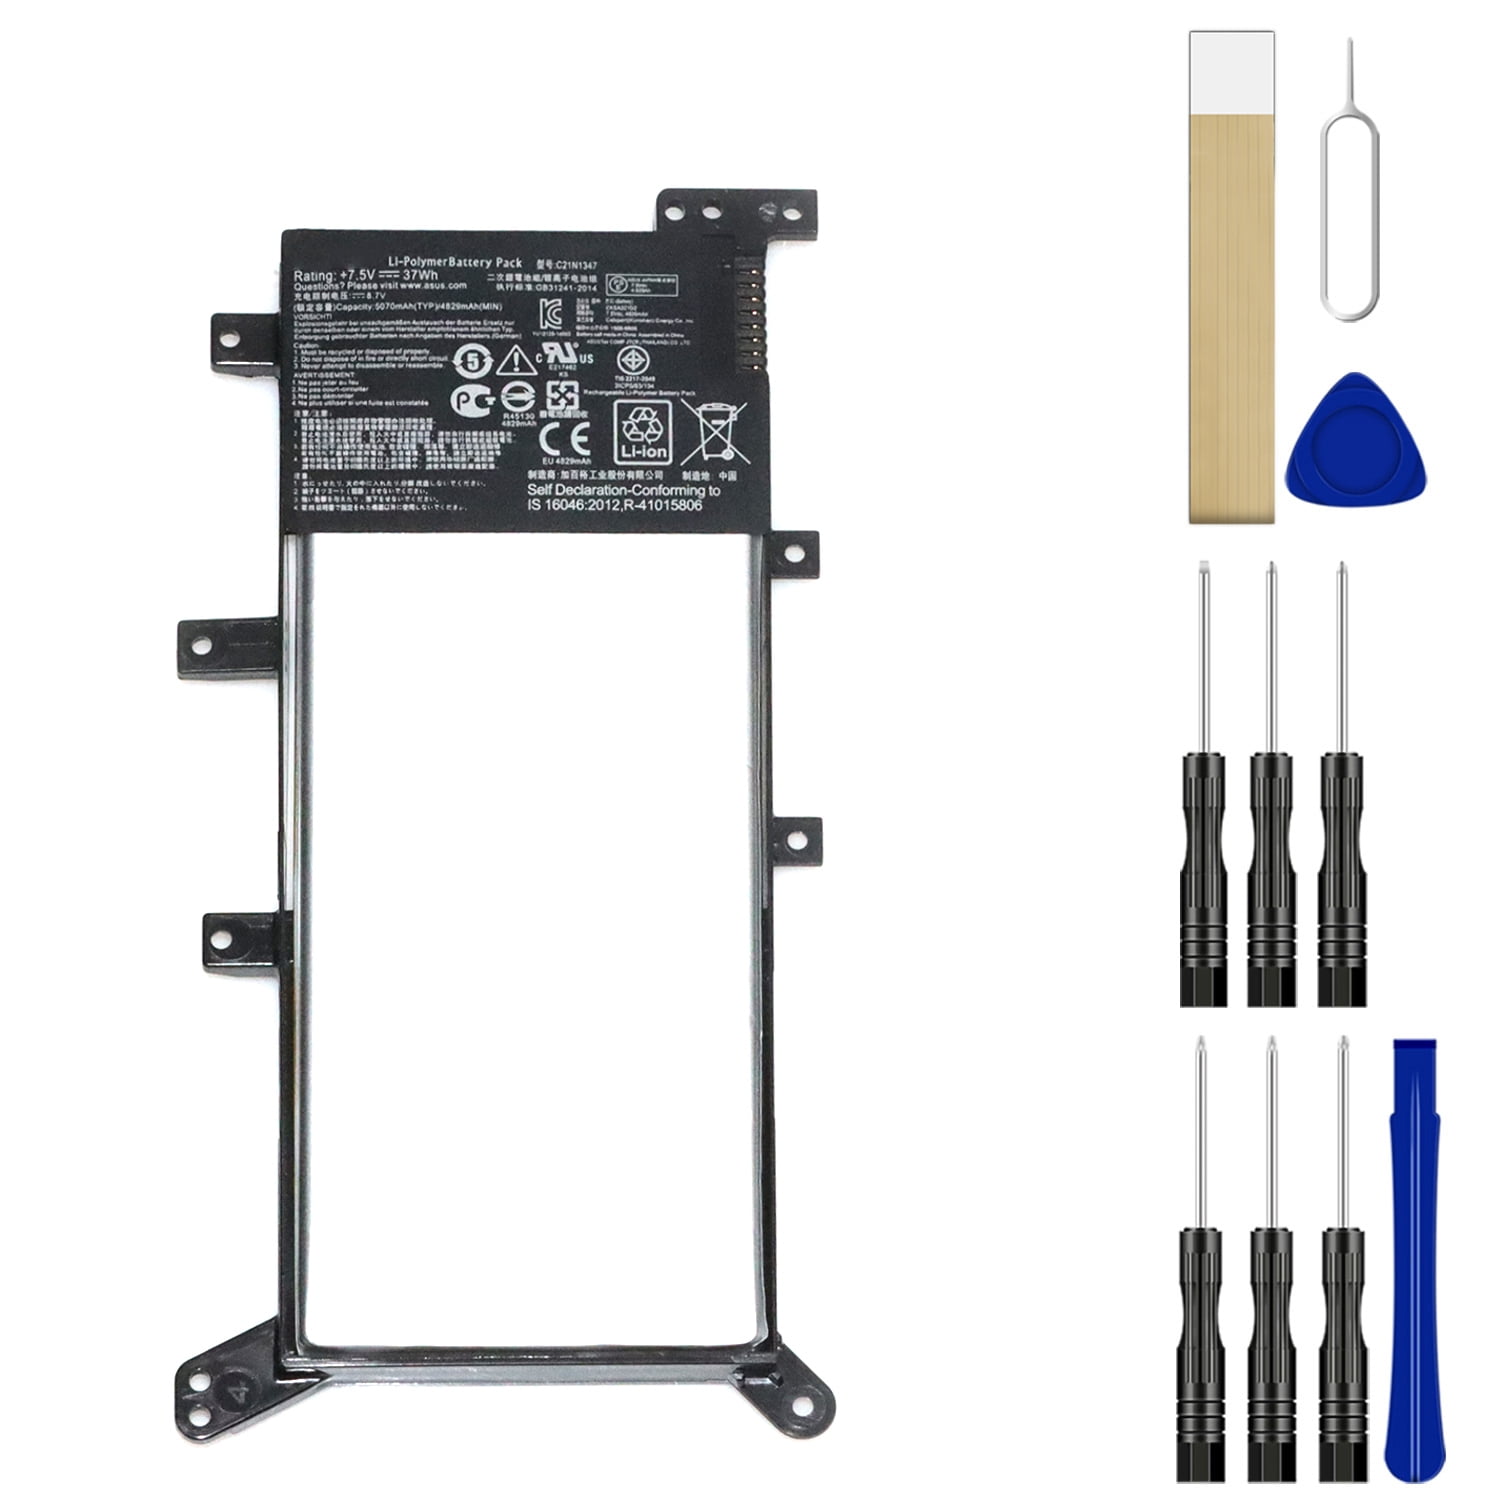
– Take out the four 4 mm Phillips #0 screws that are holding the battery in place. You’ve got this!
Step 6


– Gently lift the battery out of its cozy home and set it aside, making way for the next steps in your repair adventure!


