Asus F6A-X2 Hard Drive Replacement Guide: Step-by-Step DIY Tutorial
Duration: 45 minutes
Steps: 6 Steps
The hard drive (HD) is your digital treasure chest, storing all your important files. When replacing it, make sure you’ve got a hard drive that fits like a glove! And remember, treat it with care—handle it gently, as any bumps or bruises on the outside could put your precious data at risk.
Step 1

Before diving into the repair, make sure to unplug any power cords and power down your laptop. Working on a live device is a recipe for a shocking surprise, both for you and your gadget!
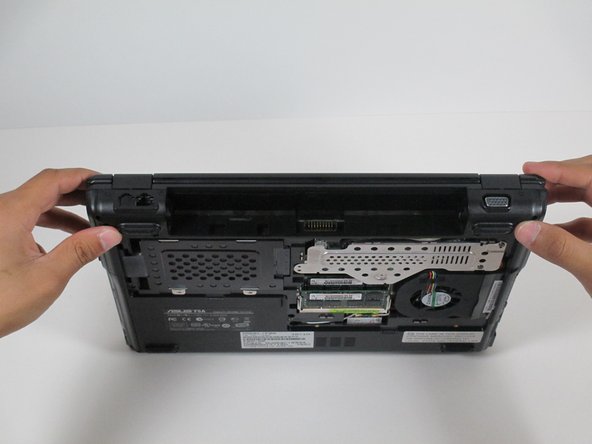
The battery is playing hide and seek in this picture!
– First, let’s flip that laptop over so the battery is facing you like it’s ready for a little adventure.
– To free the battery, place a finger on each of the two black slide tabs. Give them a gentle push towards the center of the laptop – it’s like unlocking a treasure chest!
– Now, slide the battery towards you and lift it out like you’re revealing a hidden gem from its cozy home.
Step 2


– Alright, let’s get this party started! Flip the laptop over so the battery pack is facing away from you, just like turning your back to a boring meeting.
– Now, grab your trusty Phillips #1 screwdriver and take out those six 1.5 mm screws holding the back panel in place. We’re one step closer to a happy laptop!
Step 3


– Slide a finger into one of the little slots on the bottom panel. It’s like a secret handshake!
– Now, gently lift it upwards, and voilà! The back panel of your laptop will pop off like magic.
Step 4

– Give your laptop a little twist, turning it 90 degrees toward you so that you can see the cozy, empty battery compartment waiting for its new buddy.
Step 5
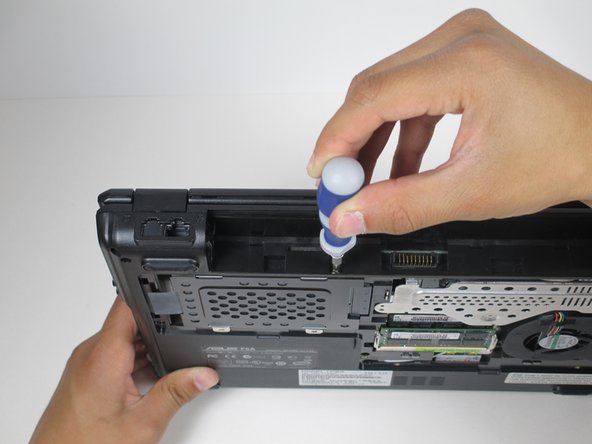

– Time to unscrew that pesky 2.0 mm Phillips #3 screw hiding under the battery compartment. You’ve got this!
Step 6

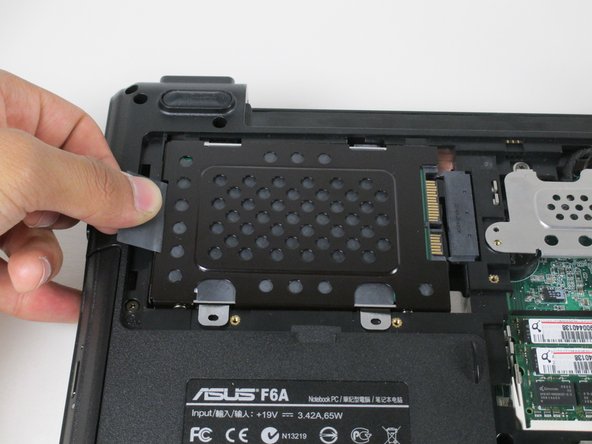

– Place your laptop down on a flat surface, back side up, like it’s getting ready for a nap.
– With a gentle tug, pull the black tab on the left side of the hard drive until it gives a little pop—it’s like opening a surprise gift!
– Now, slowly lift that tab up and slide the hard drive out of the laptop, giving it a little farewell wave as it leaves.