Asus MeMO Pad 7 (ME572C) Battery Replacement
Duration: 45 minutes
Steps: 6 Steps
Ready to bring your Asus MeMO Pad 7 back to life? Replacing the battery is a pretty straightforward task, and if your tablet isn’t turning on due to a dead battery, this could be just the thing you need. Let’s walk through it step by step!
Step 1


The panel is glued in place, so you’ll need to give it a little extra push to get it open. Take your time and apply steady pressure—it’s all part of the process!
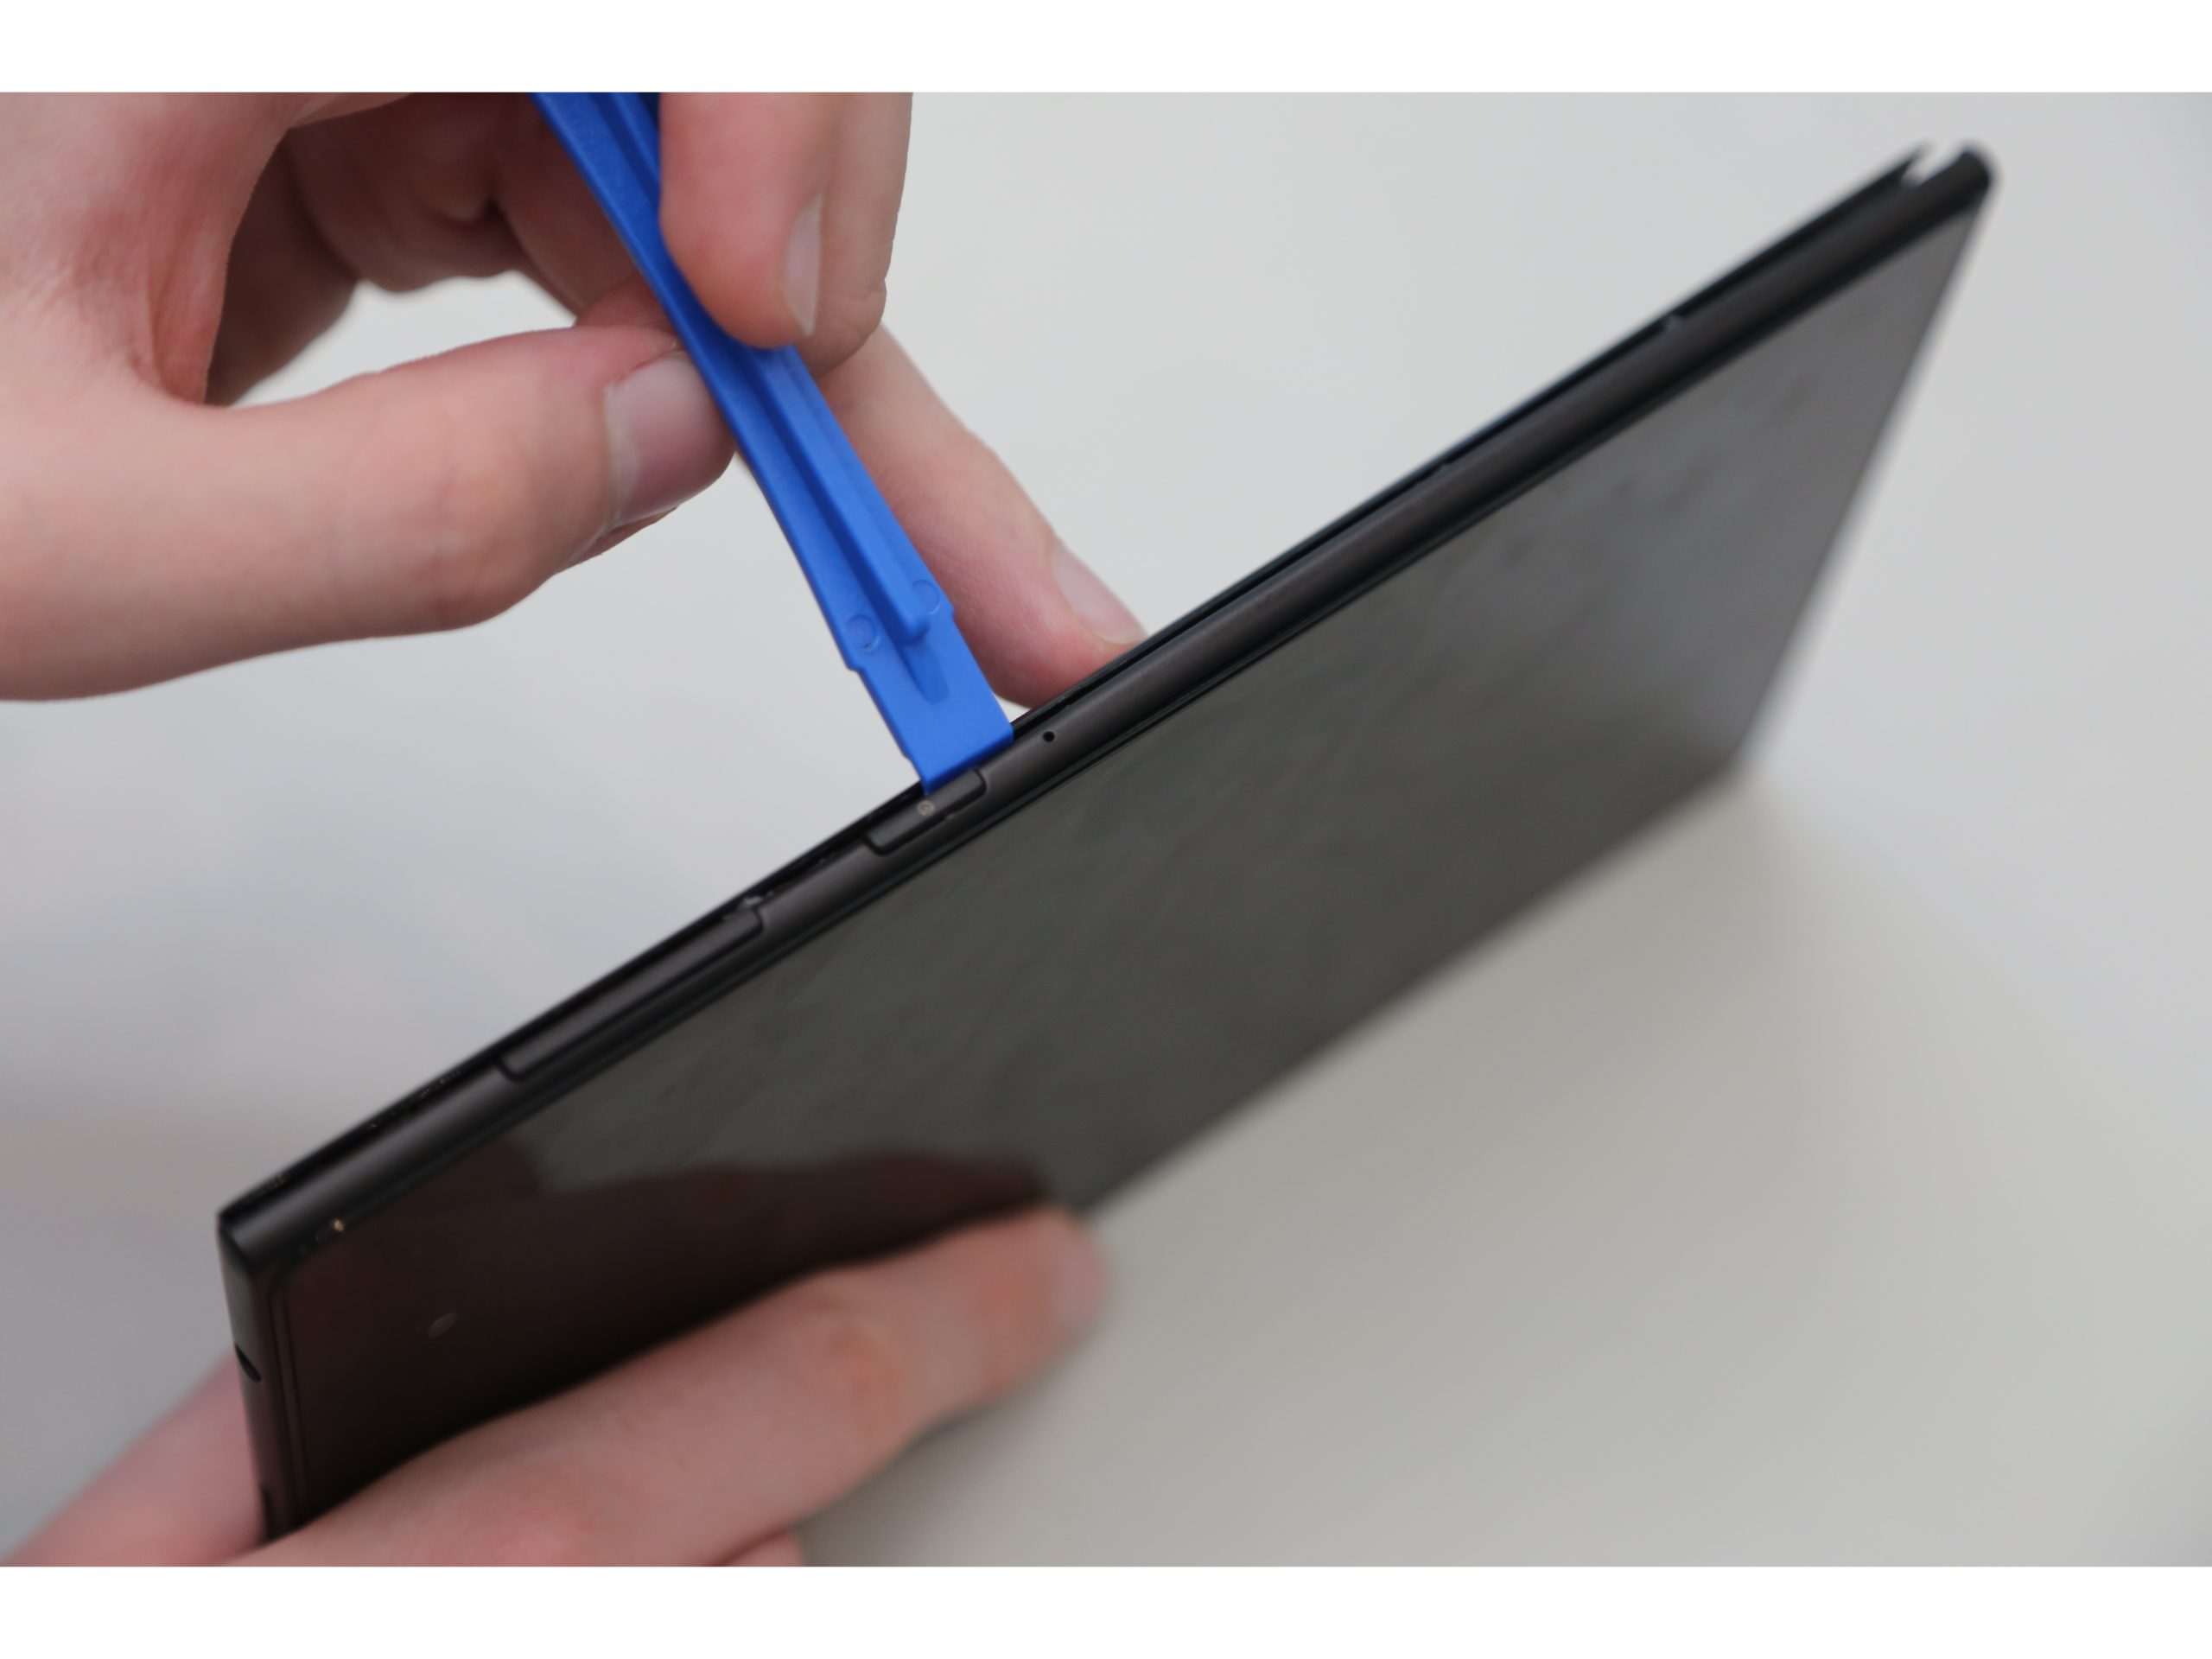
– First things first: power down your device. Once it’s off, grab your trusty plastic opening tool and start gently prying off the back panel. Work your way around the edges, taking your time to avoid any unnecessary force. Easy does it!
Step 2


– Once you’ve got that rear panel off, grab a plastic opening tool and gently pry off the tablet’s frame.
– Start at the middle of the top edge and carefully slide the tool between the screen and the frame.
– Now, take your time and run the plastic opening tool along all the edges of the tablet, making sure to keep things steady and smooth.
Step 3

– As you gently lift out the rear panel and frame, be sure to set them aside—far from the device—so they don’t get in your way. You’ve got this!
Step 4


ZIF connectors are super sensitive, so handle them with care while you’re taking them out.
Believe it or not, your hand is a perfectly fine tool for removing ZIF connectors. Just take it slow and steady—no need for a wrestling match!
– Gently unclip those ZIF connectors to set the data cables free from the battery’s grasp. A pair of tweezers will be your trusty sidekick for this task.
Step 5

– Spot the battery connector location. Gently unplug the connectors by lifting them up with a spudger or a plastic opening tool. Keep it cool and steady!
Tools Used

Step 6


The battery casing is a bit delicate and prone to tearing. If that happens, you might find some chemicals escaping, which we definitely want to avoid!
– With a little finesse, use a plastic opening tool to gently wiggle the battery free. It’s got some glue holding it down, so just a bit of effort will help you liberate it without a hitch.
Success!