ASUS MeMO Pad 7 (ME572C) Front Camera Replacement
Duration: 45 minutes
Steps: 11 Steps
Ready to get that front camera back in action on your Asus MeMO Pad 7? This guide will walk you through replacing it step by step. So, if snapping selfies has been a no-go, follow these instructions to make your front camera functional again. Let’s get you photo-ready!
Step 1


The panel is stuck on there with some strong glue, so you’ll need to give it a bit of a push to get it open.
– First things first, let’s power down your device—no one likes unexpected surprises! Grab a trusty plastic opening tool and gently work your way around the edges to pop off that back panel. Take your time; you’ve got this!
Step 2


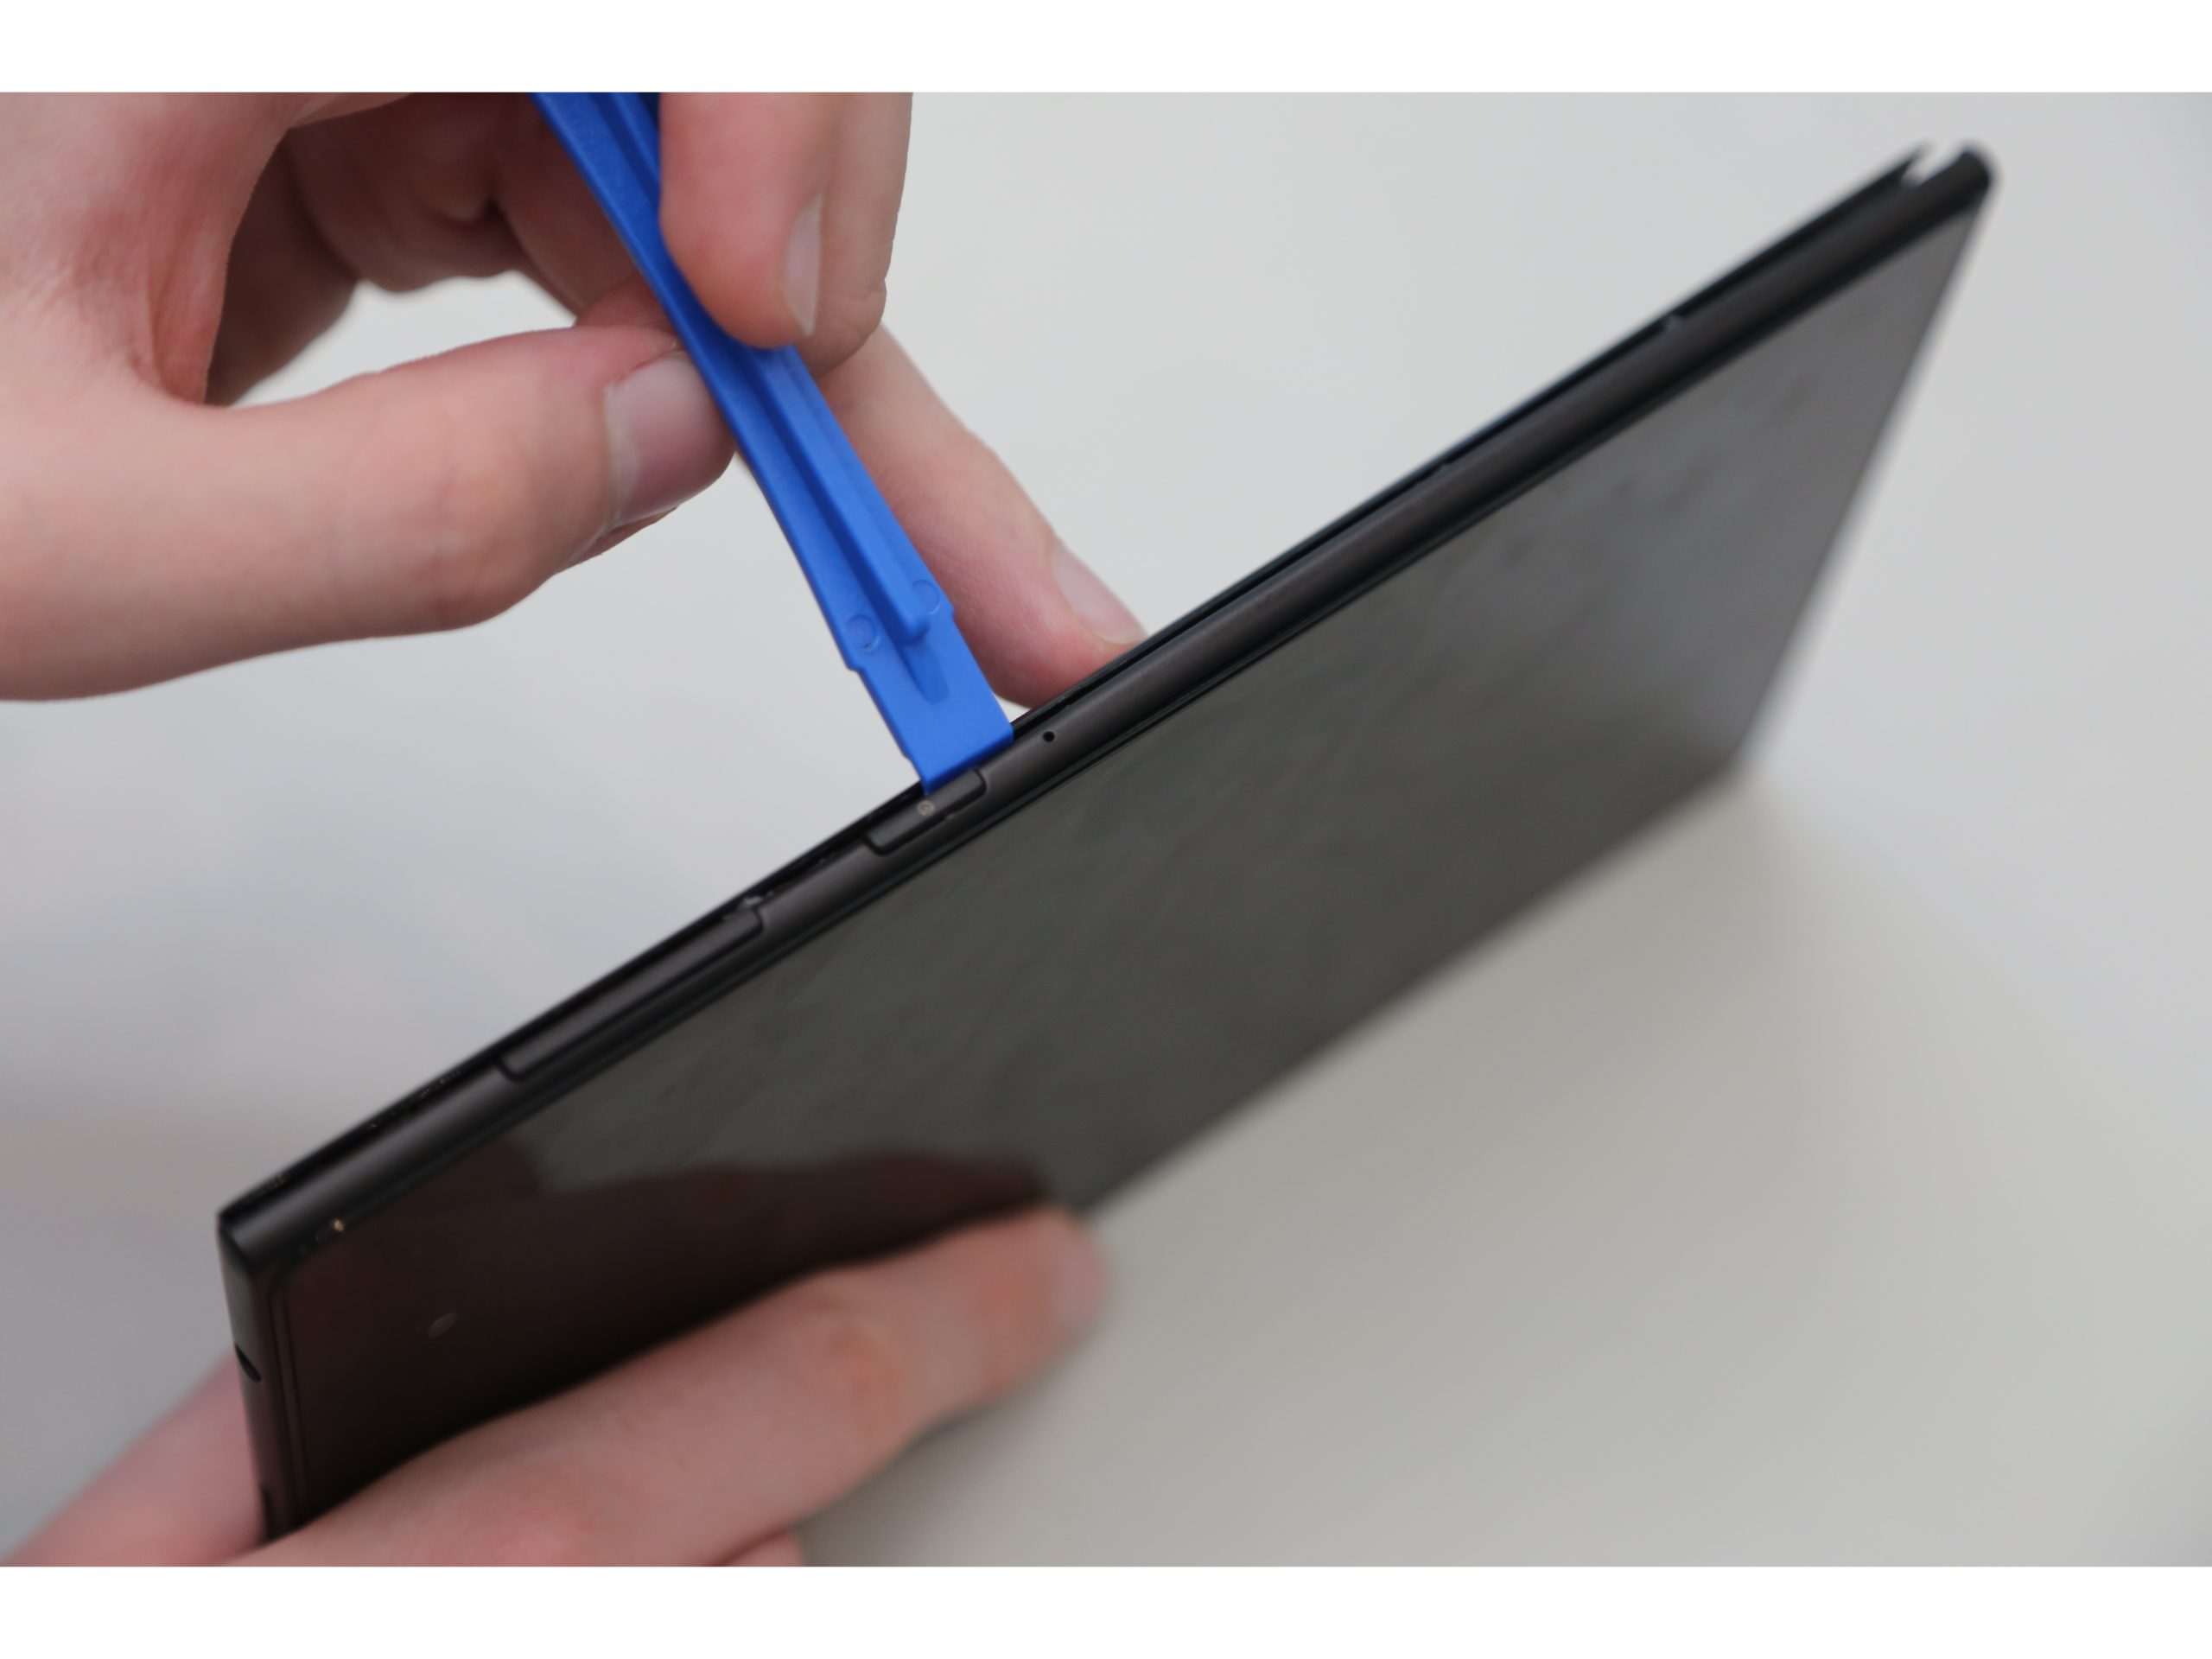
– Now that you’ve removed the rear panel, it’s time to get a little tricky – use a plastic opening tool to carefully pry the frame away from the tablet.
– Start at the top, where the screen meets the frame, and gently insert your trusty plastic opening tool. This is where the magic happens!
– Work your way around the edges of the tablet, using your plastic opening tool to release the frame from the screen. Take your time, and don’t be afraid to get a little creative with your prying technique.
Step 3

– Once you’ve removed the rear panel and the frame, make sure to set them aside safely, out of the way of the device. We don’t want any accidental bumps while we work on this!
Step 4


ZIF connectors are super sensitive, so handle them with care while you’re taking them out.
You can also use your fingers to gently release ZIF connectors. It’s like a little wiggle dance – just be gentle and they’ll come loose.
– Let’s get that battery out! Start by disconnecting the ZIF connectors – these are the tiny hooks holding the data cables in place. Grab your trusty tweezers and carefully release them. This will give you the room you need to work on the battery.
Tools Used

Step 5

– Locate the battery connector – it’s time to set the battery free! Carefully pull up on the connectors using a trusty spudger or plastic opening tool to disconnect them.
Tools Used

Step 6


The battery casing is a bit of a softy and can tear up pretty easily. If that happens, watch out for potential leaks of those not-so-friendly chemicals.
– Gently use a plastic opening tool to nudge the battery free. It’s stuck on there with some sticky stuff, so a little bit of pressure will help it pop out. You’ve got this!
Step 7


– First, take out the battery from your device – it’s time to get started! Locate the volume connectors on the side, they’re waiting for you.
– Now, grab your trusty tweezers and carefully pluck those volume connectors from their home. Set them aside safely, you’re doing great!
Tools Used
Step 8

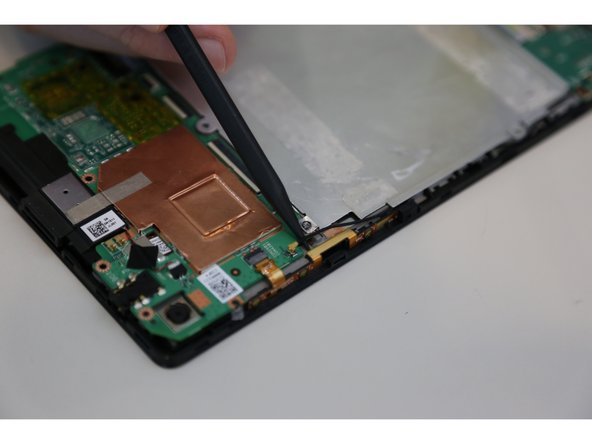
– Find the GPS antenna. Use a spudger to gently detach the GPS antenna cable.
Tools Used
Step 9


– Time to get to work! First, track down those seven 2mm Phillips #0 screws that are bonding the motherboard to the pad. Grab a Phillips #000 screwdriver and let’s gently take them out.
– Make sure to stash your screws somewhere you’ll easily find them later. Trust me, you’ll thank yourself when you’re piecing everything back together!
Tools Used

Step 10

– After you’ve liberated all those pesky screws, it’s time to set the motherboard free! Gently coax it out using a trusty plastic opening tool—it’s like a mini rescue mission for tech lovers.
Step 11


– Turn the motherboard over and locate the spot for the front camera connector.
– With your trusty tweezers, gently detach the front camera connectors and set them aside for now.
Tools Used
Success!