ASUS MeMO Pad 7 (ME572C) Rear Camera Replacement
Duration: 45 minutes
Steps: 12 Steps
Ready to get your Asus MeMO Pad 7’s rear camera back in action? If snapping pictures feels more like staring at a blank wall, this guide is your trusty sidekick! Follow these steps and soon enough, your camera will be ready to capture life’s finest moments again. Let’s dive in!
Step 1


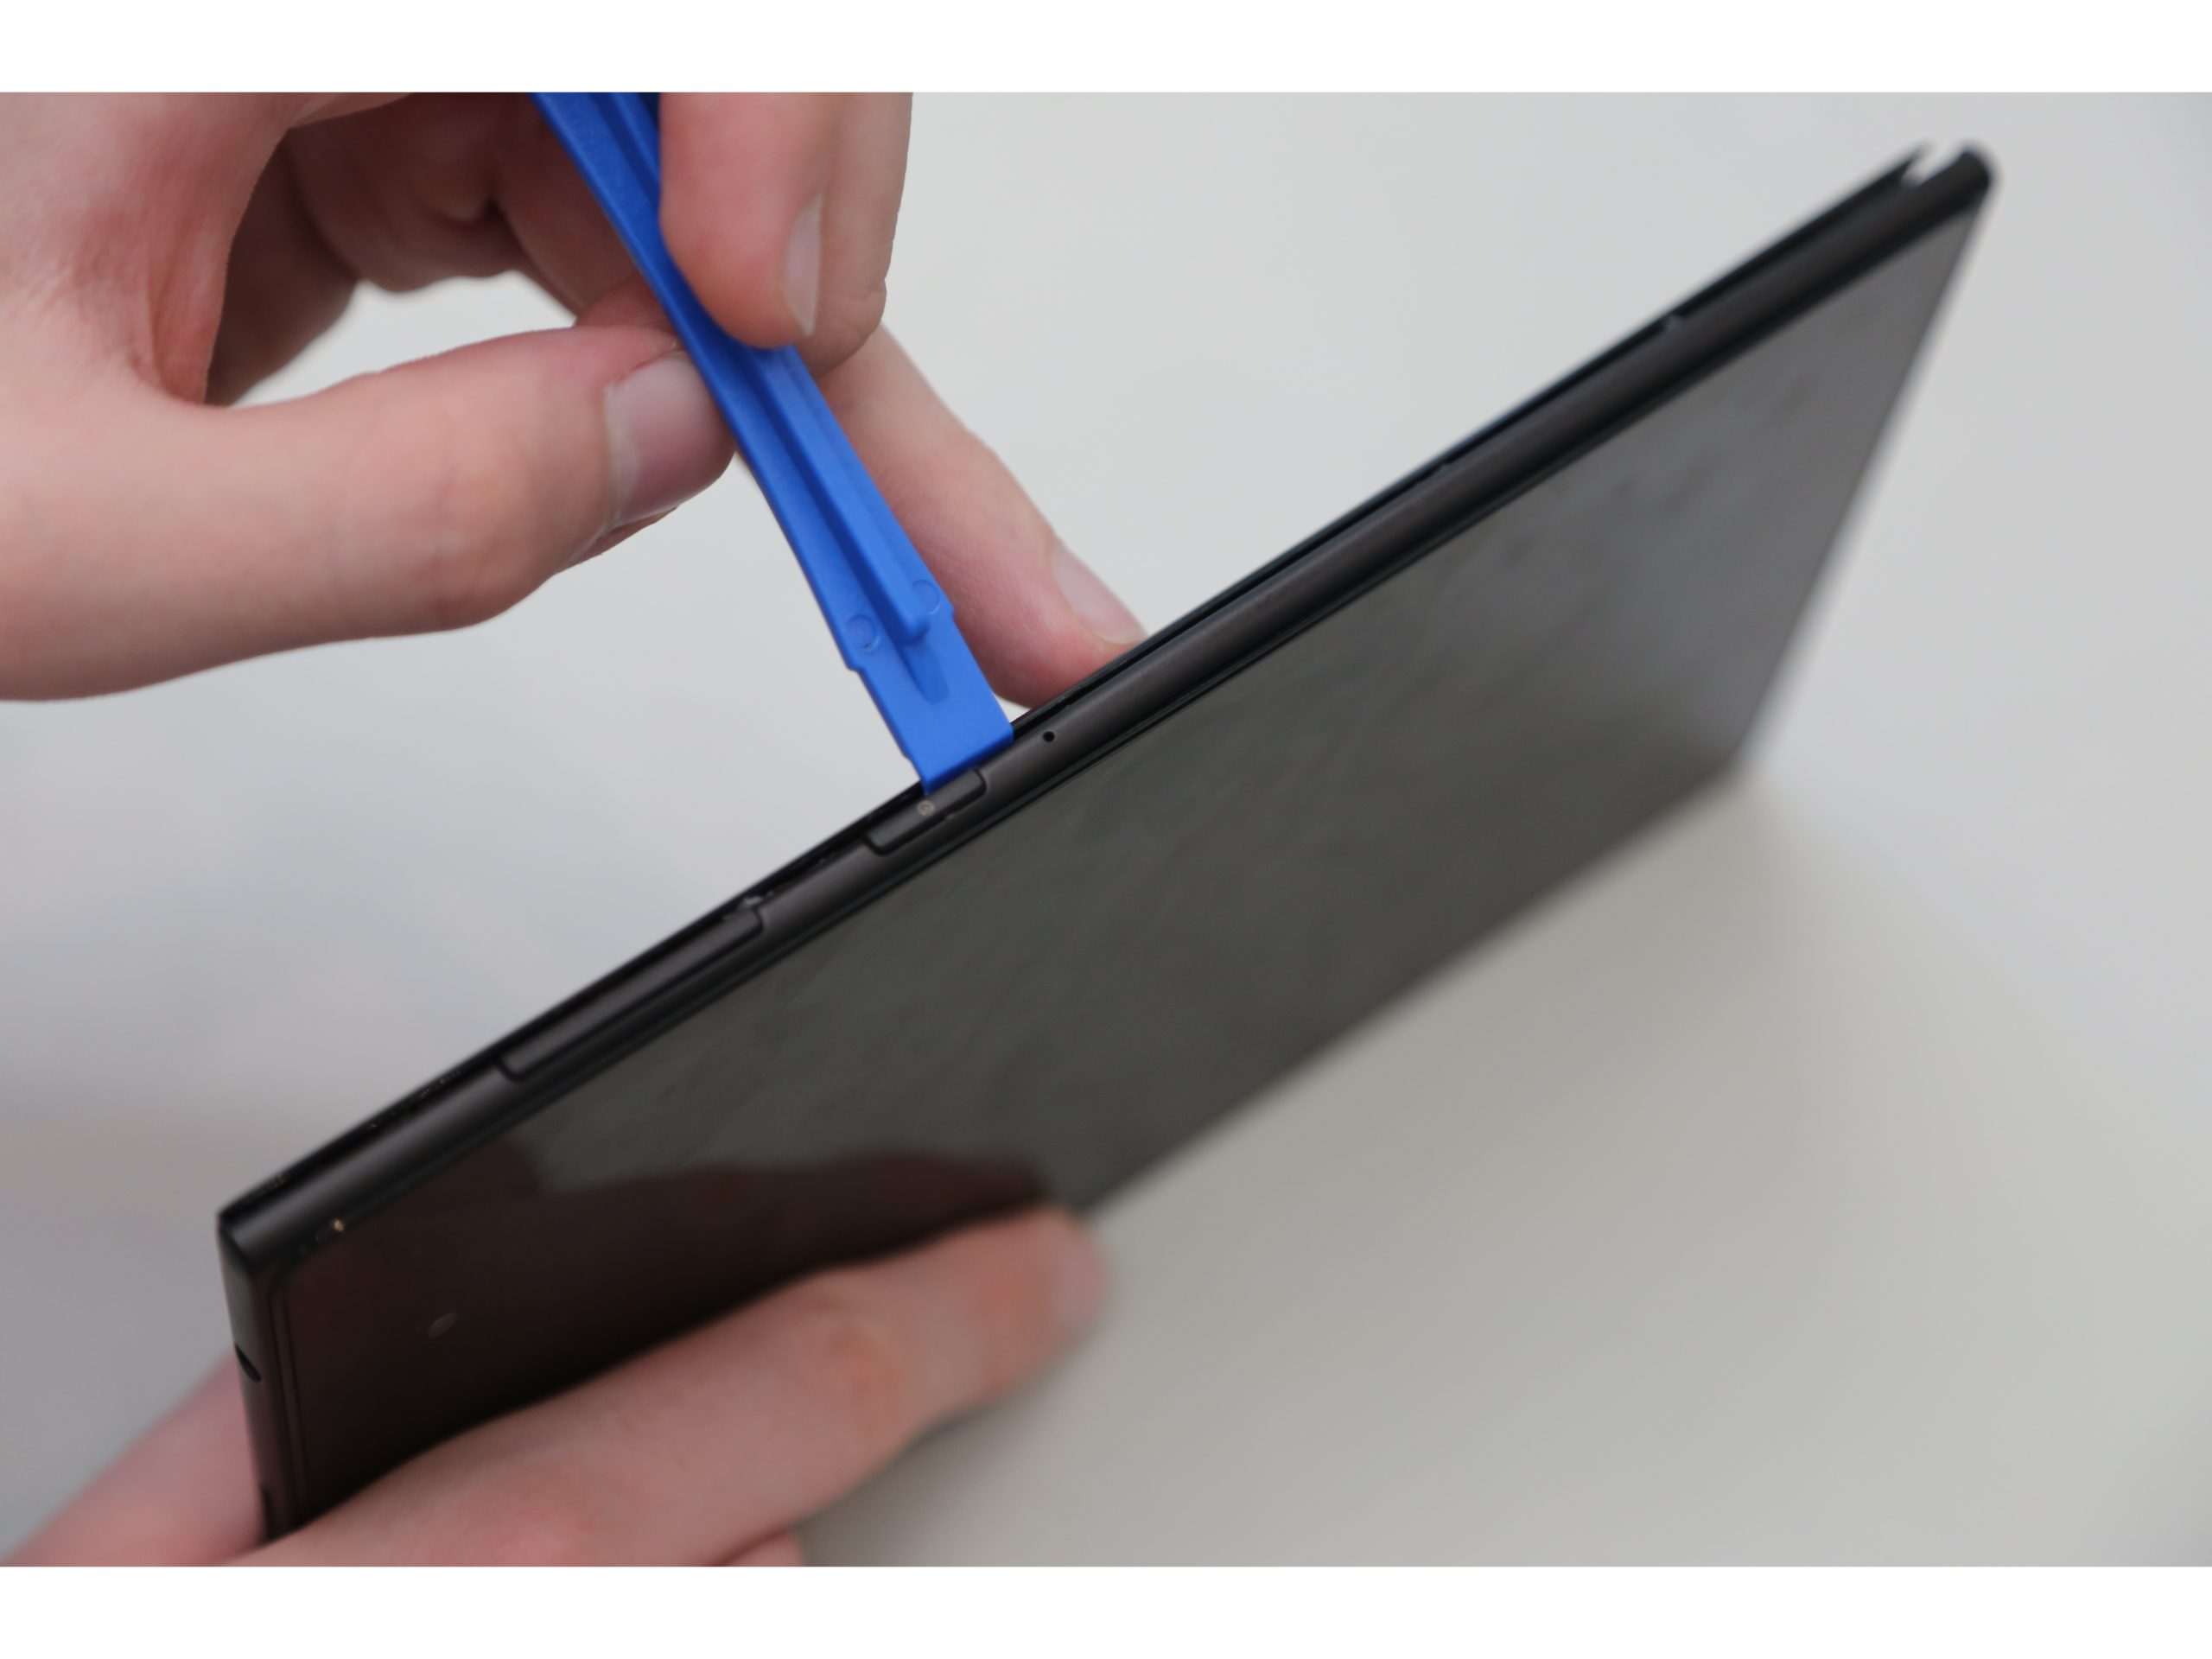
The panel is held firmly with adhesive and will need some steady pressure to loosen it up.
– Power down your device completely. Grab a plastic opening tool and start at the edge of the back panel. Gently work your way around the perimeter—steady hands win the game here!
Step 2


– Pop off the rear panel, then grab your trusty plastic opening tool to unclip the frame from the tablet.
– Starting smack dab in the middle of the top edge, slide that plastic opening tool right where the screen meets the frame.
– Gently glide the tool along every single edge of the tablet. Take your time—you’re doing awesome!
Step 3

– Once you’ve popped out the rear panel and the frame, be sure to set them aside gently, away from your device. You’re doing great!
Step 4


ZIF connectors are super sensitive, so handle them with care while you’re taking them out.
You can also use your hand to carefully release those ZIF connectors – it’s easier than you think, and you’ve got this.
– Pop open those ZIF connectors to free up the data cables holding the battery in place. Grab your trusty tweezers and make it happen—precision is key!
Tools Used

Step 5

– Locate the battery connector area. Gently lift the battery connectors using a spudger or a plastic opening tool to disconnect them. You’ve got this!
Tools Used

Step 6


The battery casing is delicate—think of it like an eggshell but with way more consequences if cracked. If it tears, the battery’s chemicals could spill out, and that’s definitely not something you want happening.
– Time to set that battery free. Use a plastic opening tool to carefully pry the battery loose – it’s glued to the pad, so be prepared to apply a bit of gentle pressure to get it to come out.
Step 7


– First things first, pop that battery out of your device. Now, let’s find those volume connectors hanging out on the side.
– Grab some tweezers and gently coax those volume connectors out. Once they’re free, set them aside like a pro.
Tools Used
Step 8

– Spot the GPS antenna—it’s your next target. Gently pop off the GPS antenna cable using a trusty spudger, and feel like a repair pro while you’re at it!
Tools Used
Step 9


– Time to get to work! First, track down those seven 2mm Phillips #0 screws that are bonding the motherboard to the pad. Grab a Phillips #000 screwdriver and let’s gently take them out.
– Make sure to stash your screws somewhere you’ll easily find them later. Trust me, you’ll thank yourself when you’re piecing everything back together!
Tools Used

Step 10

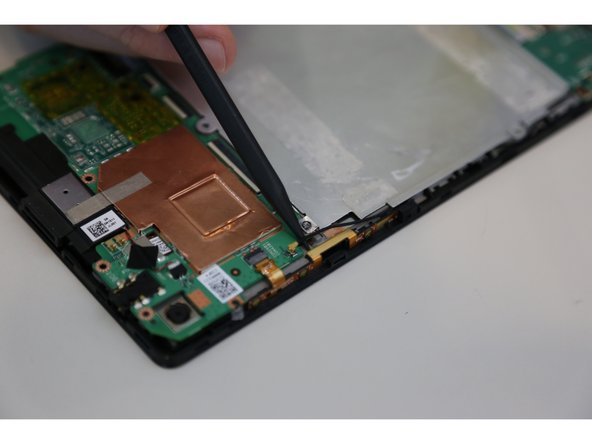
– Now that you’ve unscrewed all the bolts, it’s time to gently lift the motherboard out. Use a plastic opening tool to sneak it out carefully. You’ve got this!
Step 11

– Carefully flip the motherboard over and locate the spot where the rear camera connector is nestled.
Step 12

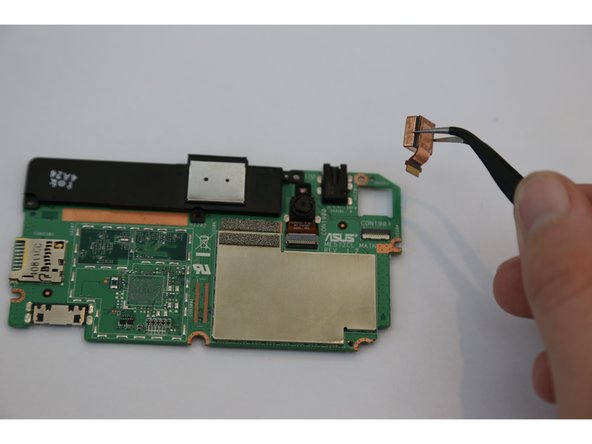
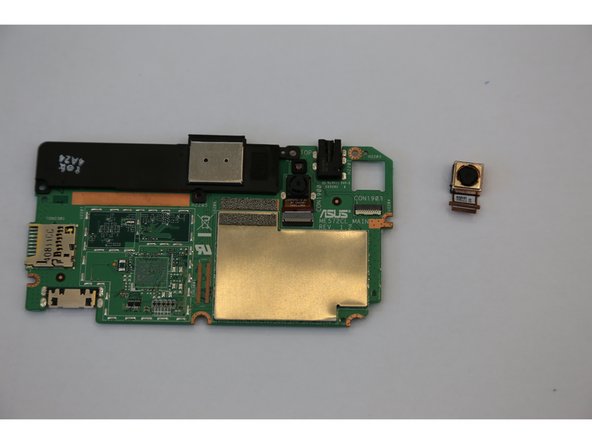
– You’re almost done! To put everything back together, just follow these steps in reverse. Easy peasy!
– If you need help or want to make sure everything is done correctly, you can always schedule a repair
Tools Used
Success!