ASUS MeMO Pad 7 (ME572C) Speakers Replacement
Duration: 45 minutes
Steps: 13 Steps
This step-by-step guide will show you how to swap out the speakers for an Asus MeMO Pad 7. Whether you’re craving some tunes or trying to enjoy a movie, but your tablet’s speakers are falling flat, this guide will walk you through replacing both speakers so you can crank up the sound again!
Step 1


The panel is glued down and will need some muscle to pop it open!
– First things first—let’s get that device powered down! Now grab a plastic opening tool and gently ease off the back panel by working your way around the edges. You’ve got this!
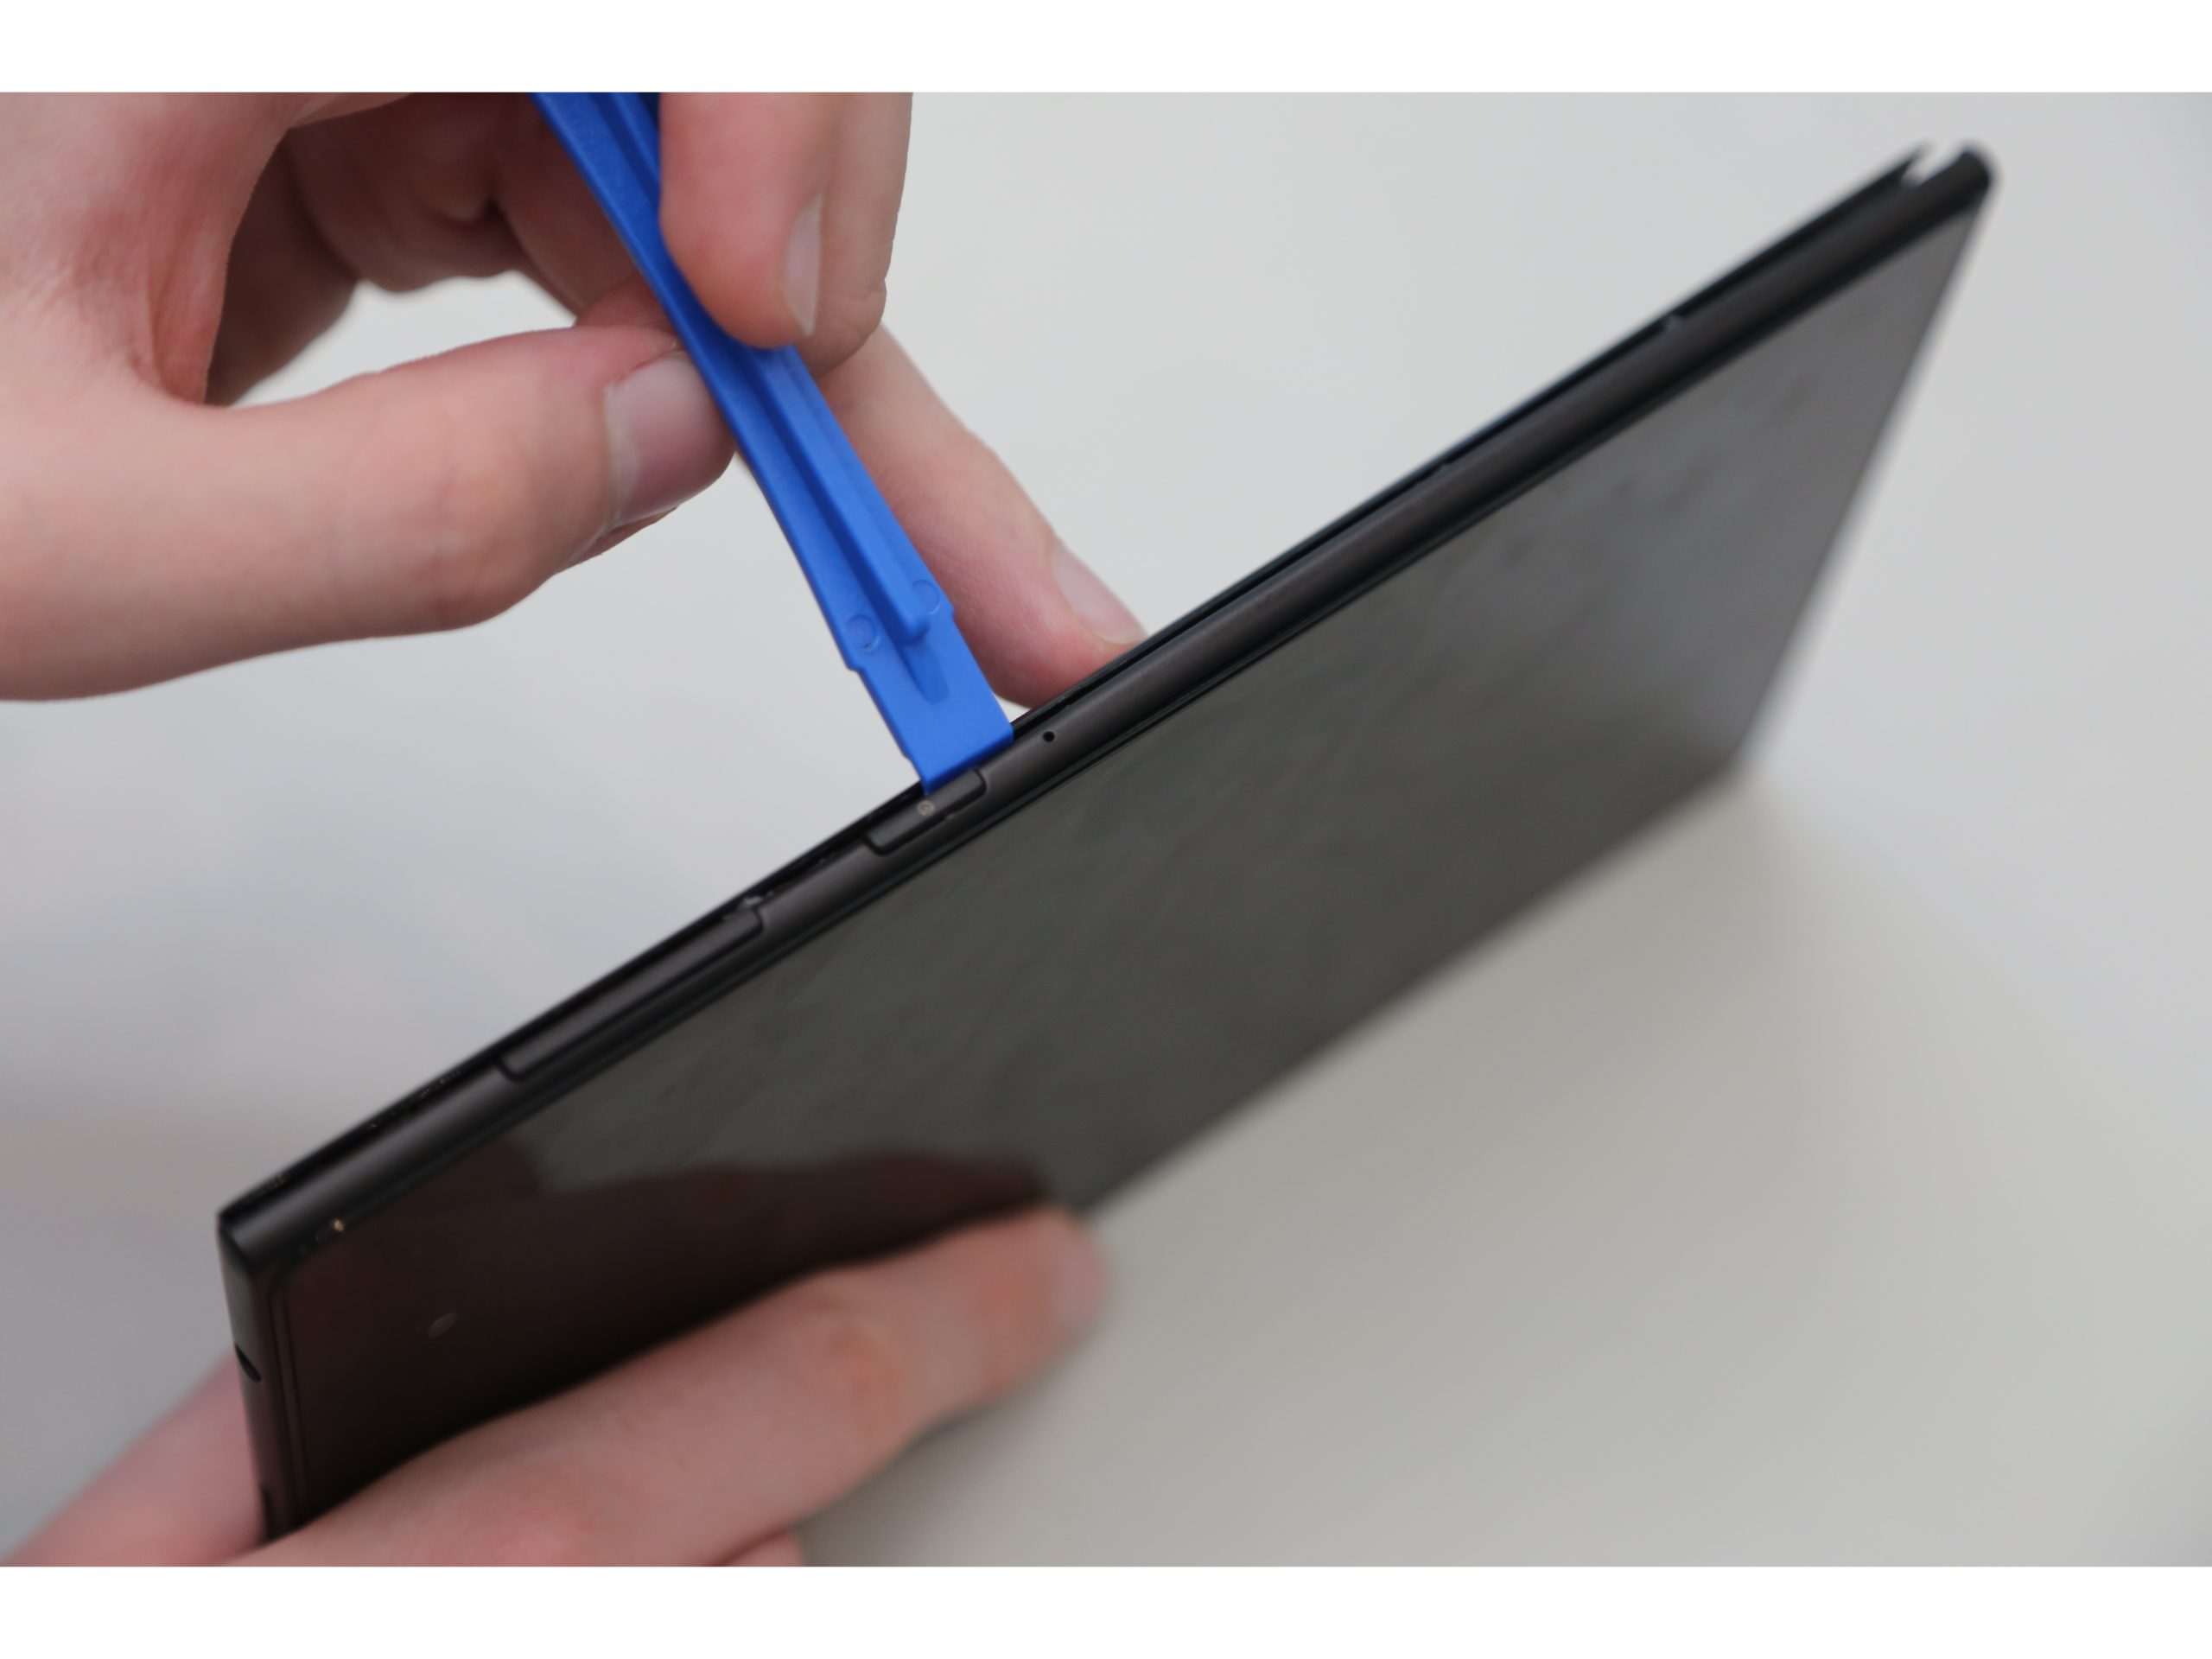
Step 2


– Once you’ve popped off that rear panel, grab your trusty plastic opening tool and get ready to dance with the tablet’s frame.
– Start your groove in the middle of the top side and slide that plastic tool between the screen and frame like you’re opening a secret door.
– Gently glide the plastic opening tool along all the edges of the tablet, as if you’re giving it a little spa treatment.
Step 3

– Once you’ve successfully removed the rear panel and the frame, take a moment to put them aside, away from your device. You’re doing great!
Step 4


Handle those ZIF connectors with care, like they’re the last slice of pizza at a party!
You can also use your hand to carefully release ZIF connectors, it’s an easy and straightforward process
– Gently pop off those ZIF connectors to free the data cables keeping the battery in place. Tweezers make this way easier, so grab ’em and go to town!
Tools Used

Step 5

– Locate the spot where the battery connector hangs out. Gently disconnect the battery connectors by lifting them with a spudger or a trusty plastic opening tool. You’ve got this!
Tools Used

Step 6


The battery casing is a bit delicate and prone to tearing. If that happens, you might find some chemicals escaping, which we definitely want to avoid!
– With your trusty plastic opening tool in hand, gently coax the battery away from its cozy adhesive home. A little nudge here and there should do the trick, as it’s stuck on there pretty snugly.
Step 7


– First, pop the battery out of your device like a pro! Now, take a moment to find the volume connectors nestled on the side – they’re the little guys that control the sound vibes.
– With your trusty tweezers in hand, gently coax those volume connectors out and set them aside. We’re halfway to a sound solution!
Tools Used
Step 8

– Find where the GPS antenna is hiding. Grab your trusty spudger and gently pop off the GPS antenna cable—go slow and steady, no need to rush!
Tools Used
Step 9


– Time to unearth those seven sneaky 2mm Phillips #0 screws holding the motherboard down! Grab your trusty Phillips #000 screwdriver and let’s get to work removing them.
– And hey, don’t forget to stash your screws in a spot where you’ll easily find them later. A little organization goes a long way!
Tools Used

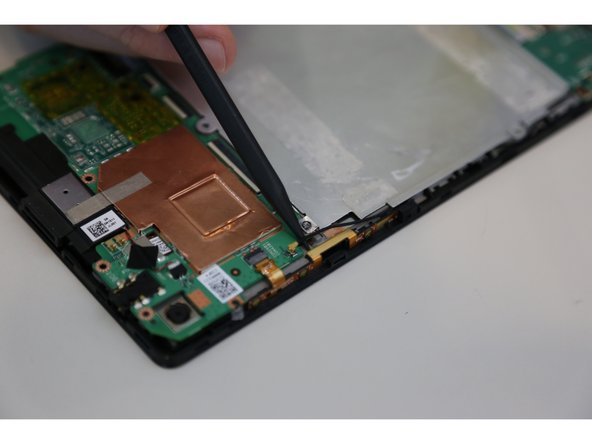
Step 10

– Now that you’ve unscrewed all the bolts, it’s time to gently lift the motherboard out. Use a plastic opening tool to sneak it out carefully. You’ve got this!
Step 11

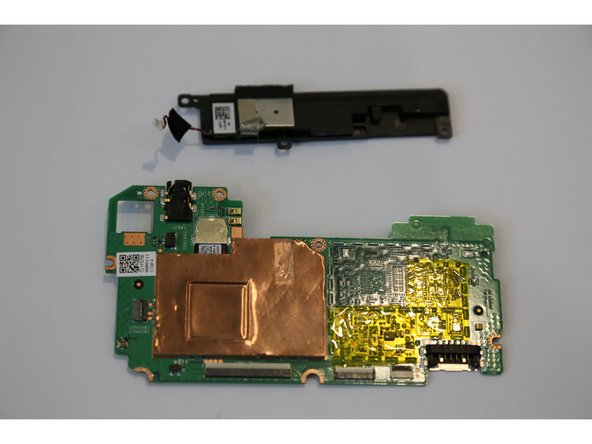
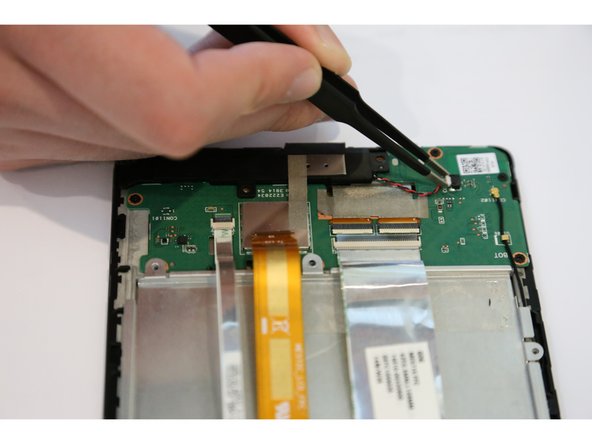
Be careful when handling the motherboard, as the speaker is attached and you don’t want to damage any surrounding components.
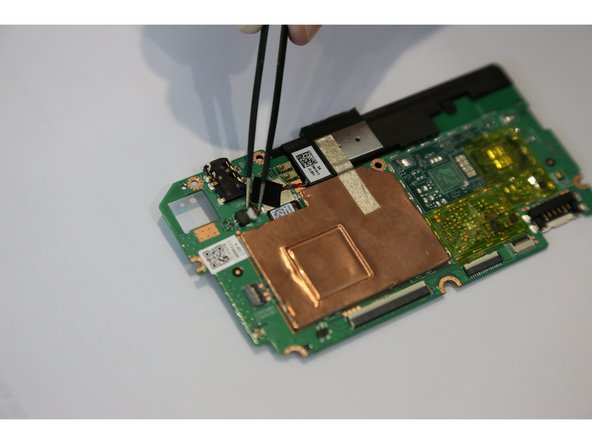
– First off, find that sneaky speaker connector on the motherboard. It’s hiding in plain sight!
– Next up, grab your trusty tweezers and gently pluck out the speaker connector. Think of it like a little operation—steady hands win the day!
– Once that connector is out, the speaker will be ready to come out too. Easy peasy!
– Just a heads up, there are two speakers hanging out in the tablet, so keep an eye out for both of them!
Tools Used
Step 12

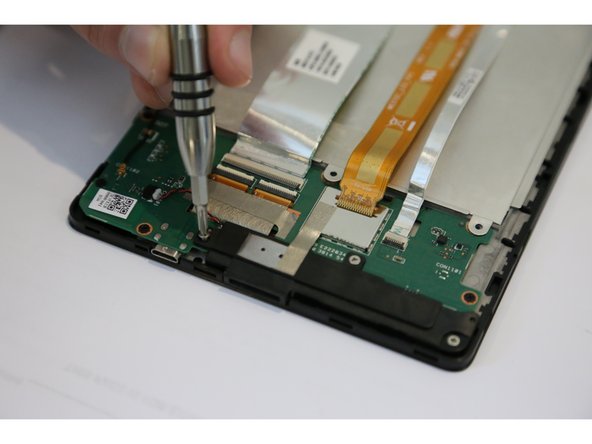
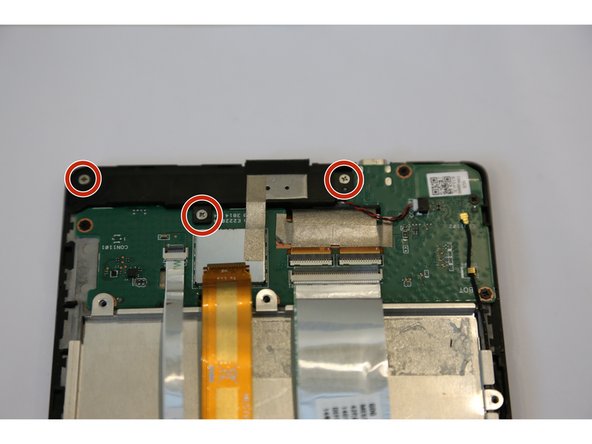
As you tackle those screws, remember to go easy on the tablet! A little pressure could lead to a touch screen tragedy. Keep it gentle, and you’ll be golden!
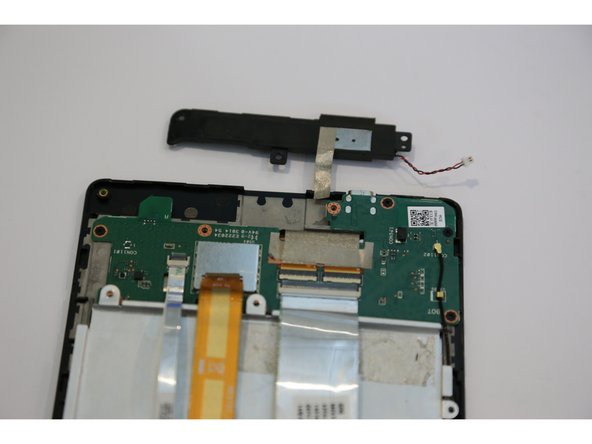
– First things first, find that sneaky second speaker hanging out on the left side of your tablet. It’s playing hide and seek!
– Next up, spot those three 2mm Phillips #0 screws that are keeping the speaker snug in its cozy pad. Time to bust out your Phillips #000 screwdriver and let them go!
– And hey, don’t let those screws wander off! Stash them somewhere safe so they don’t pull a disappearing act.
Tools Used
Step 13

– Put everything back together by following these steps in reverse, and voila, you’re done!
–