Asus MeMO Pad 8 ME181C Speaker Assembly Replacement
Duration: 45 minutes
Steps: 8 Steps
Step 1


– Gently slide a plastic opening tool into the gap between the back cover and the screen.
– Carefully run the plastic opening tool all around the edge of your device to fully detach the rear cover.
Step 2


– Take the flat end of your trusty nylon spudger and gently lift the retaining flap on the Zero Insertion Force (ZIF) connector. This is holding that orange motherboard ribbon cable in place, so be careful, but confident—you’ve got this!
Step 3


– Gently use the flat end of the nylon spudger to lift up the little retaining flap of the ZIF connector that’s keeping the black motherboard ribbon cable snug and secure.
Step 4


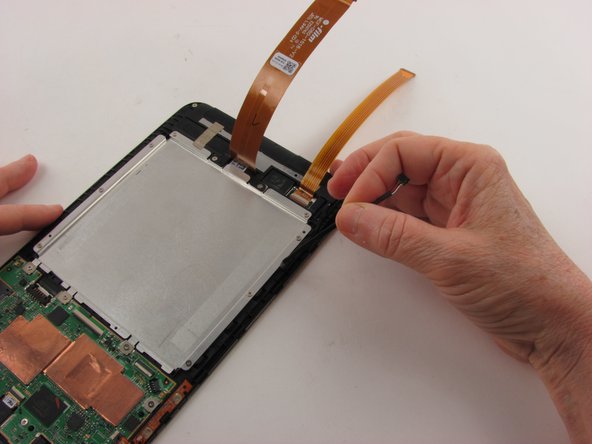
– Let’s get this repair started. Use the pointed end of your trusty nylon spudger to gently pry up the battery connector.
– When it’s time to reconnect the battery cable, simply press the battery connector firmly with your finger until you hear it click into place – you got this.
Step 5


If removing the motherboard is a must, consider tackling this step alongside other motherboard-related tasks to make the process smoother and more efficient.
The battery is held in place with some sticky adhesive. You’ll need a bit of elbow grease to get it loose—but hey, you’re stronger than a little glue!
– Grab your trusty nylon spudger and use its flat end to gently pry up the battery—steady hands win the day!
Step 6


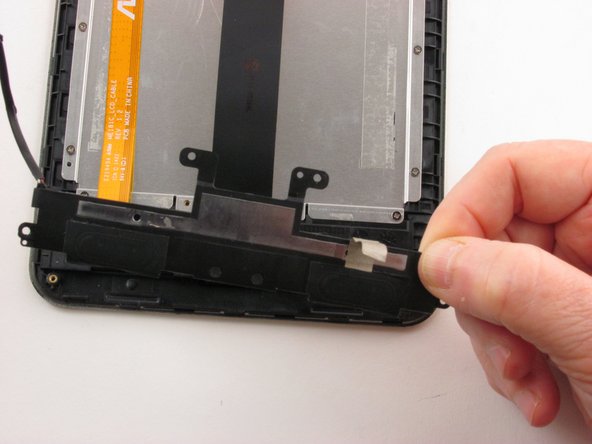
– Grab your trusty spudger and use its pointed end to gently disconnect that speaker cable, like you’re freeing a captive friend.
– Now, with a delicate touch, ease the speaker cable out of its cozy channel along the left side of your device. You’re doing great!
Step 7

– Unscrew those four 3 mm Phillips #000 screws holding the speaker assembly in place. You’ve got this!
Step 8

– Now that you’re all set, just reverse these steps to reassemble your device. If things get tricky, you can always schedule a repair.
–
Success!